Paddys workbench 2023

Show us a view of your workbench / work in progress and build reports too.
User avatar
PTB11
Modelling Gent and Scholar
Posts: 2463
Joined: April 30th, 2015, 12:50 pm
Location: Belfast

Re: Paddys 2020 workbench

Post by PTB11 »

Thanks very much guys.
Old_Tonto wrote:That is looking well tidy Paddy. I'd love to know how you get that worn paint effect. Is it just differing shades of OD?
For my last few US builds, I've used this set: Olive Drab I tend towards the lighter shades.
This is followed up with oil dot filters and pigments. :grin:
On The Bench
Takom 1/35 M247 Sgt. York.
User avatar
PTB11
Modelling Gent and Scholar
Posts: 2463
Joined: April 30th, 2015, 12:50 pm
Location: Belfast

Re: Paddys 2020 workbench

Post by PTB11 »

Finally getting this to resemble an armoured car.
The suspension and mudguards were a bit tricky and fiddly as was the PE straps for the fuel tanks.
Image

Still plenty to do on this and most of all, I'm still enjoying it.
On The Bench
Takom 1/35 M247 Sgt. York.
User avatar
Clashcityrocker
Modelling Gent and Scholar
Posts: 10827
Joined: May 1st, 2011, 12:31 am
Location: Adelaide. South Australia

Re: Paddys 2020 workbench

Post by Clashcityrocker »

Nice tidy work.

Nigel
User avatar
wokka
Modelling Gent and Scholar
Posts: 4576
Joined: March 22nd, 2019, 1:20 pm
Location: Germany

Re: Paddys 2020 workbench

Post by wokka »

That's coming along nicely,
It's only pain, work through it.
Lone Modeller
Modelling Gent and Scholar
Posts: 5345
Joined: April 1st, 2013, 6:45 pm

Re: Paddys 2020 workbench

Post by Lone Modeller »

Very good start on this one. Shame about the mortar crew.
User avatar
PTB11
Modelling Gent and Scholar
Posts: 2463
Joined: April 30th, 2015, 12:50 pm
Location: Belfast

Re: Paddys 2020 workbench

Post by PTB11 »

Back again with the Staghound:
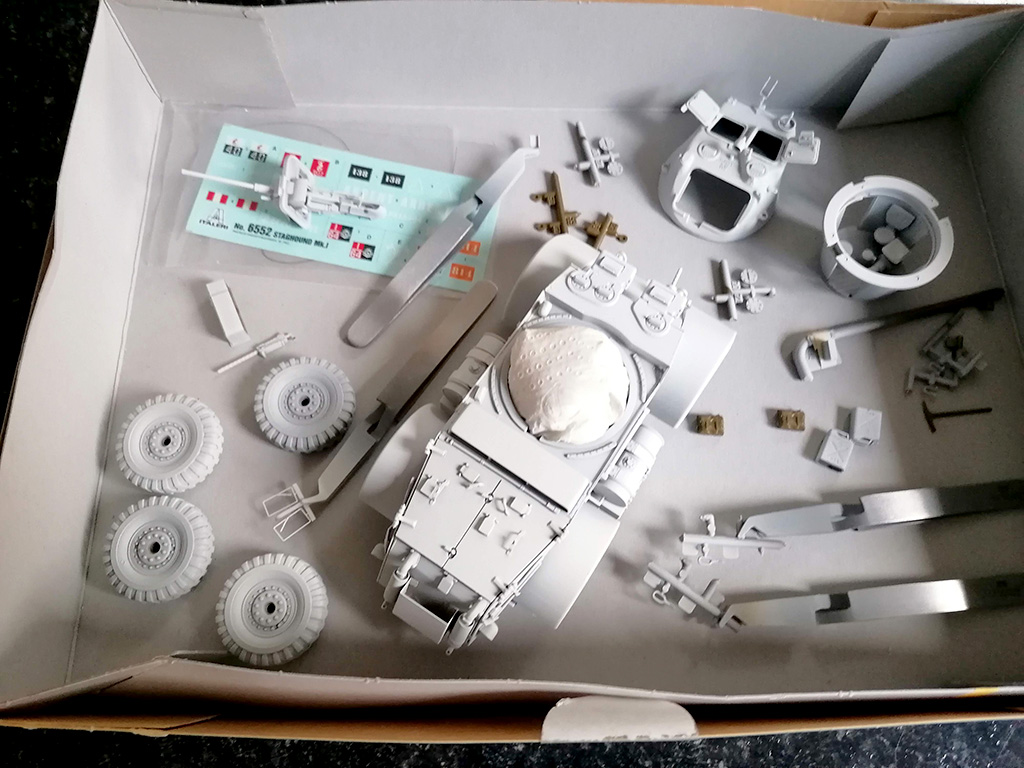
Primer coat done.
Image

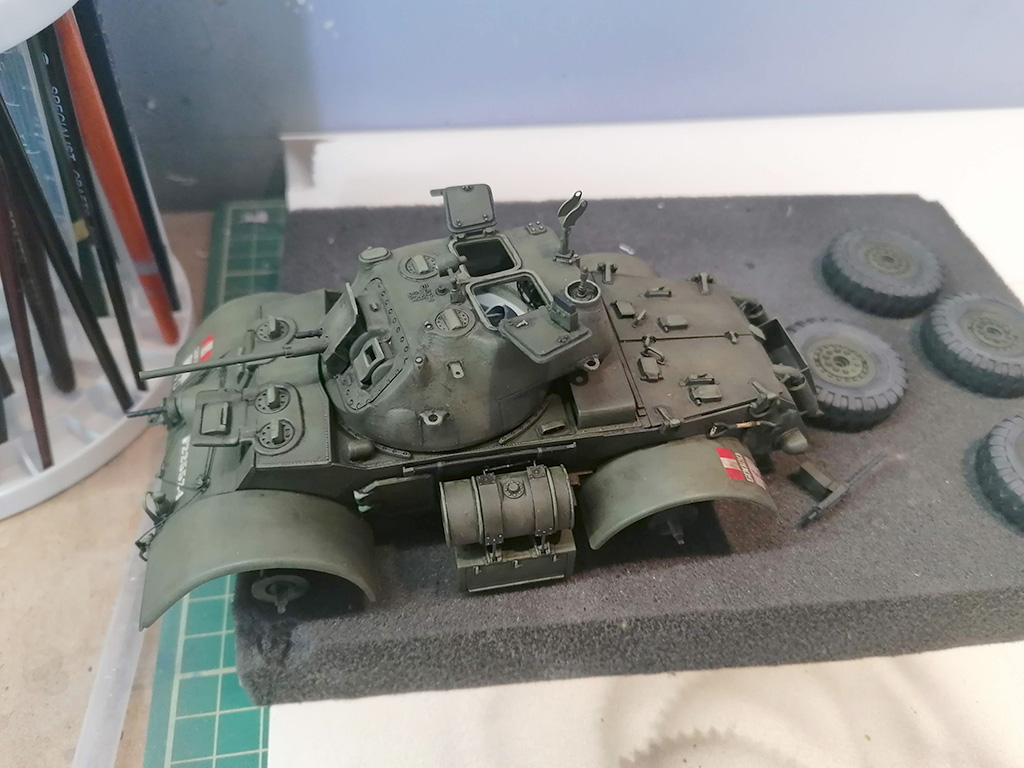
Then the base colour, gloss coat, decals, pin wash and dull coat:
Image

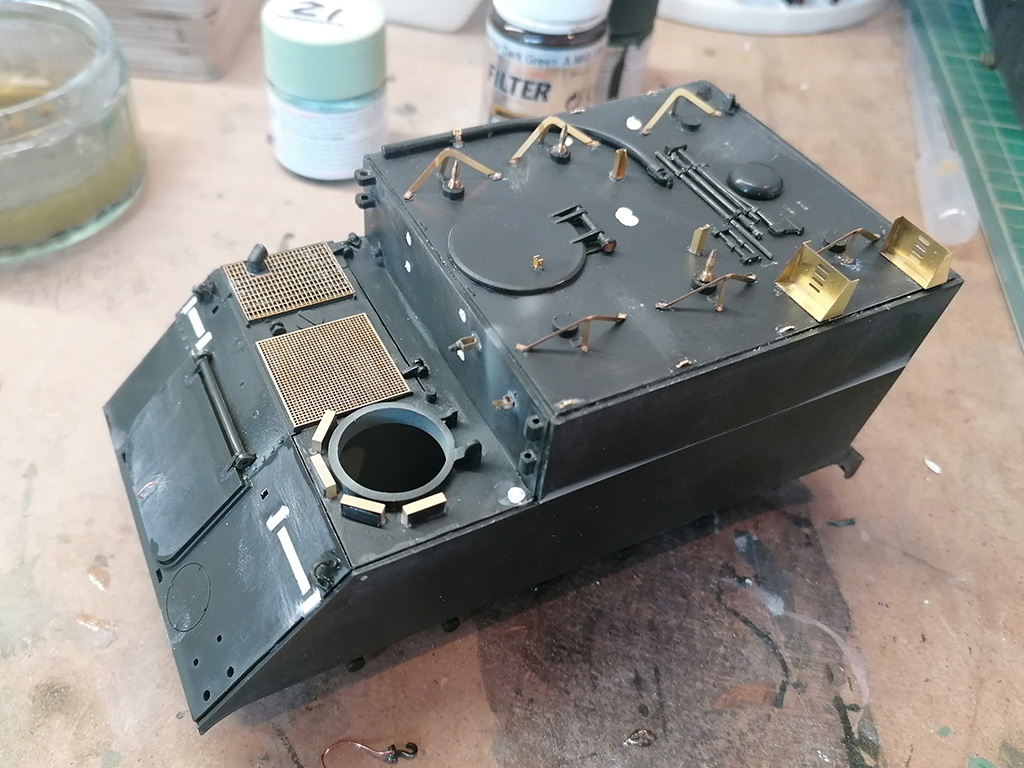
And making the most of lock down, I started on this as well:
Image
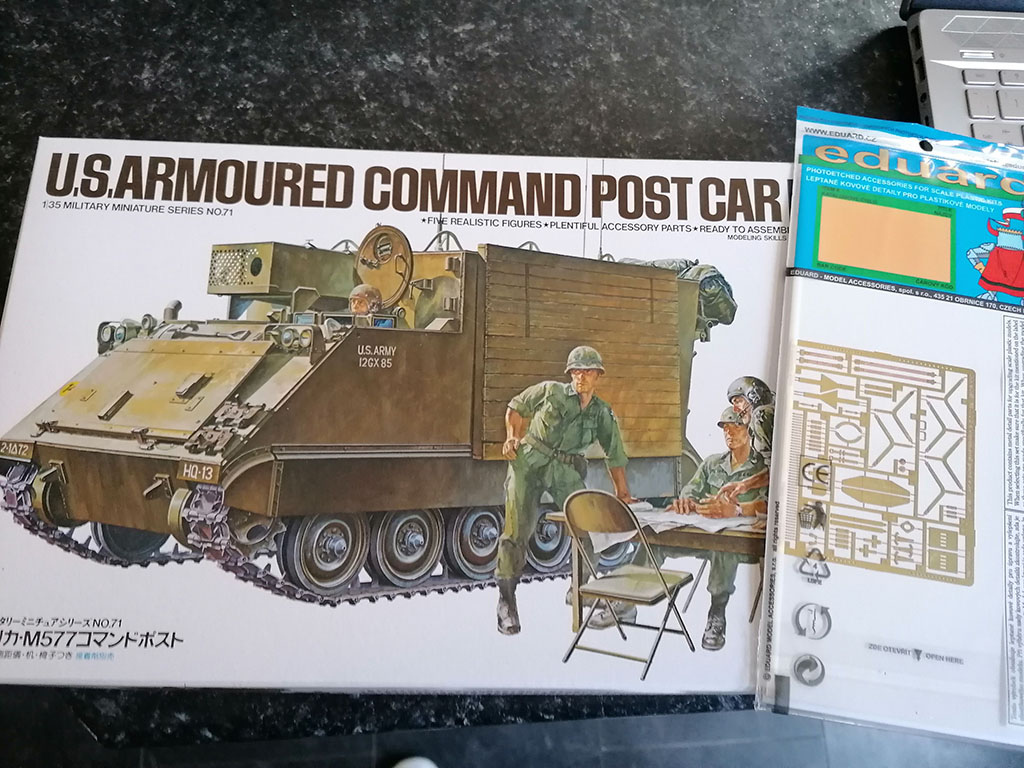
I'm using the Eduard PE as well as some scratchbuilding.

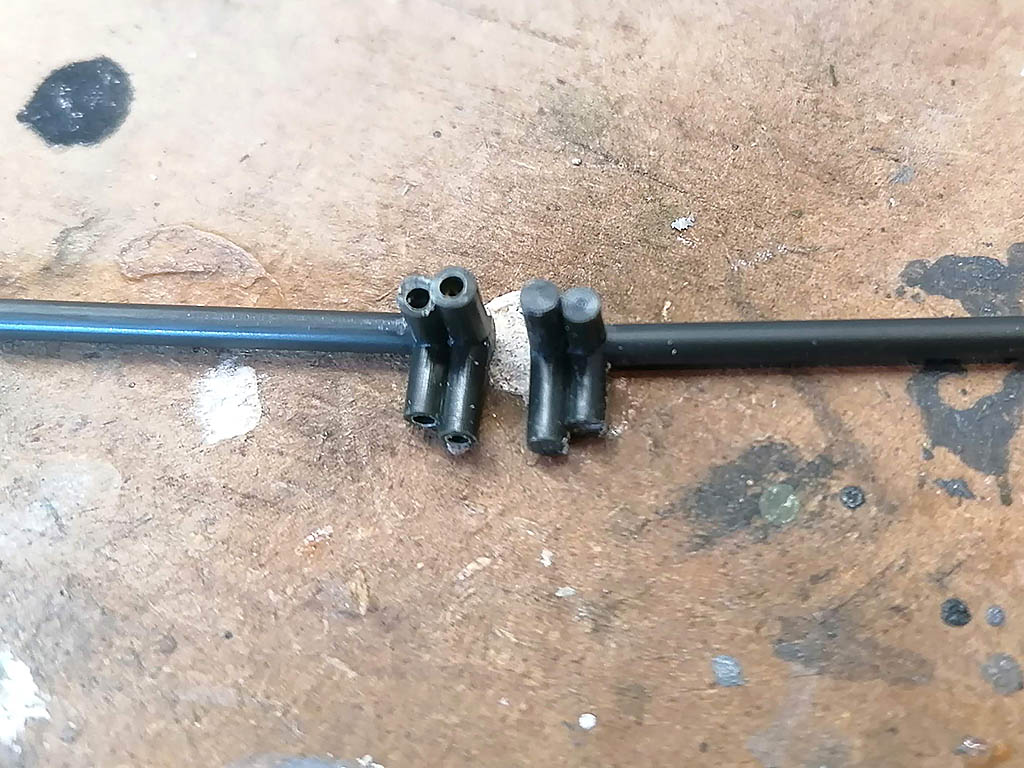
To start with, I hollowed out the tent support poles that hang on the rear of the vehicle:
Image
Image

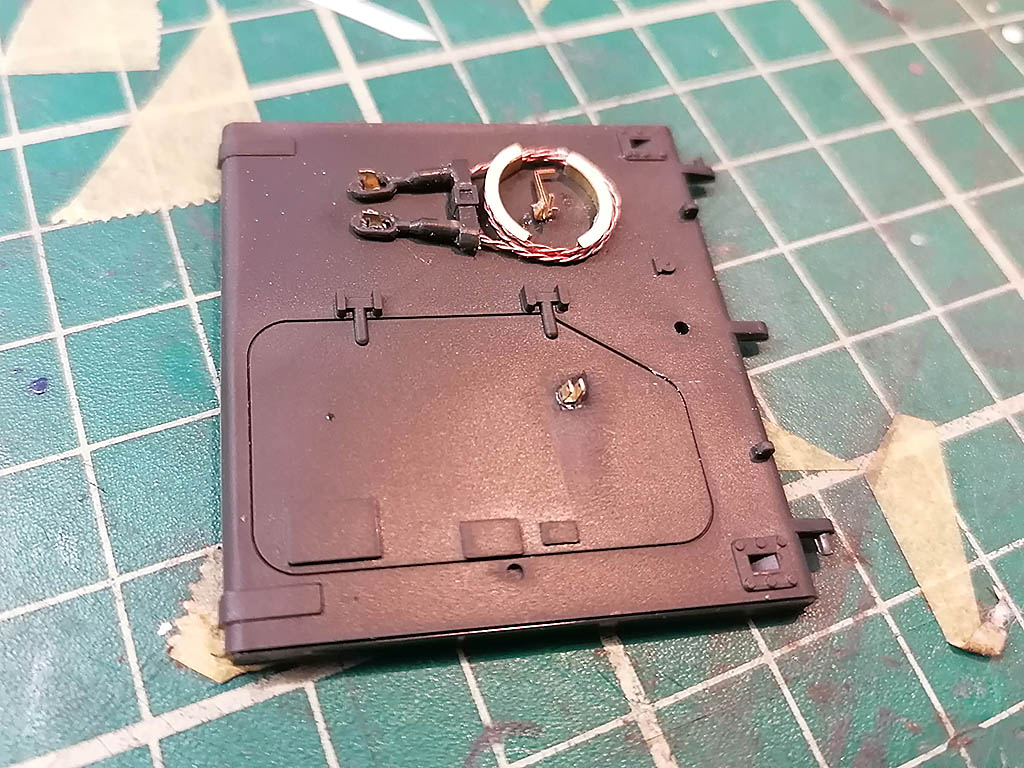
The PE on the rear ramp. This little bit took me over an hour!
Image

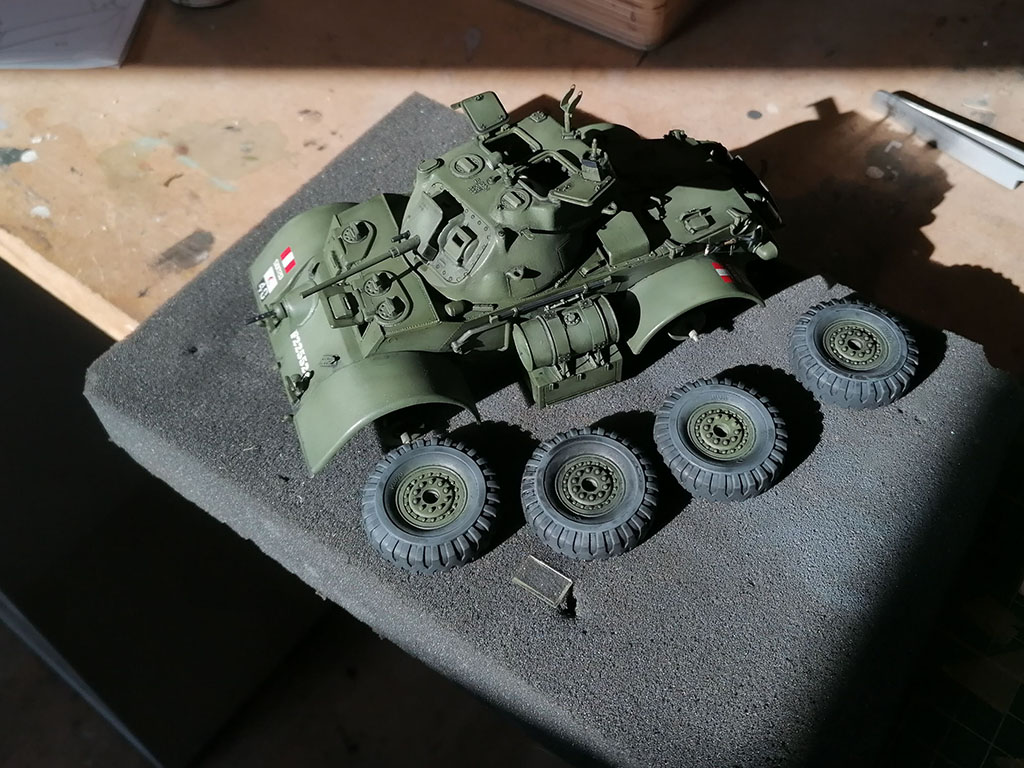
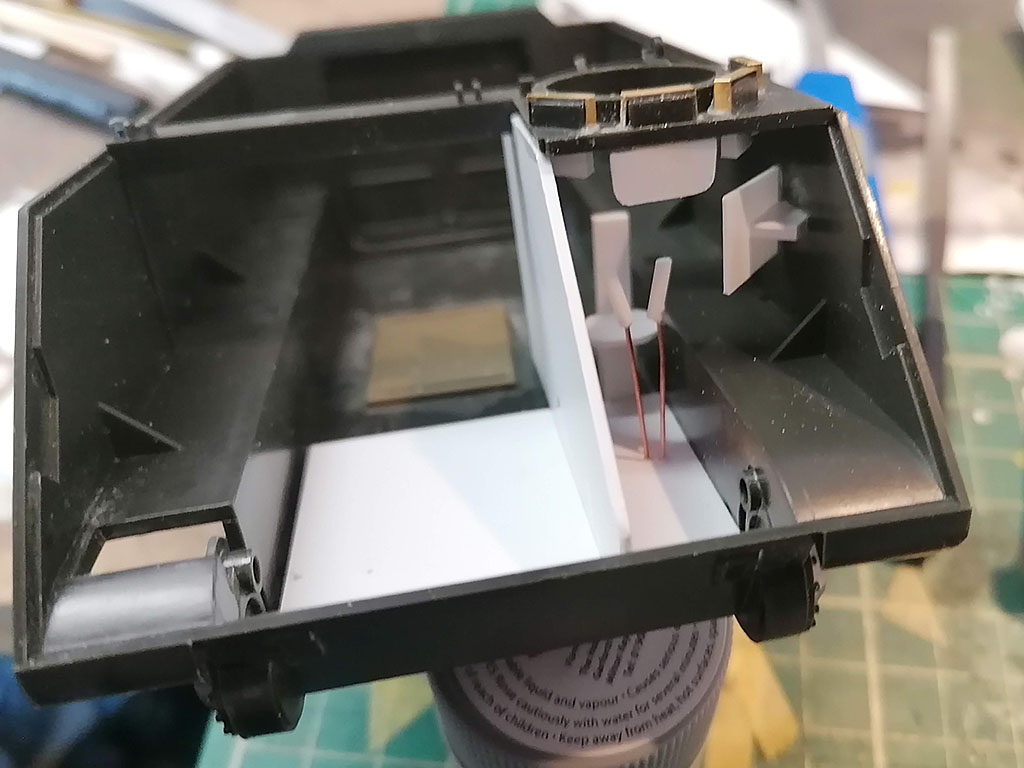
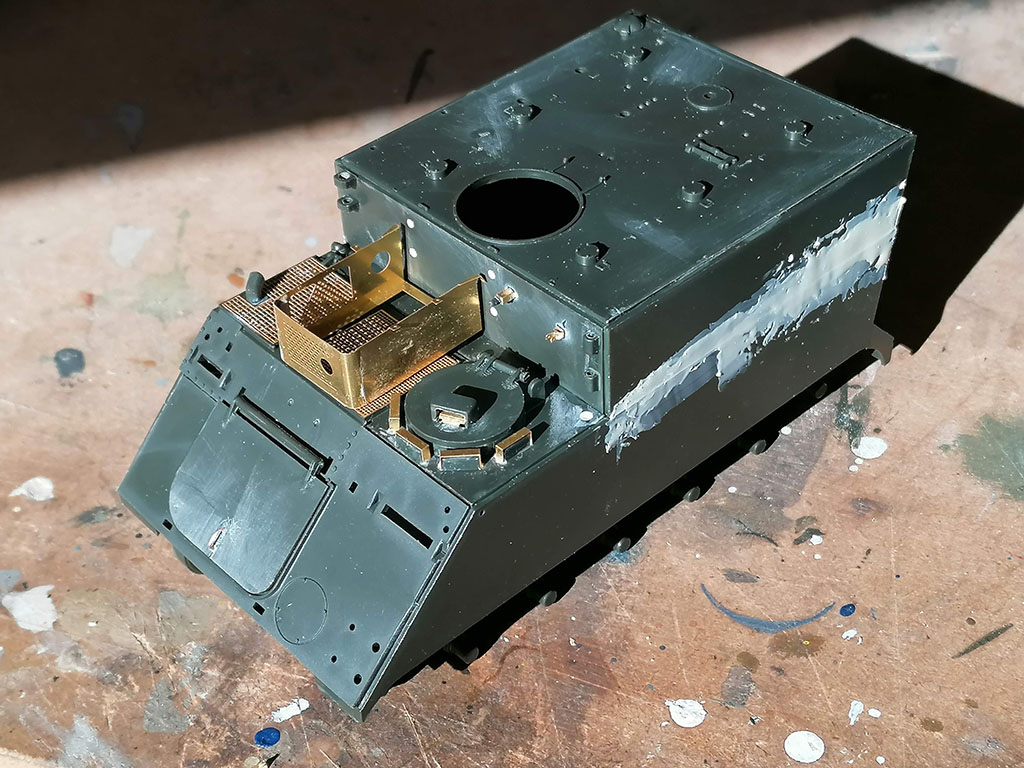
As I'm leaving the drivers hatch open, I added some basic details, just in case someone has a quick nosey inside:
Image
Image

As it stands at the minute. The front glacis plate and the PE generator basket are only set in position for the photo:
Image

Thanks for looking.
On The Bench
Takom 1/35 M247 Sgt. York.
User avatar
Marek
Modelling Gent and Scholar
Posts: 2455
Joined: May 1st, 2011, 8:03 am
Location: Madison, WI
Contact:

Re: Paddys 2020 workbench

Post by Marek »

Lots of nice updating from scratch. I love these builds.
User avatar
wokka
Modelling Gent and Scholar
Posts: 4576
Joined: March 22nd, 2019, 1:20 pm
Location: Germany

Re: Paddys 2020 workbench

Post by wokka »

The armoured car has turned out really well and I like the interior of the Command Post AFV.
It's only pain, work through it.
User avatar
Early Bird Fan
Modelling Gent and Scholar
Posts: 1808
Joined: February 25th, 2020, 1:41 am
Location: Hertfordshire

Re: Paddys 2020 workbench

Post by Early Bird Fan »

both nice builds, the PE bits add a nice touch aswell.
Current Builds:
Revell 1/48 S.e.5a
Revell 1/72 P-47 'bolt
Frog 1/72 Bleriot X1
User avatar
iggie
Modelling Gent and Scholar
Posts: 23438
Joined: July 31st, 2013, 11:04 am
Location: North Somercotes, Lincolnshire
Contact:

Re: Paddys 2020 workbench

Post by iggie »

Excellent work Paddy 8-)
Best wishes

Jim
If you can walk away from a landing, it's a good landing. If you use the airplane the next day, it's an outstanding landing
"Never put off till tomorrow, what you can do the day after tomorrow"
User avatar
Clashcityrocker
Modelling Gent and Scholar
Posts: 10827
Joined: May 1st, 2011, 12:31 am
Location: Adelaide. South Australia

Re: Paddys 2020 workbench

Post by Clashcityrocker »

Staghound is looking nice, and good start on your command vehicle.

Nigel
User avatar
PTB11
Modelling Gent and Scholar
Posts: 2463
Joined: April 30th, 2015, 12:50 pm
Location: Belfast

Re: Paddys 2020 workbench

Post by PTB11 »

Thanks for the comments, guys.
A little more done today. The Staghound got a brown filter coat and when it was dry it got another acrylic flat coat. Still plenty of layers to go.
Image

The M577 was finally sealed up and a load more details were added to the roof. Whoever dreamt up PE footman loops has a lot to answer to! :twisted: :grin:
I filled the relevant holes using Vallejo filler and to be honest, I dont rate it very much. It shrinks way too much, every time. It always needs a second application. Anyway, just my opinion, moan over.
Image
On The Bench
Takom 1/35 M247 Sgt. York.
User avatar
Early Bird Fan
Modelling Gent and Scholar
Posts: 1808
Joined: February 25th, 2020, 1:41 am
Location: Hertfordshire

Re: Paddys 2020 workbench

Post by Early Bird Fan »

i've yet to use any PE parts but have seen plenty of youtube vids with it being used, it looks right fiddly so i think i'll avoid it as much as possible :grin:
Current Builds:
Revell 1/48 S.e.5a
Revell 1/72 P-47 'bolt
Frog 1/72 Bleriot X1
User avatar
wokka
Modelling Gent and Scholar
Posts: 4576
Joined: March 22nd, 2019, 1:20 pm
Location: Germany

Re: Paddys 2020 workbench

Post by wokka »

Unfortunately the image of the Staghound hasn't come through but I like what you're doing with the Command vehicle.
It's only pain, work through it.
User avatar
Stuart
Raider of the Lost Ark Royal
Posts: 19451
Joined: February 25th, 2013, 4:55 pm
Location: North Wales
Contact:

Re: Paddys 2020 workbench

Post by Stuart »

Fantastic work - that is a great looking armoured car!
Stuart Templeton I may not be good but I'm slow...

My Blog: https://stuartsscalemodels.blogspot.com/
Post Reply

Return to “Workbench Window”