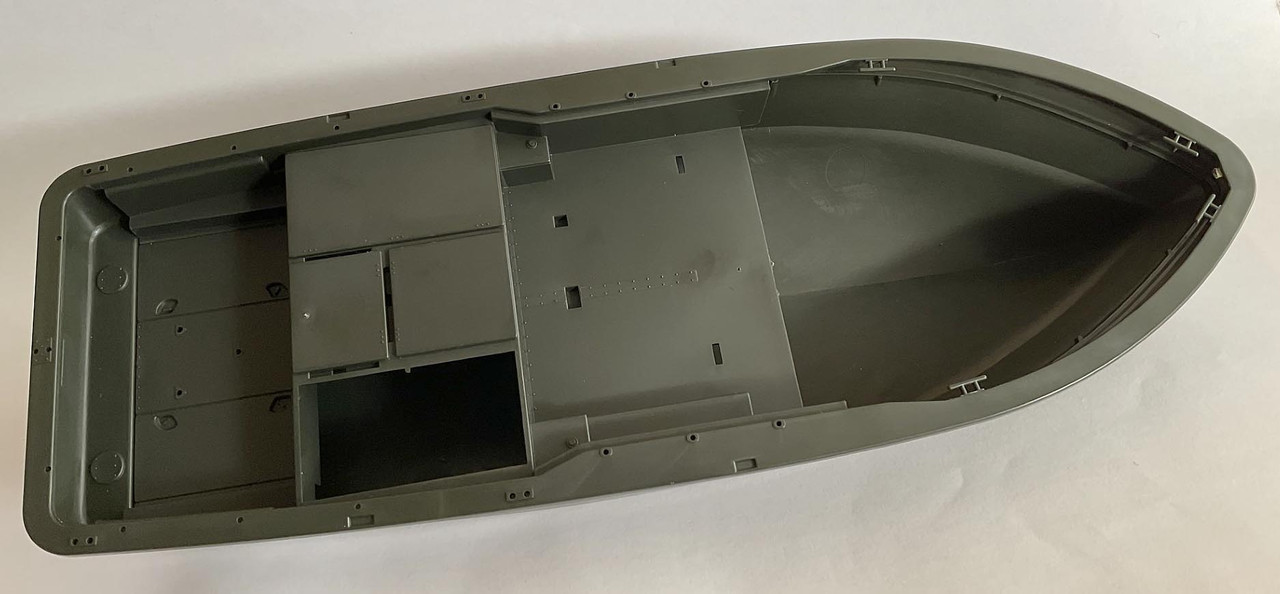
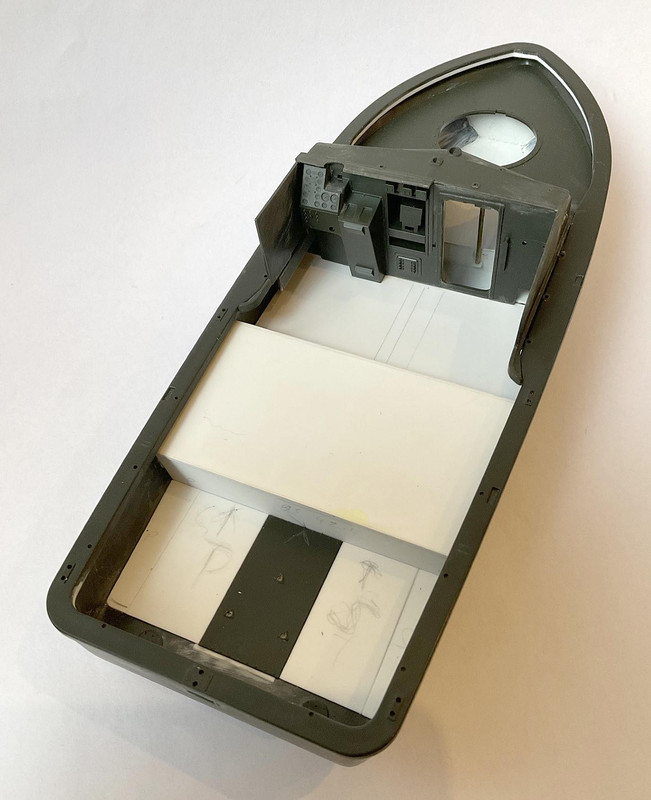
Here's the hull and the deck straight out of the box. Compared to photos the first things I notice are the gunwales fore and aft are too thin, the rear inspection plates too low, the starboard locker incorrectly located, and the engine compartment should have a gap between its upper surface and the gunwale bottom edge. Having done that I did, of course, subsequently find the one photo that showed the gunwale and engine compartment seemingly moulded as one, but it was the only one.
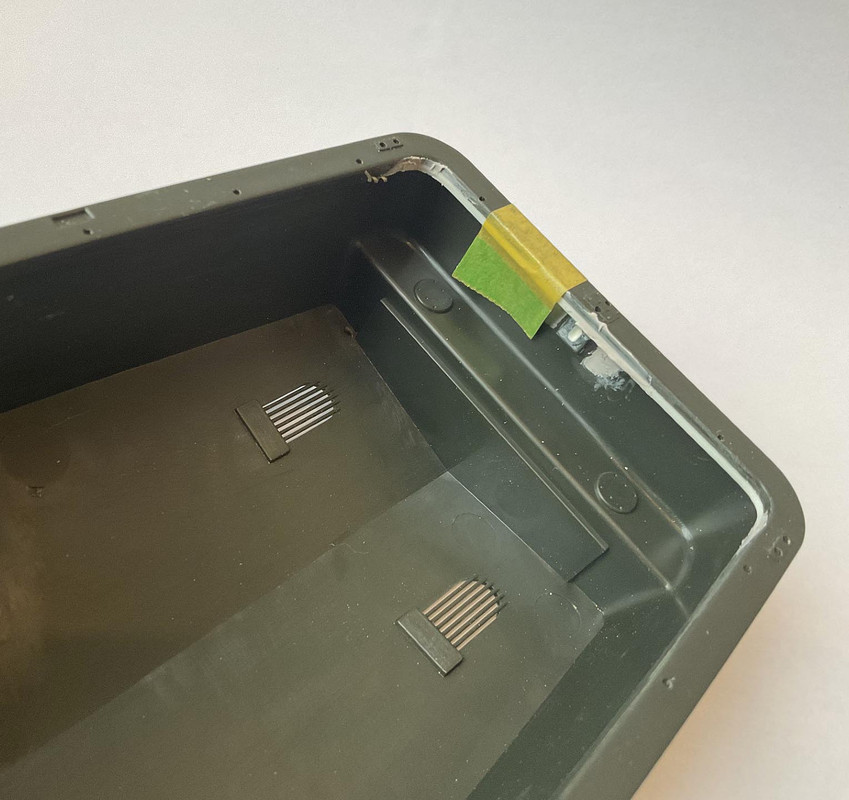
Engine compartment and decks rebuilt from card. I did add some detail to the front cabin interior but it is virtually invisible once the kit is fully assembled.
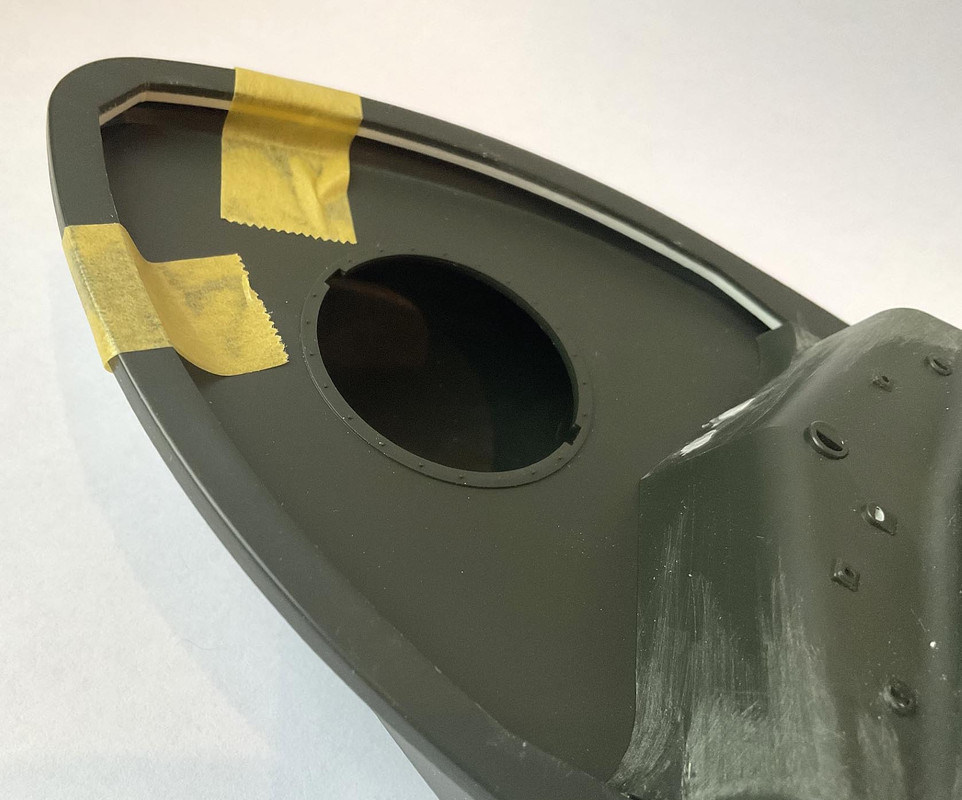
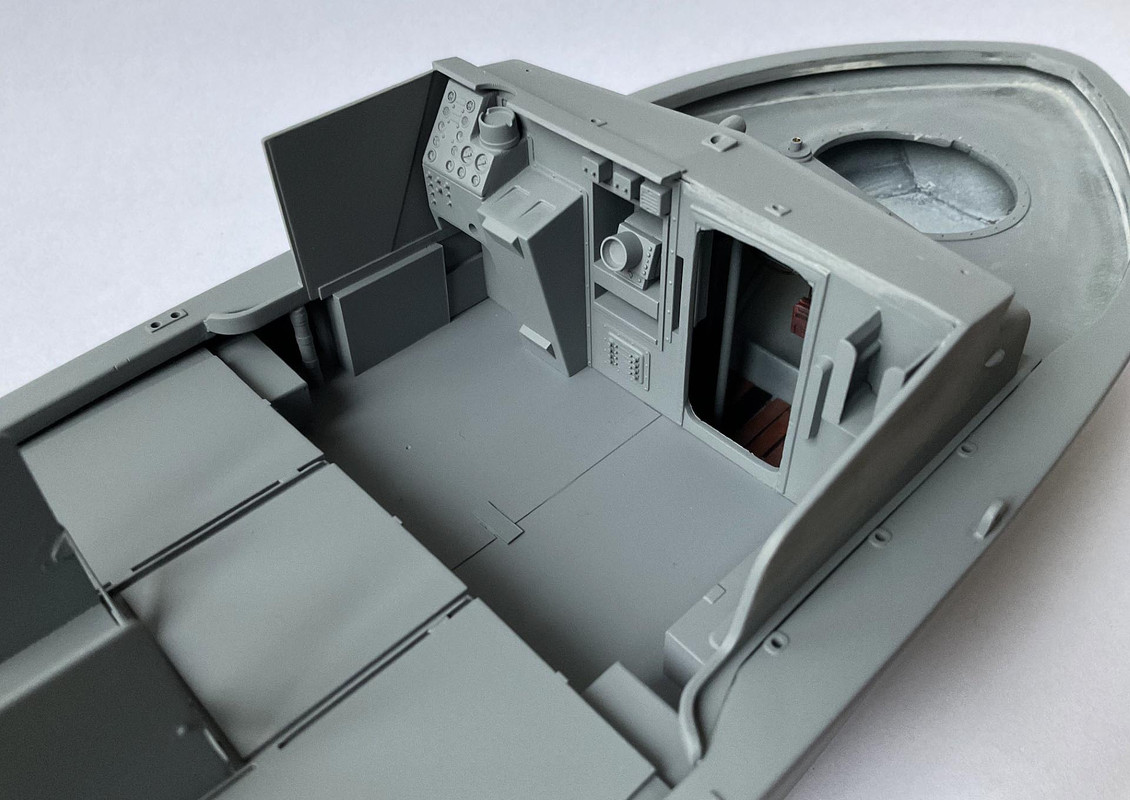
Hatches and other detail added.
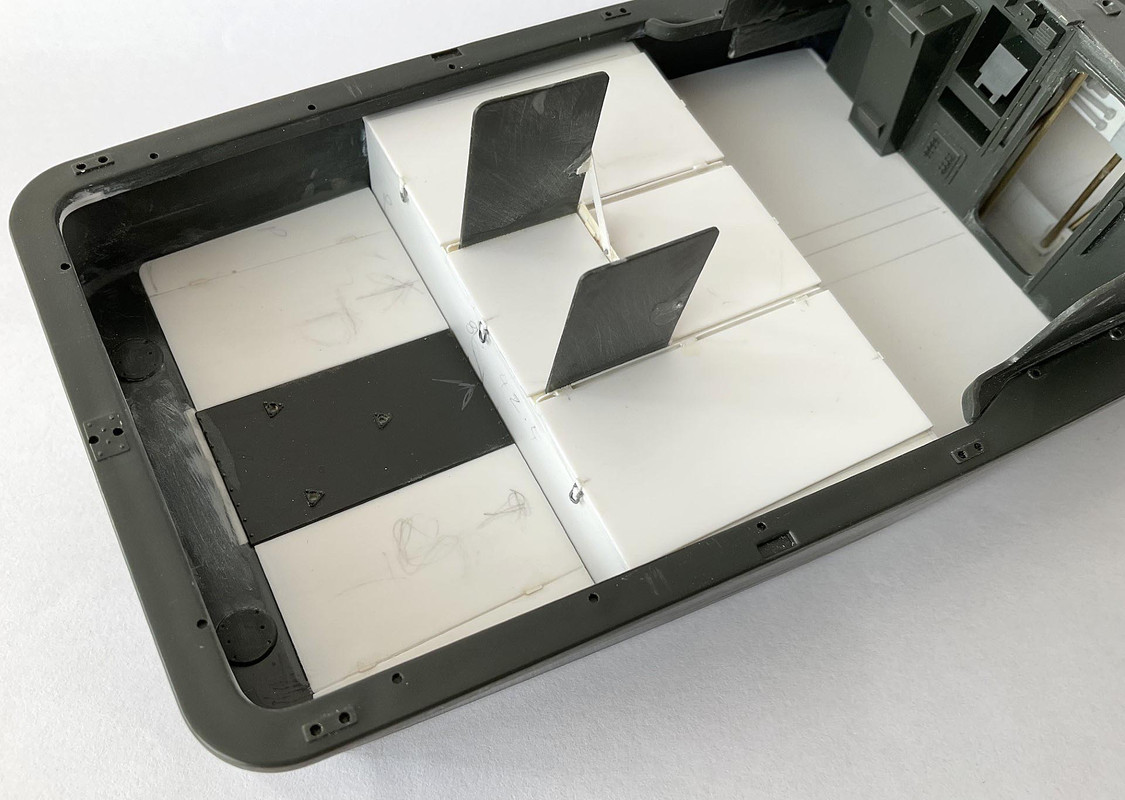
Same in primer with a few more scratch built additions. Just visible is the bulkhead and duckboards I added to the front cabin. The bulkhead is correct but a Vietnam veteran who served on PBRs has said there were no duckboards. My cue was a restored PBR but no big deal as they can’t be seen on the finished model.
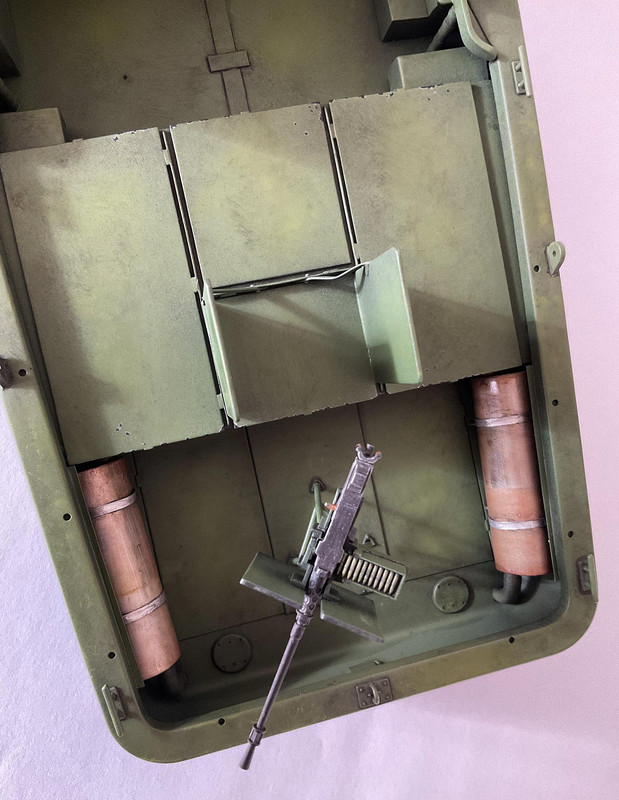
Jet drives detailed and missing rivets and exhaust ports added.

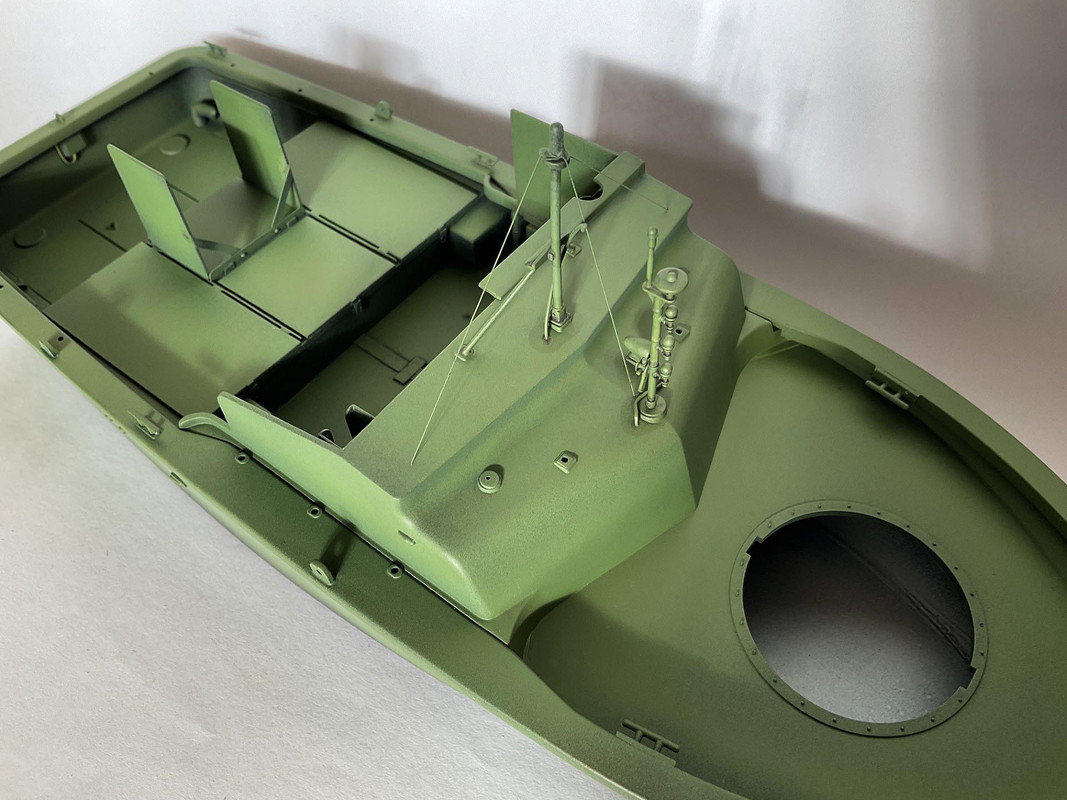
First coat of green. I dread painting anything green. Firstly trying to find two colour photos of a PBR wearing the same colour is nigh on impossible and then attempting to match the preferred photo to a pot of paint escapes me. In the end I took a Vallejo blue and yellow, mixed them together and trusted to luck.
I wasn't unhappy with the initial sea of green result but the usual combination of burnt umber oil washes and smudging some yellow and white oil paints around got me closer to the goal line. The exhaust mufflers are scratch built. The exhaust covers Tamiya supply don't appear to be used in many photos and ranging in colour from shiny and new to weathered and rusty they gave the opportunity to break up the green.
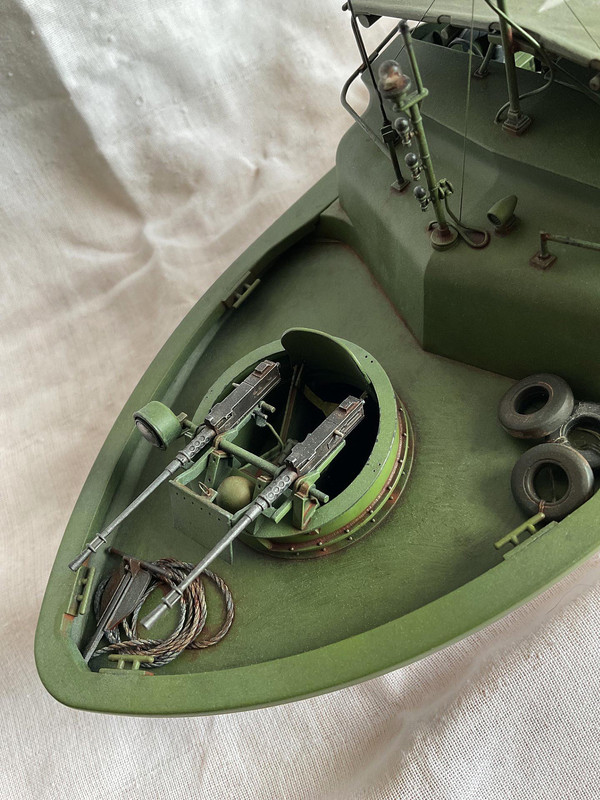
Front guns. I nearly wobbled and bought aftermarket barrels but decided to stay with the kit's offerings.
Rear gun and some stowage.
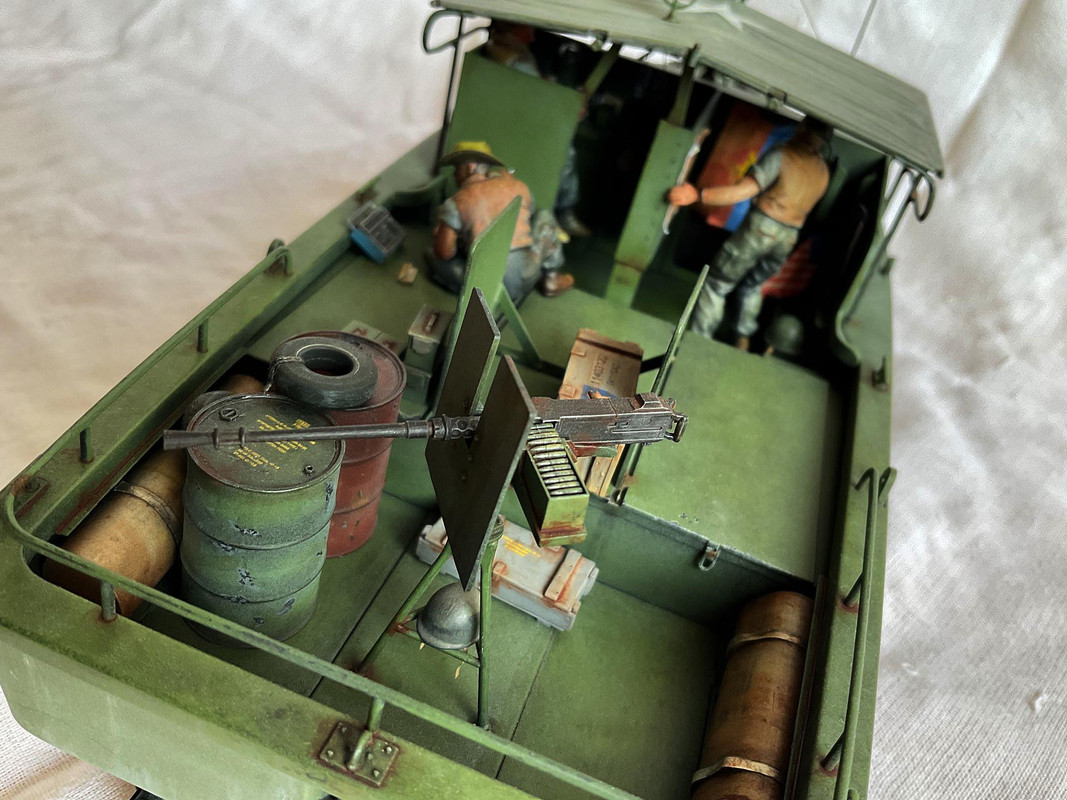
Radar and light staff dressed up with some thin wire salvaged from a computer circuit board and thin nylon sewing thread. The cabin roof is a conundrum. Most representations lean towards a brown or buff finish as if obviously made from canvas. The finish Tamiya models the roof in seems to emulate canvas, too. I played around with a couple of different finishes but, as you see, went for a slightly faded green. Reading subsequently, the same Vietnam vet I mentioned before states the material was satin in finish and the same colour as the boat. It was most likely some rubberised or nylon-like waterproof cloth. One for next time.

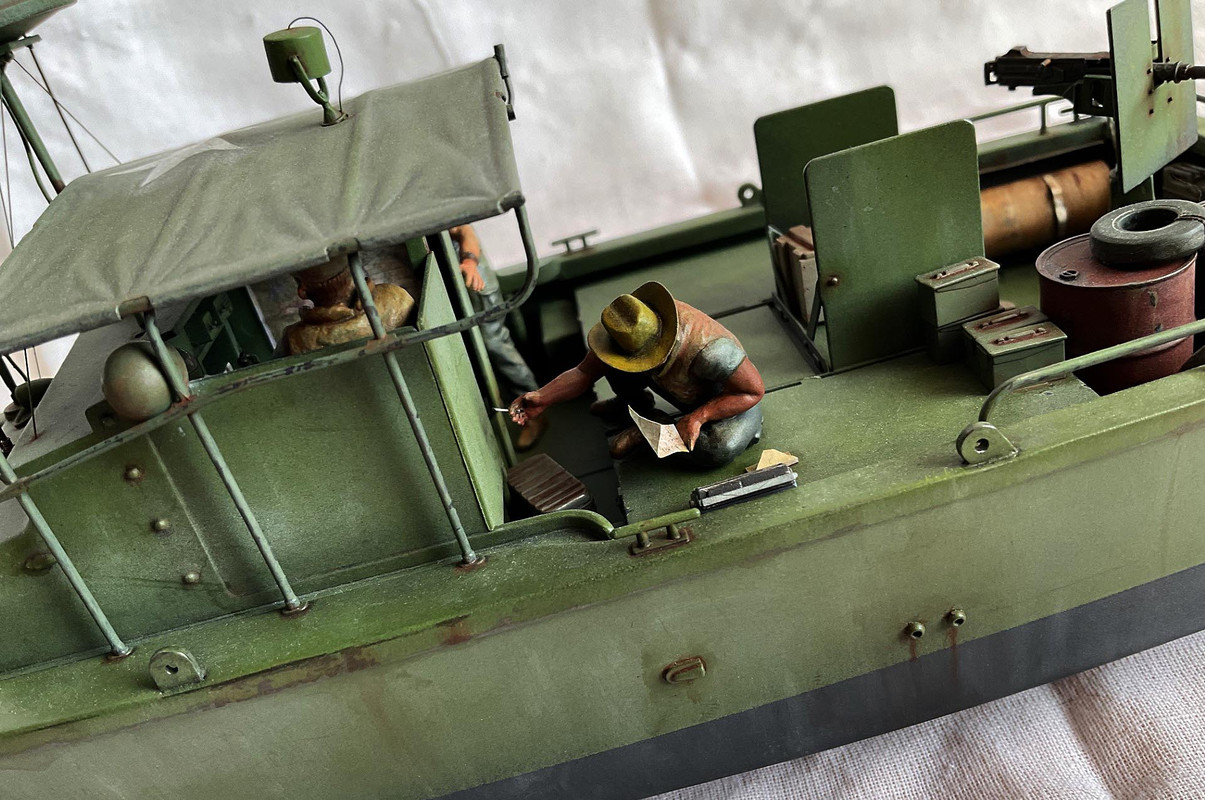
Couple of general views.
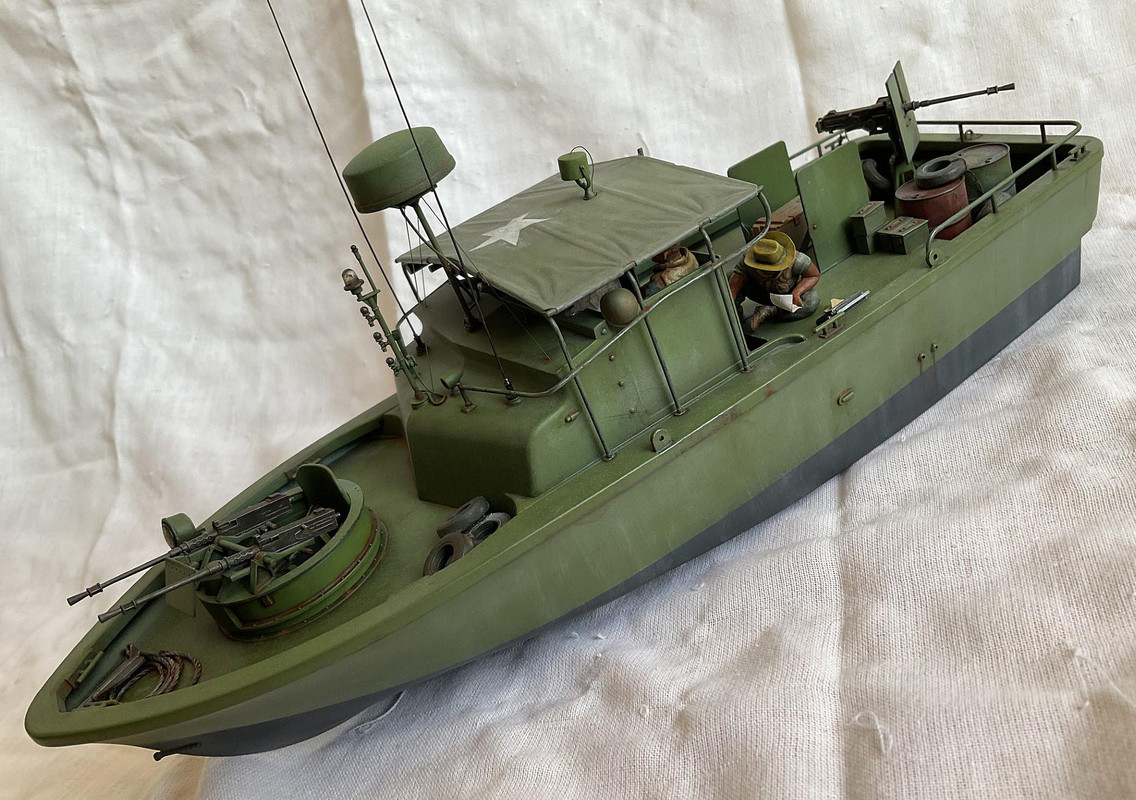
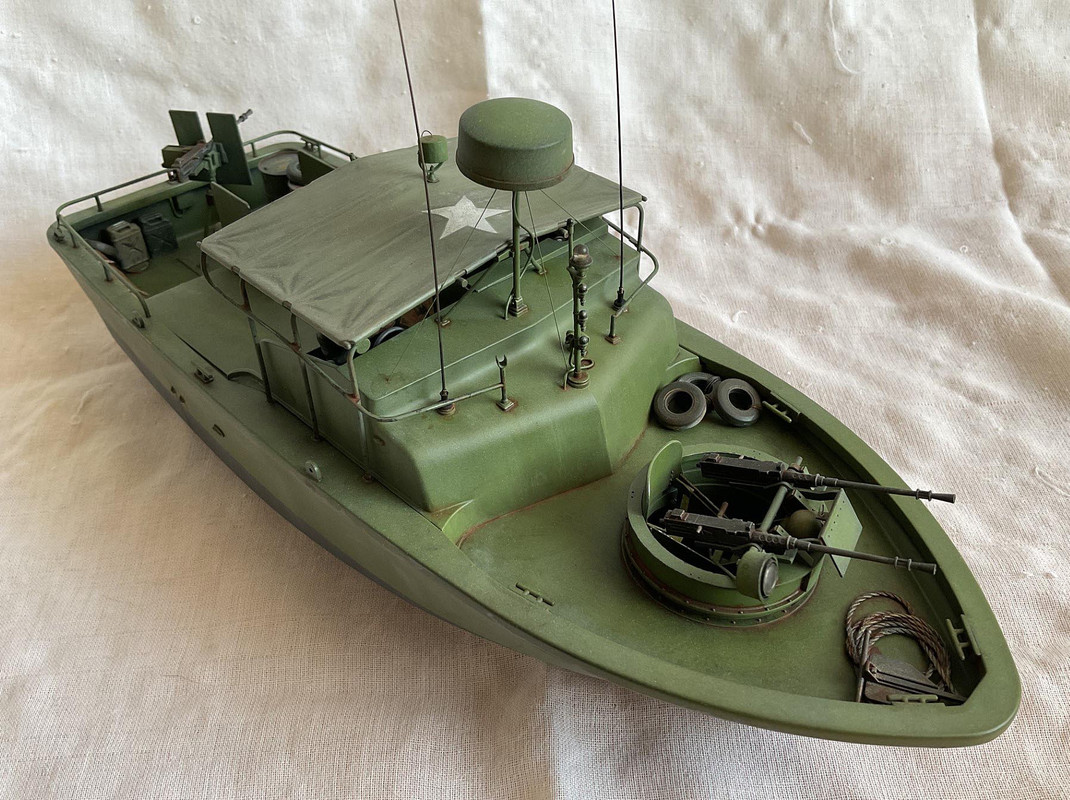
Figure painting is not my strength but I used three of the kit crew members. Two of them are meant to be firing weapons but instead I substituted their helmets for Stetsons and their guns for cigarettes and a letter from home. Close up photography does me no favours but from a foot or two away they are fine.