I came back from Telford with the odd urge to build the Welsh Models Short Belfast, I went through my vacform stash only to find I didn't have the kit! However I did come across this and since the Iain (ejsnotgrass) had sent me some straight edged Lightning wings a few years ago it seem appropriate to build it. Also the thread about "scary" builds put me in mind to knuckle down on a more in-depth build.
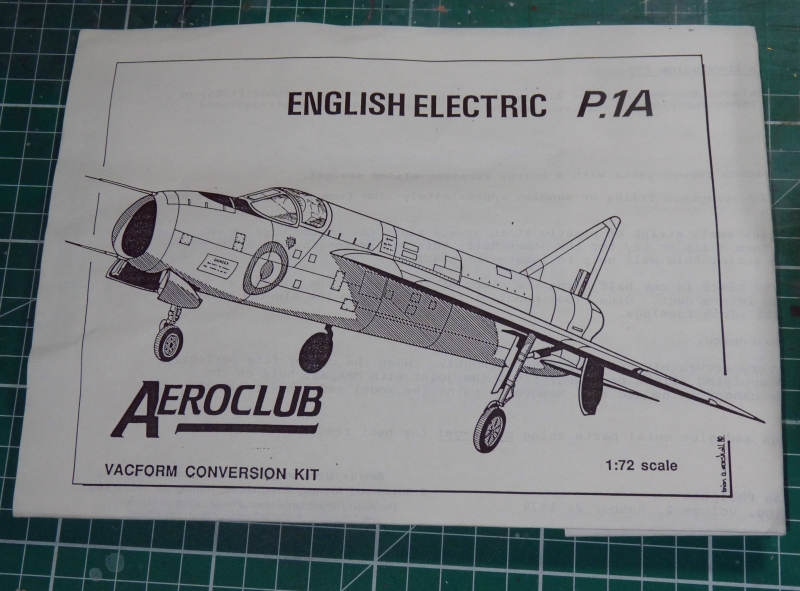
WG760 use to reside at Manchester Aerospace Museum and I was always struck by the gaping mouth of the P1A and knew I needed to build it. In the past, I've been the owner of the Merlin Models kits - my god that was rough and allegedly a rip-off of the Frog kit with all its inaccuracies and was sold to a collector.
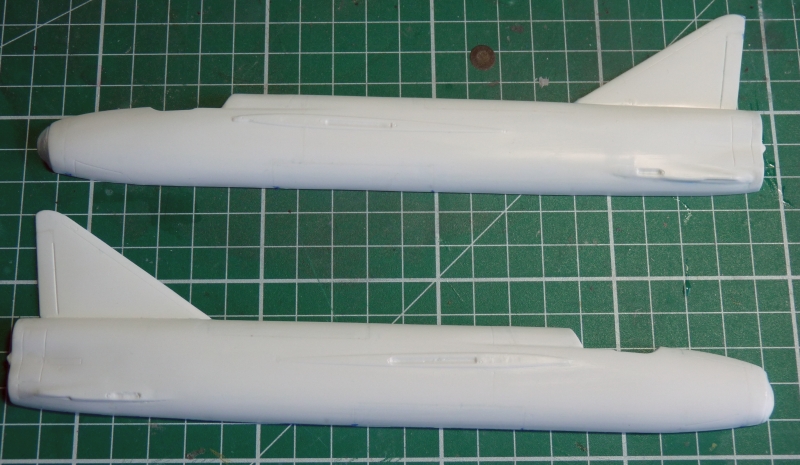
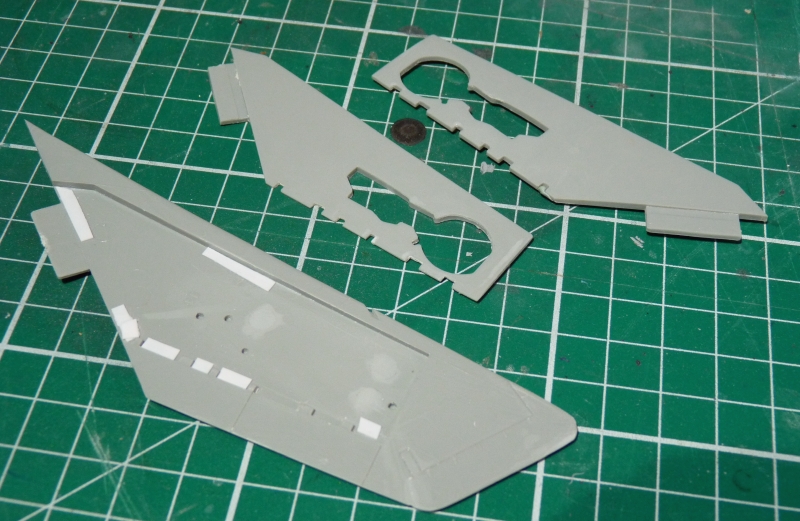
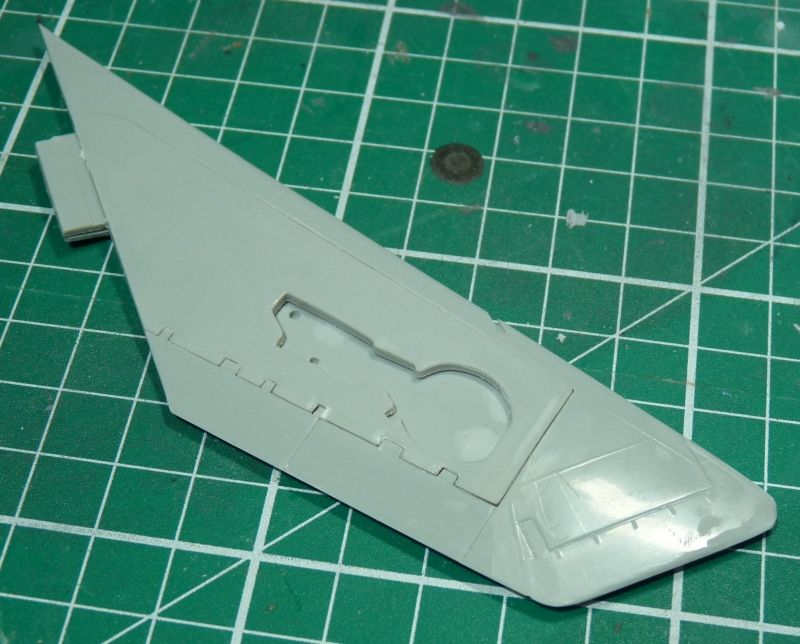
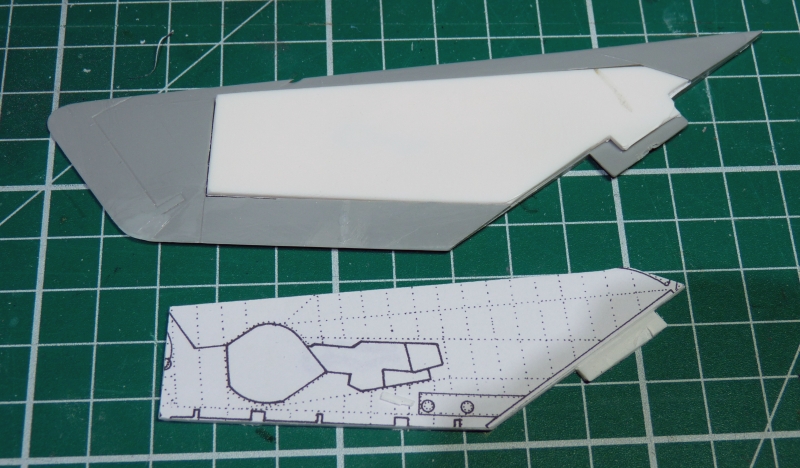
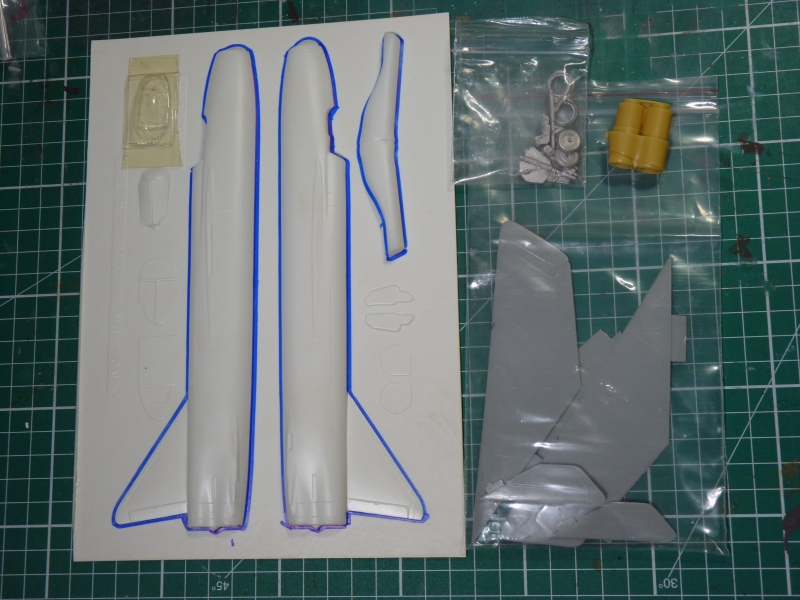
The vacform parts are pretty simple, fuselage halves, intake, bulkhead and undercarriage doors. A bag of white metal provides the seat, undercarriage and hot end. The resin exhaust is Aeroclubs fix for the Trunpeter Lightning and I threw one in the bag in case it could be of use but on examination not.
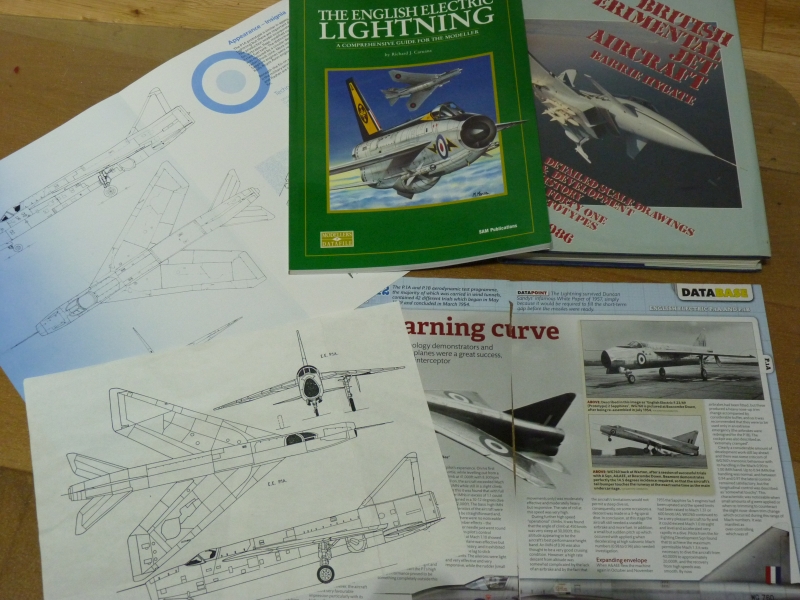
I think this kit must have predated Barrie Hygate's defacto tome on British prototypes as John Adams appears to have drawn up his own plans. In comparison, the fuselage is pretty spot on, but the tail is too tall (Barrie gives a definite height of 7'0.5") and the canopy is a little long. I checked Barrie's drawings against a good profile photo just to confirm these discrepancies. Annoyingly the book has the plans over a deep page fold but luckily they were reproduced at scale in a free profile I got from the museum.
The Modellers Datafile has a large number of cockpit photos which appear to be hard to find elsewhere and lots of 'very' close-up fuselage details. I fortunately have a lot of my own photos from trips to Manchester and Cosford.