Jim, my fingertip searches are usually successful, it's only now and then the CM swallows whole
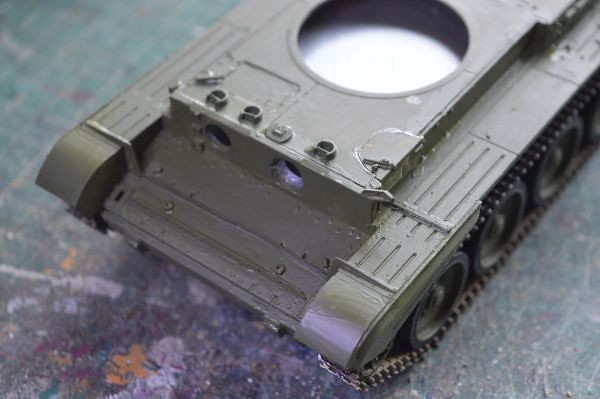
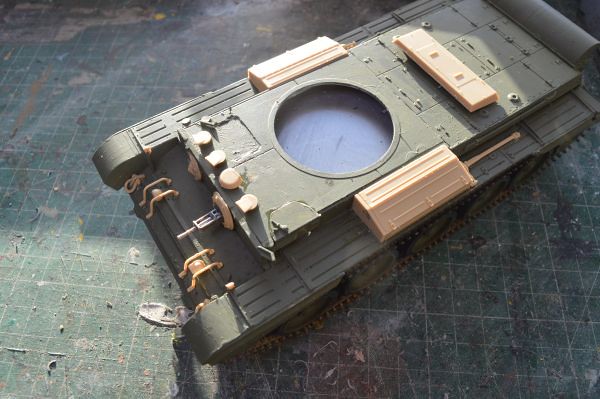
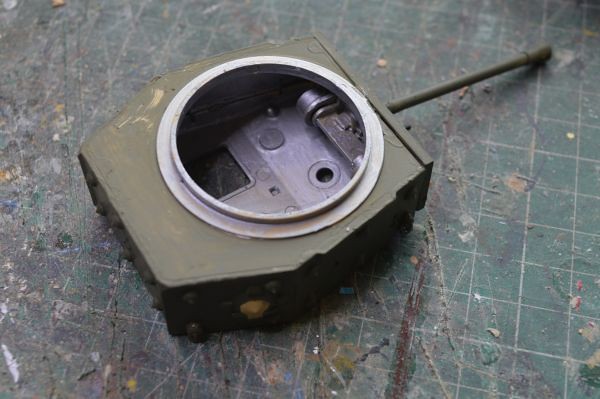
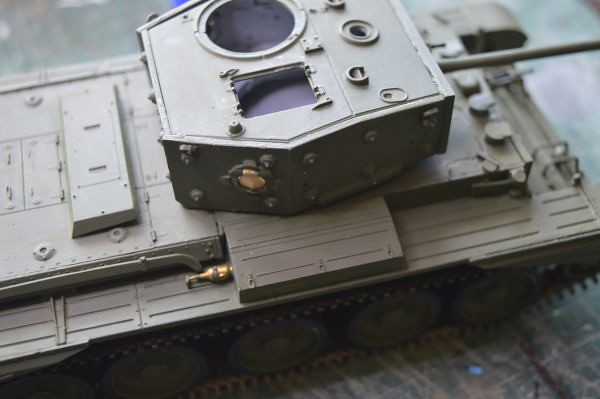
When fixing the glacis to the hull both pieces of etch came off.
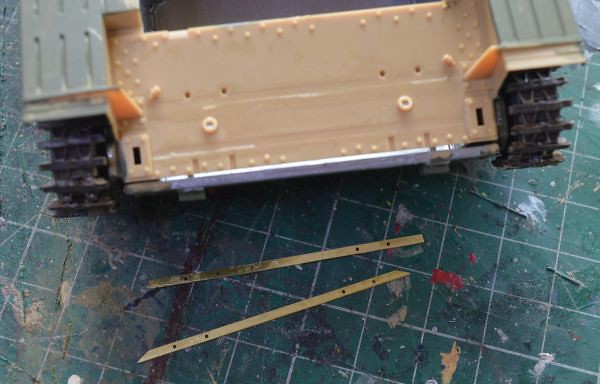
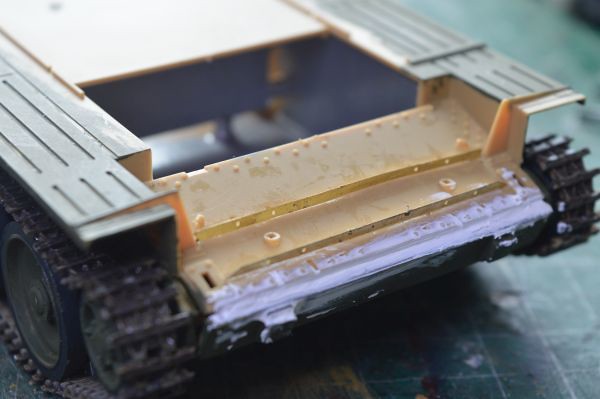
There is also a gap that will need filling at the front.
The remedial work was done.
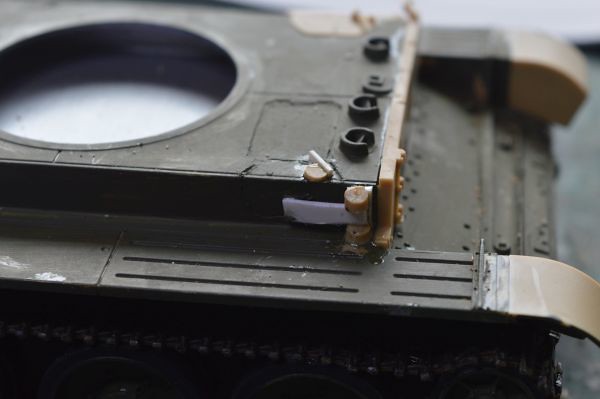
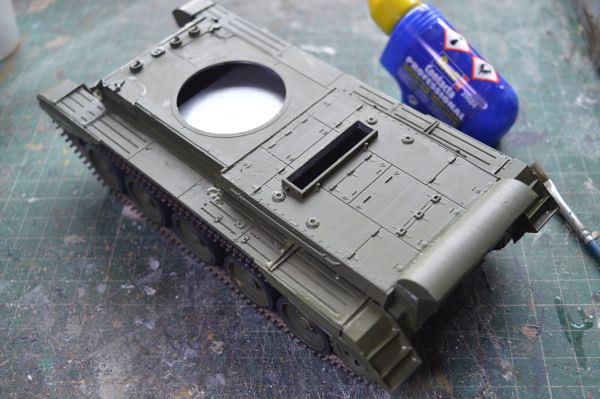
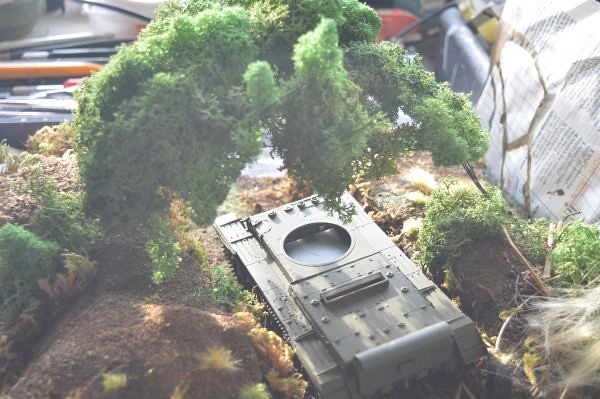
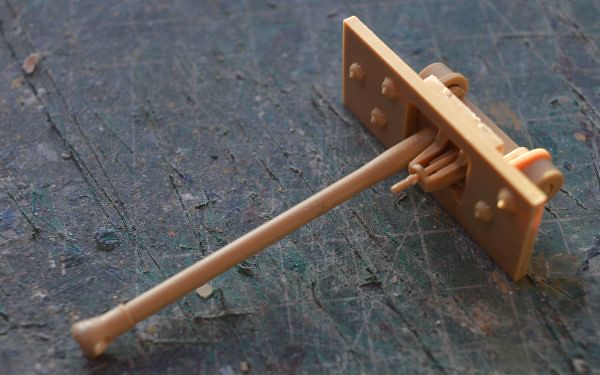
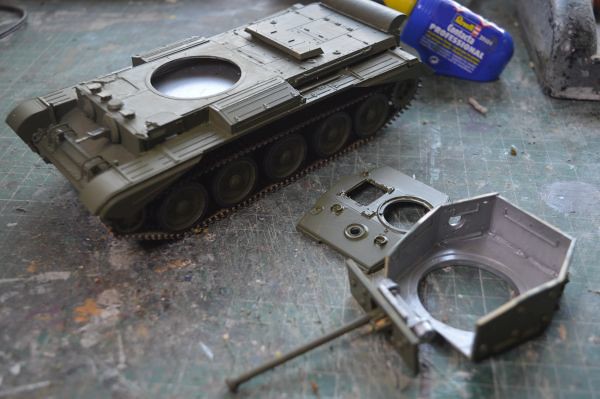
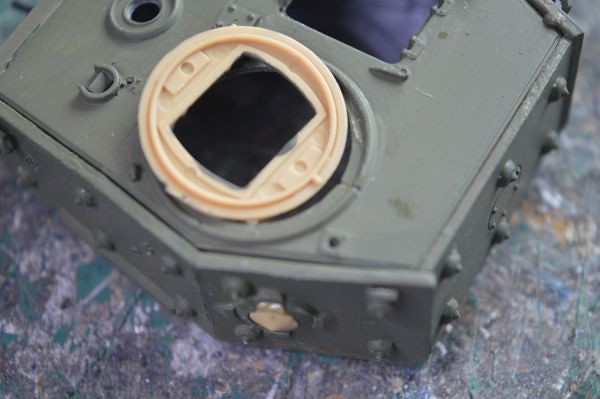
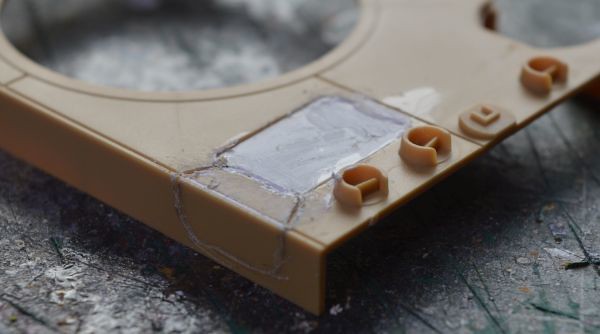
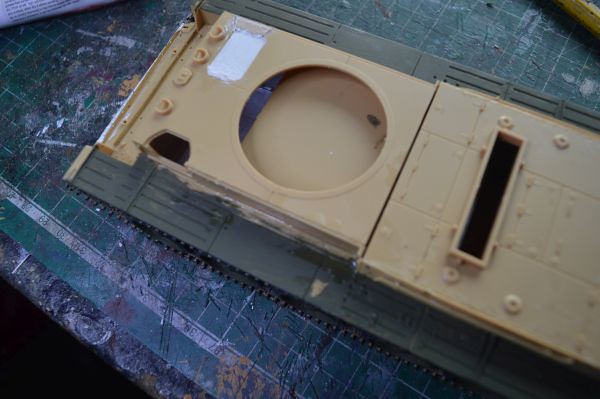
I decided to convert this to a Mk. F and leave the Cullinan Cutter off. I cut a blank plate to fill the hole where the driver’s hatch is moulded in the kit. The Mk. F had a mirror of the nearside hatch because the original hatch could only be opened with the turret in a certain position, making escape from a burning hull almost impossible for the driver. The mirror hatch was marked out in pencil and an Olfa P-Cutter used to scribe around the shape of the hatch.
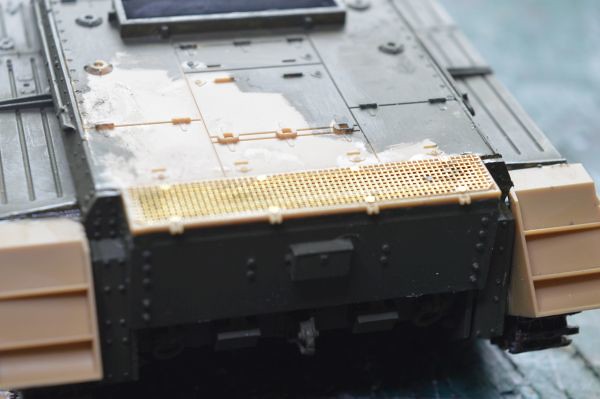
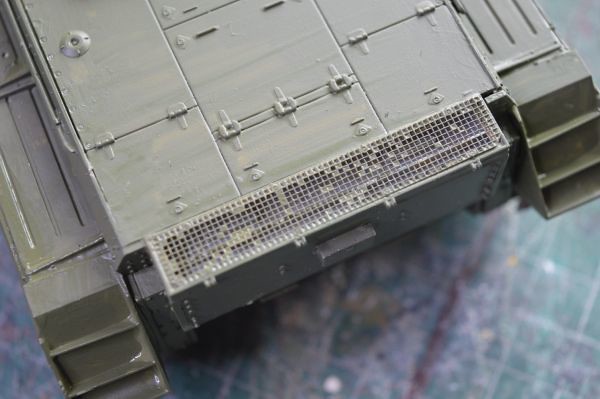
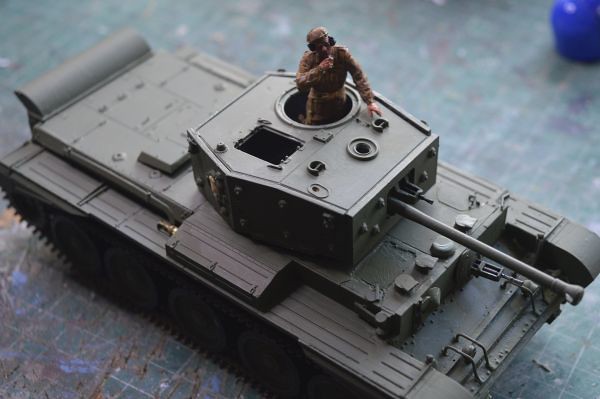
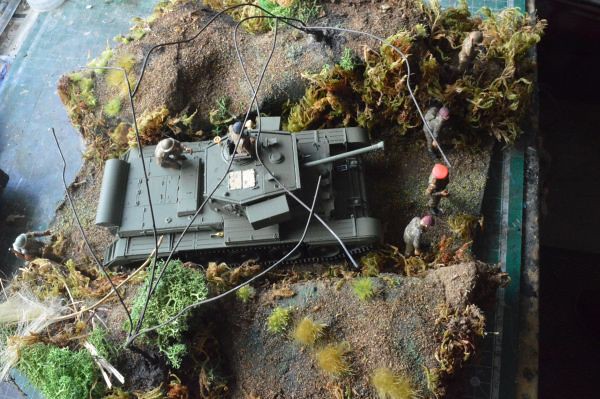
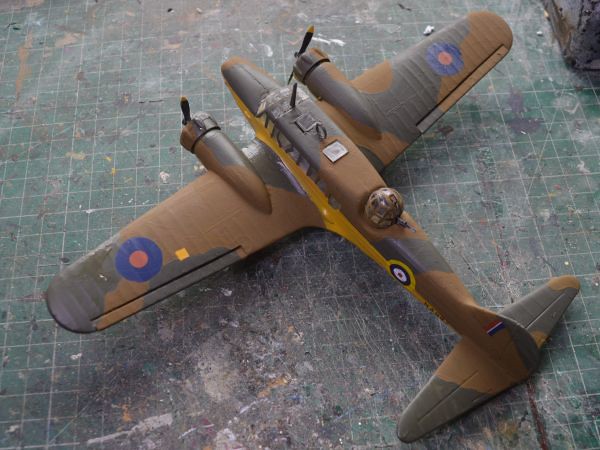
The cover to the fighting compartment is flush fitting with the leading edge of the cover to the engine compartment. Because these covers have positive location points with the assembly so far there is no wiggle room.
I wasn’t happy with the gap between the two covers and filled it with plastic putty.
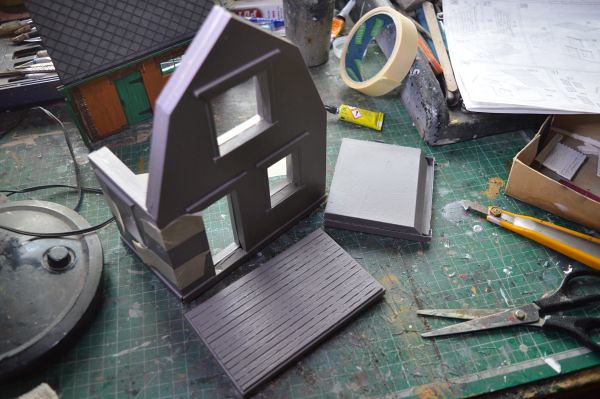
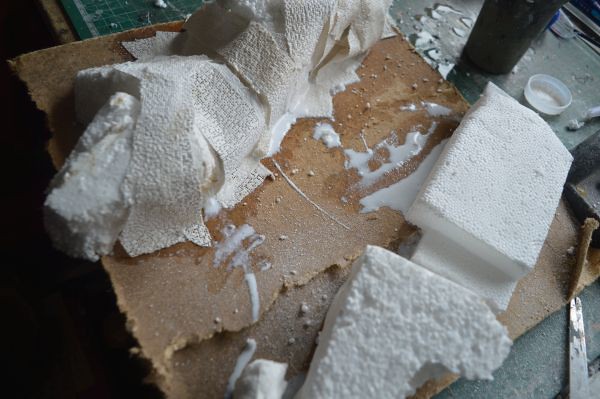
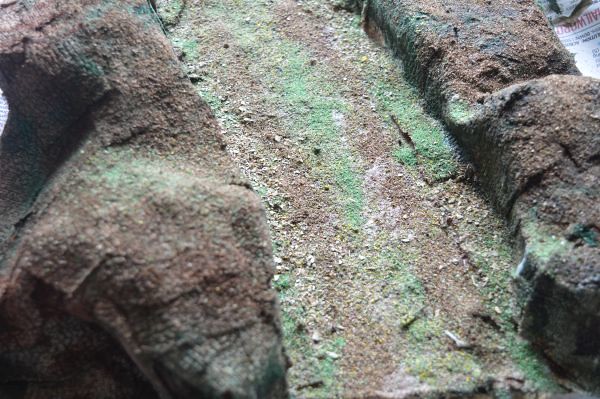
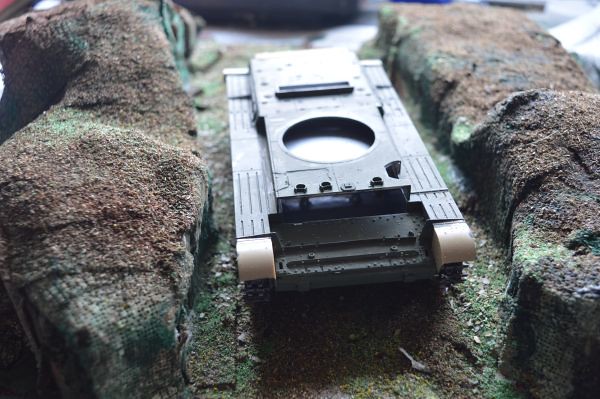
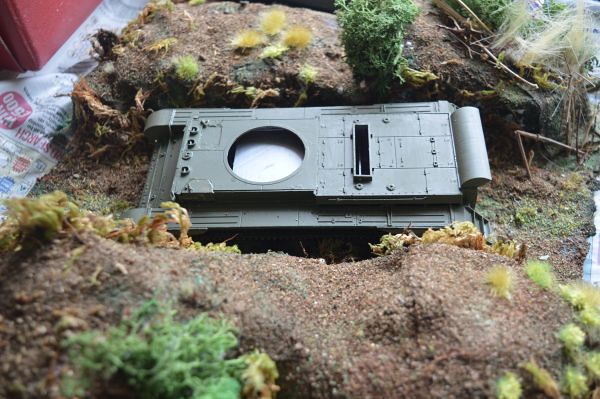
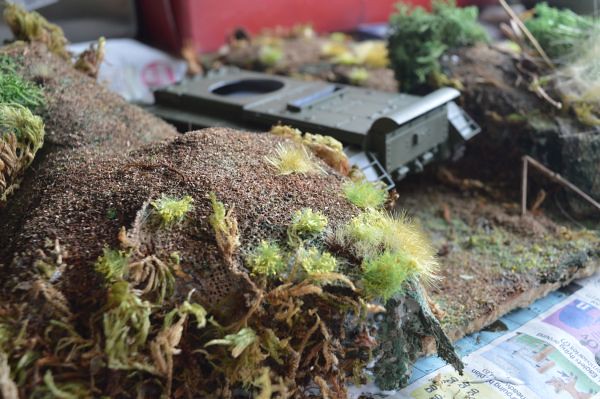
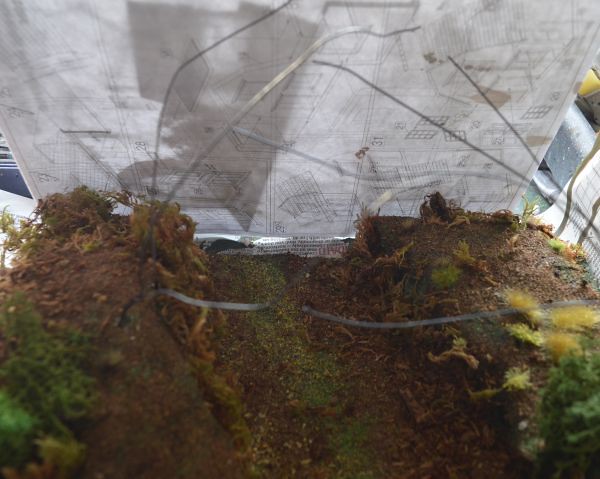
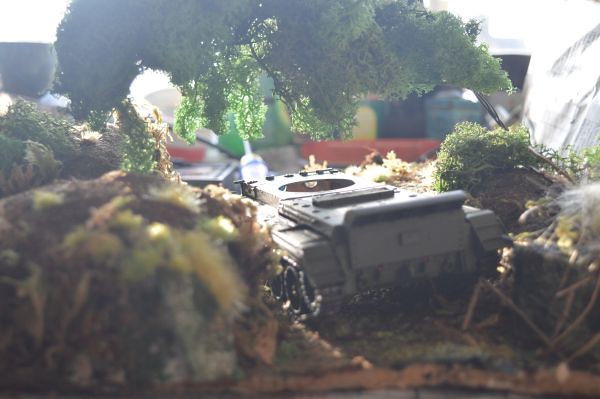
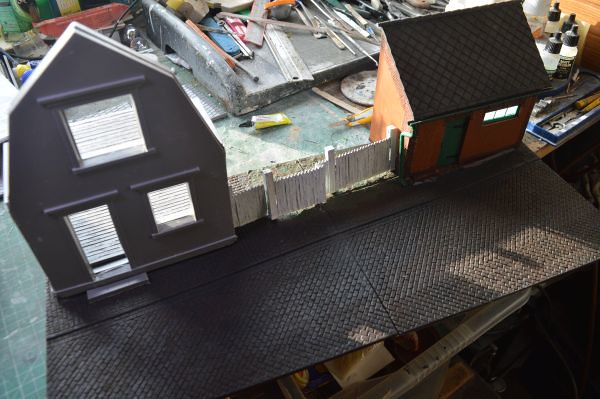
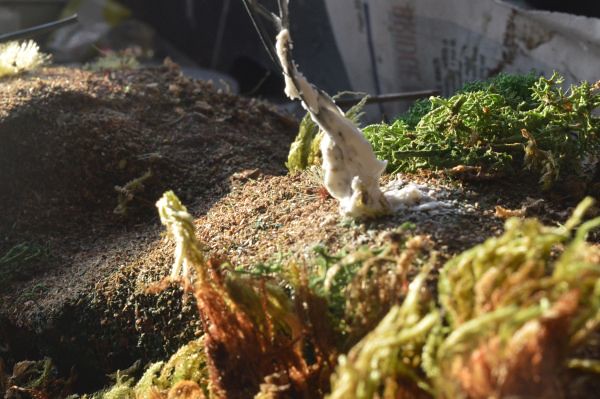
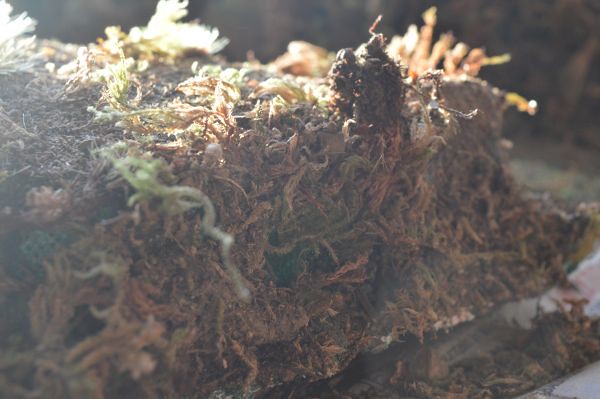
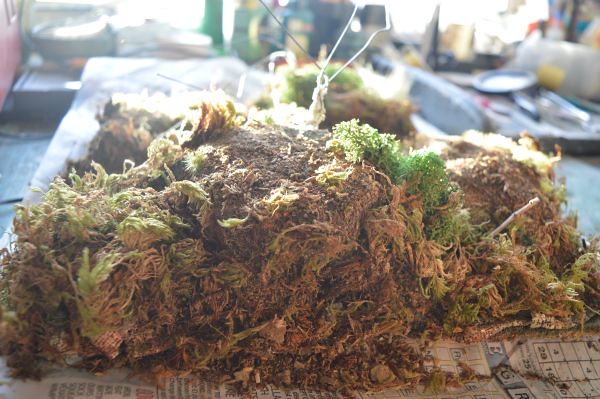
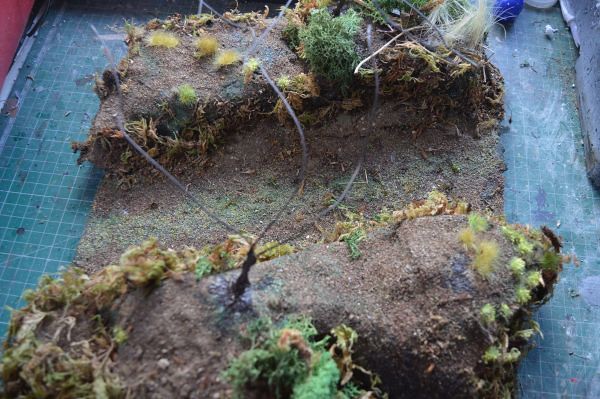
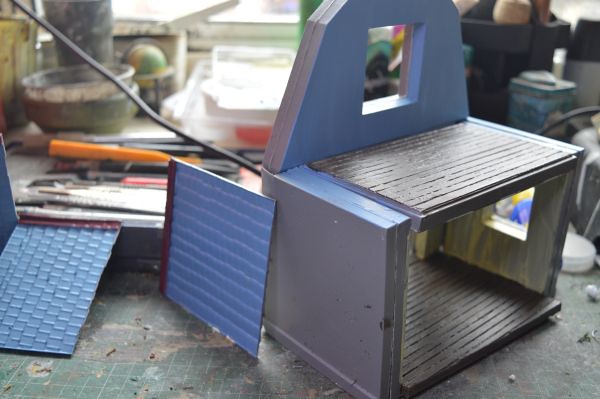
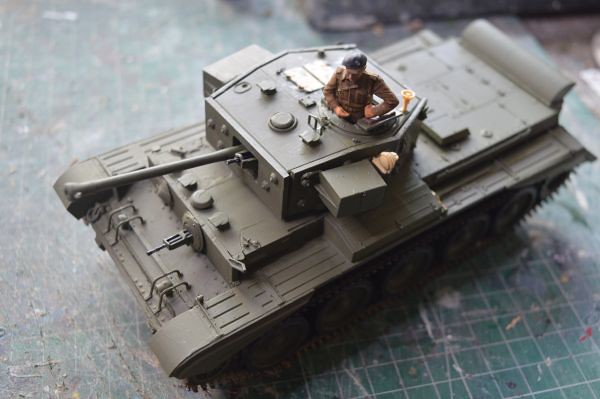
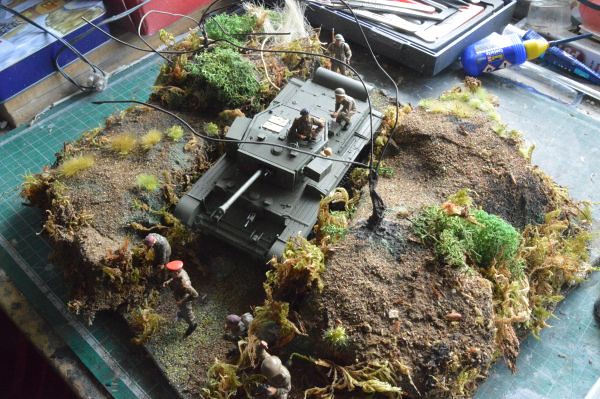
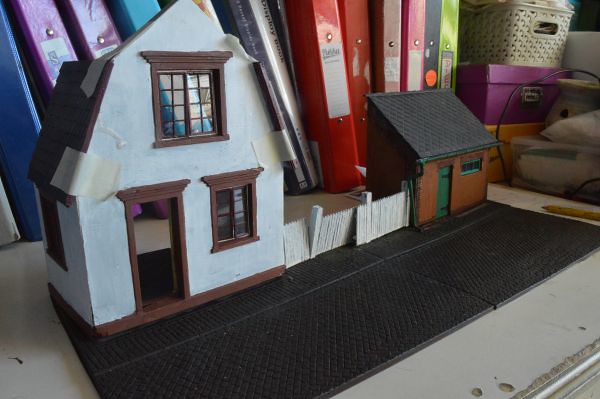
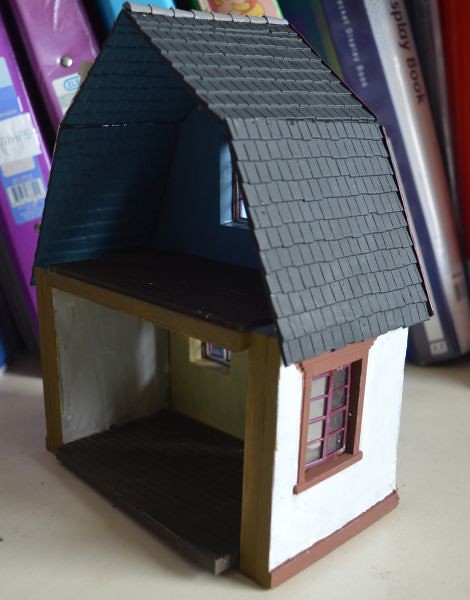
A bit more on the Dutch dio...