This has been three long months in the making and is nowhere near completion but I will update as I progress. What I have gained, having cut and recut almost every component, is enormous respect for the shipwrights who put these vessels together with nothing more elaborate than hand tools.
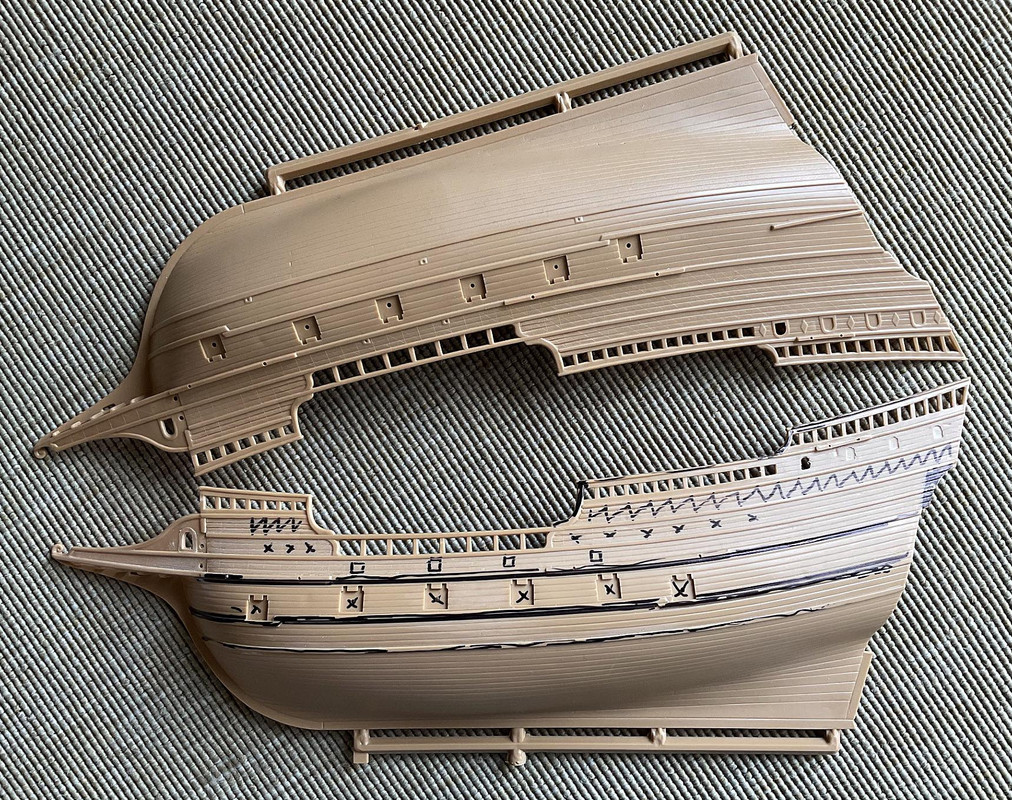
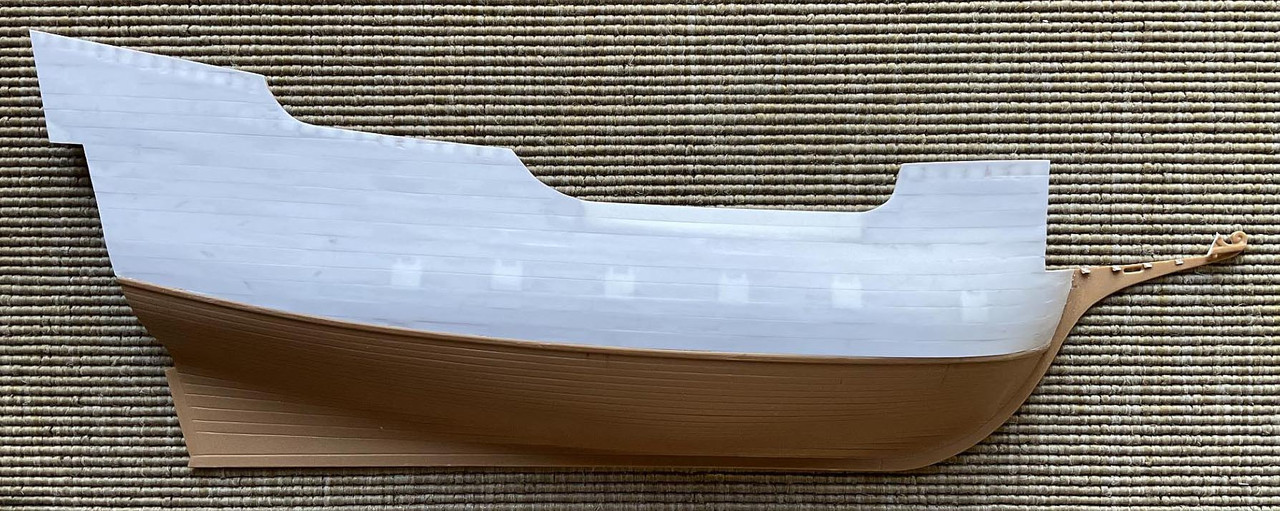
The two hull halves - deciding what stays and what goes.
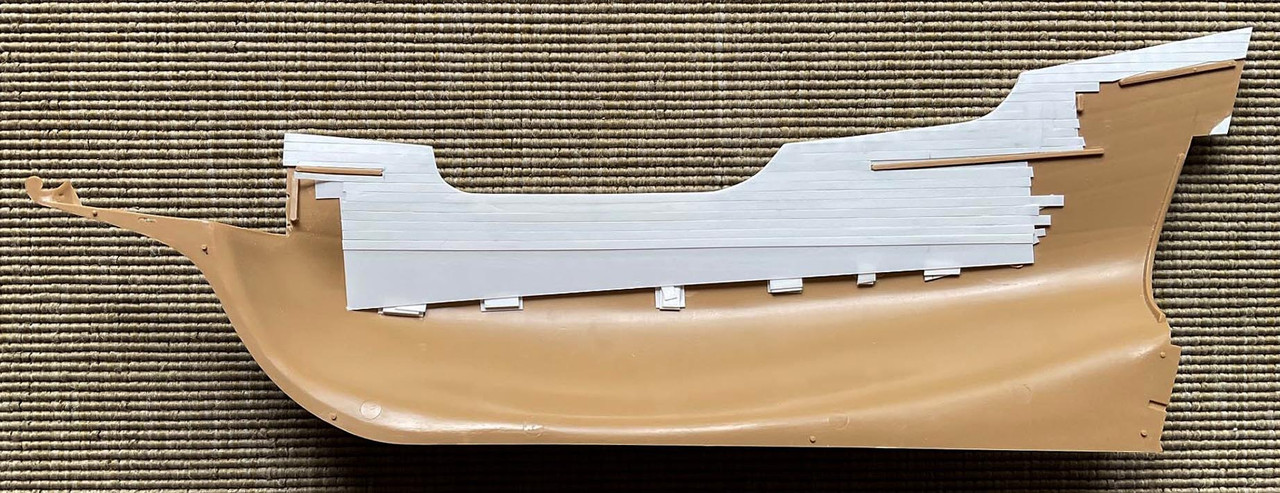
Everything removed and upper hull planked.
Inner bulkheads planked.
Decks planked.
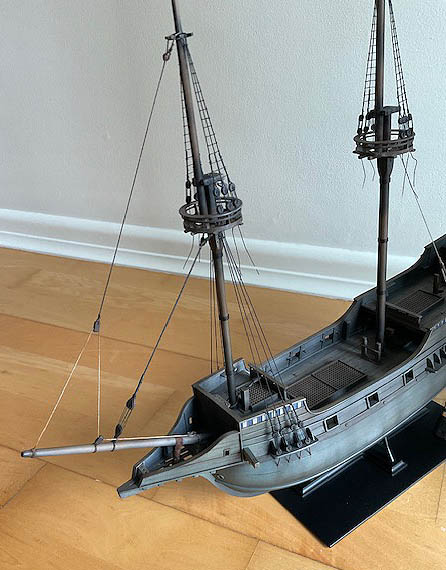
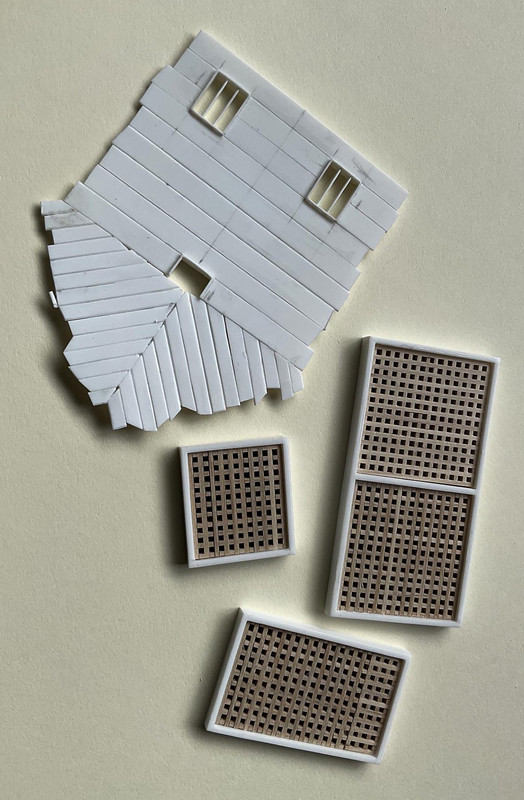
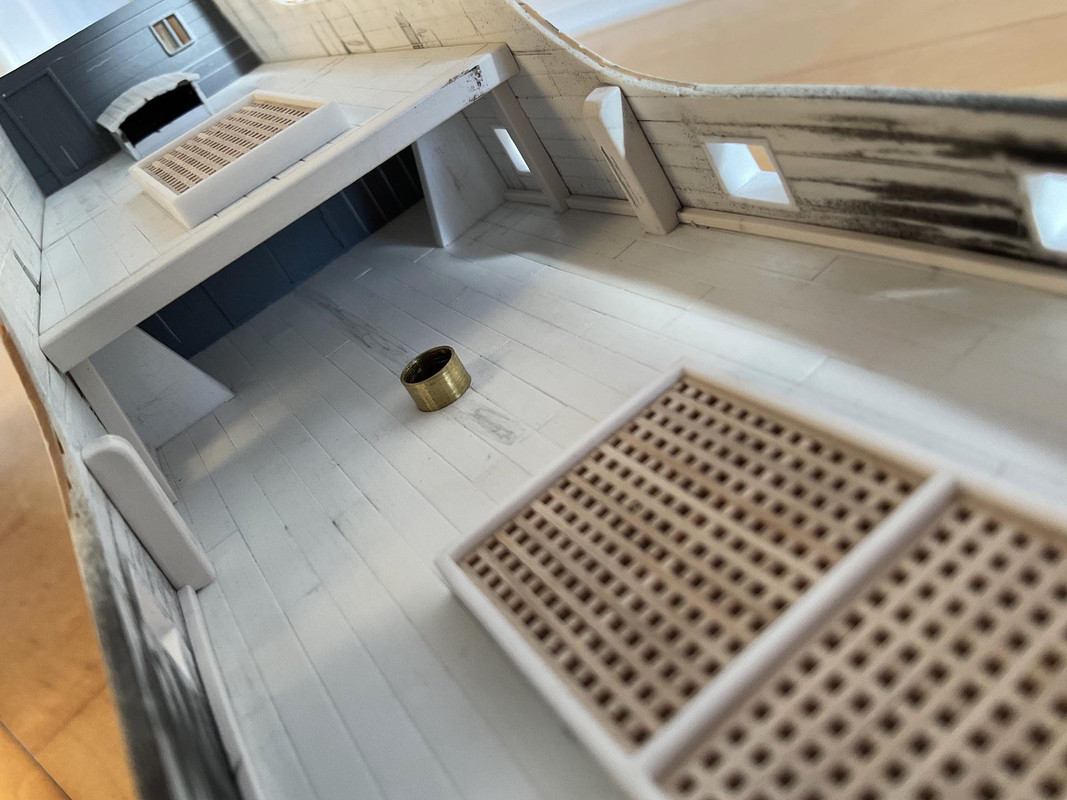
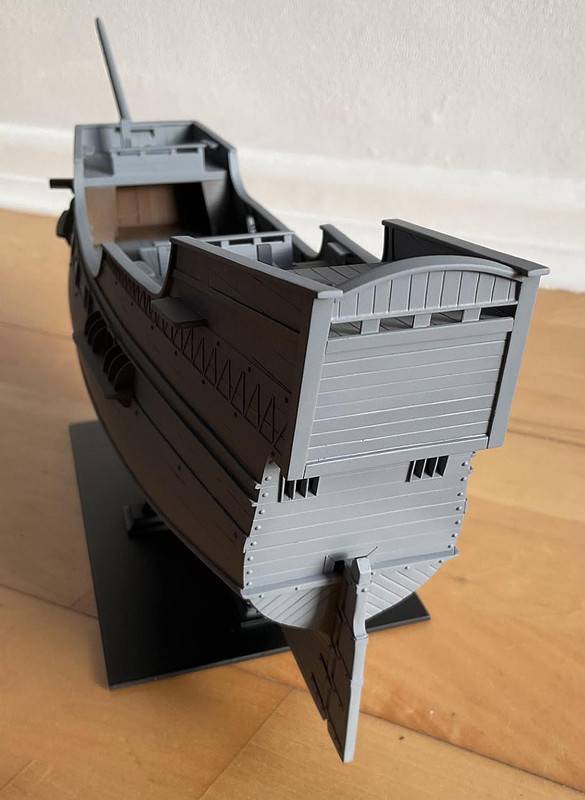
Stern rebuilt and Caldercraft gratings.
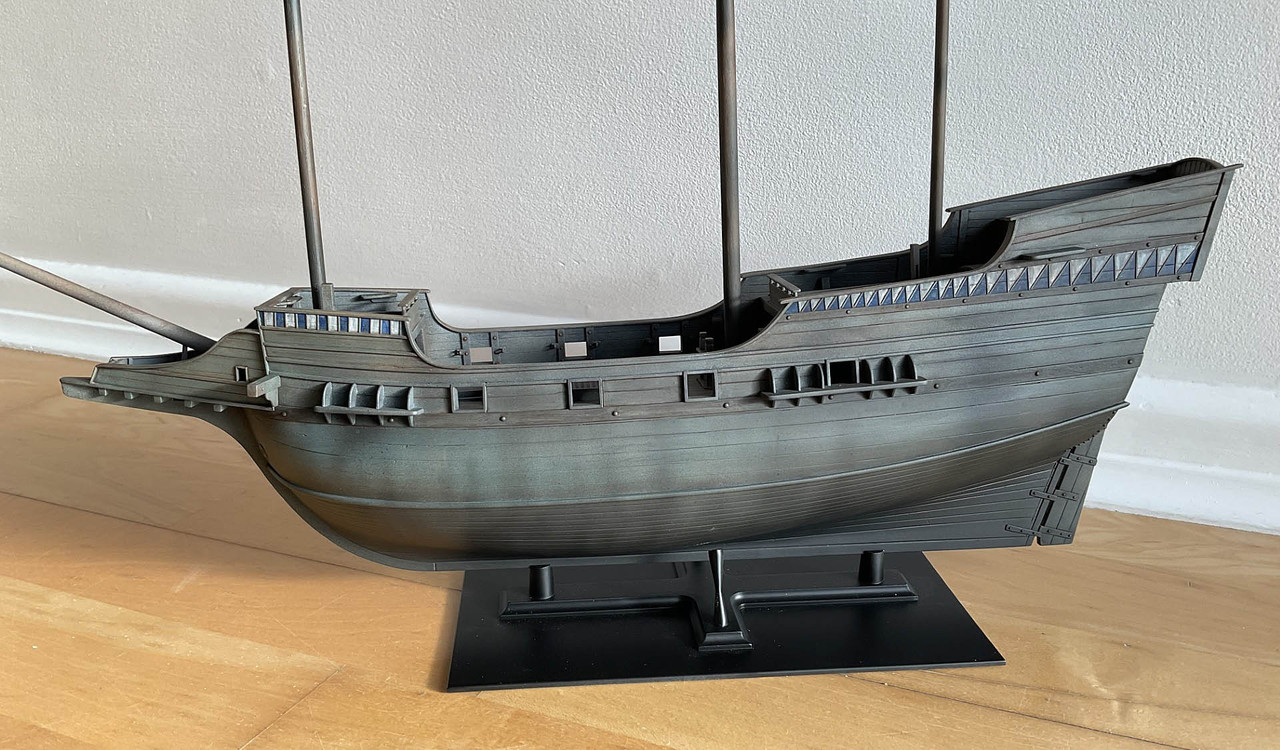
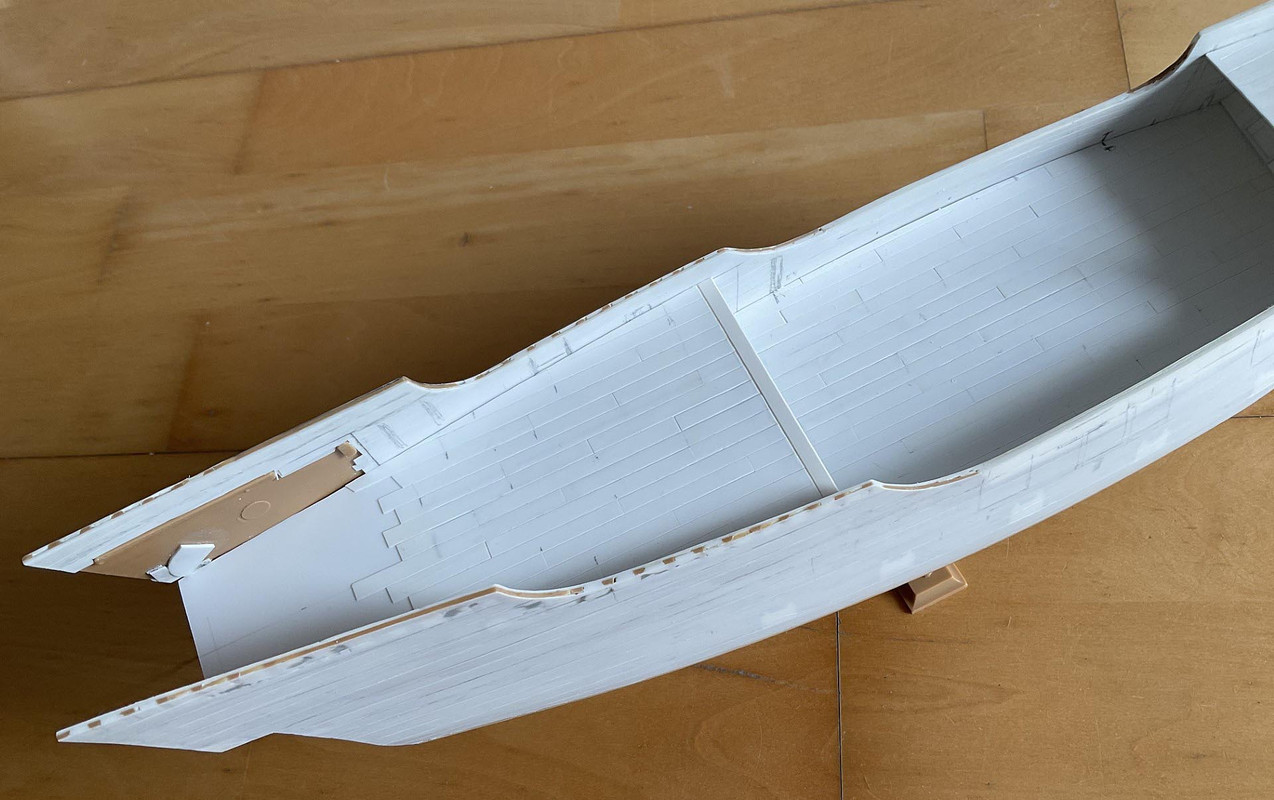
View astern with gunports cut in.
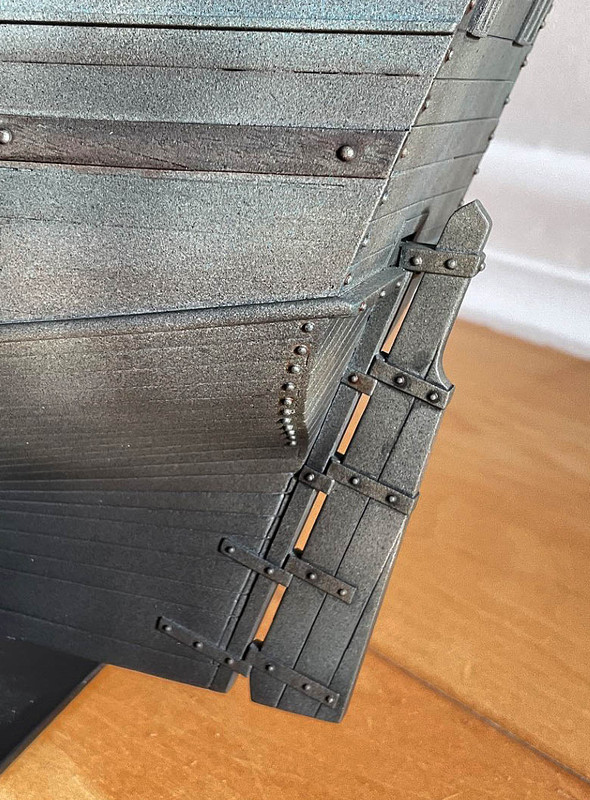
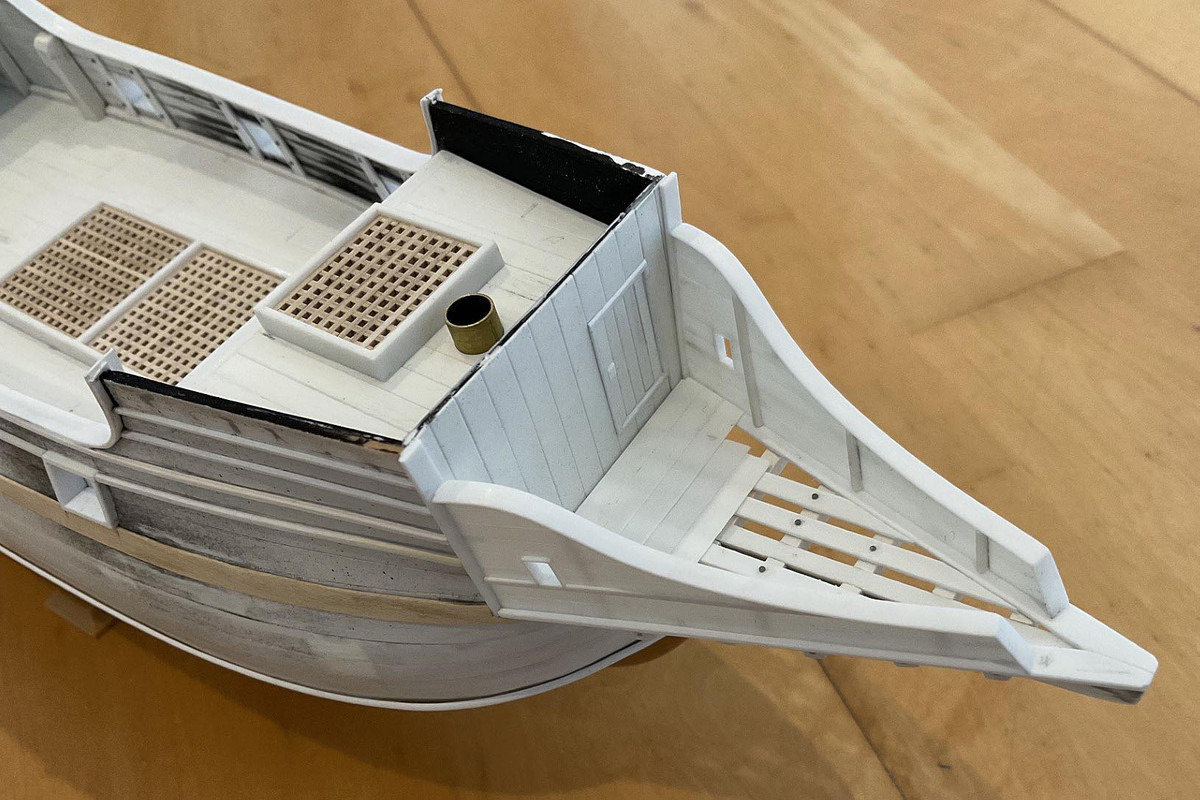
Beakhead rebuilt.
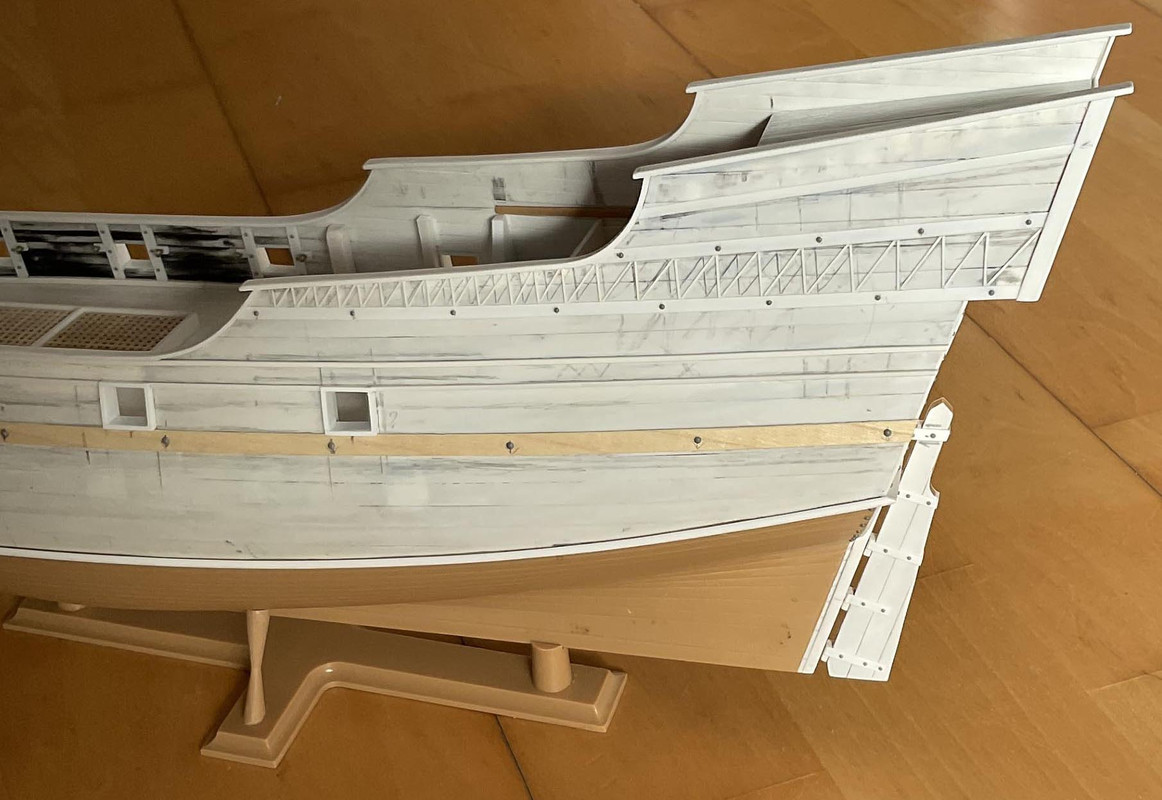
Strakes, toprails, decorative tracery, and rudder.
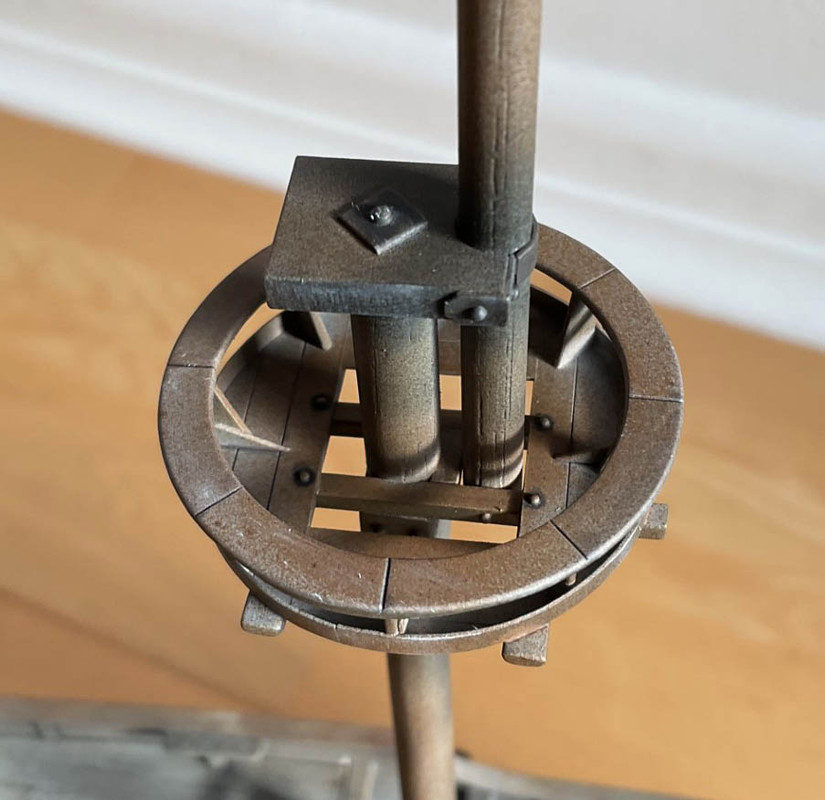
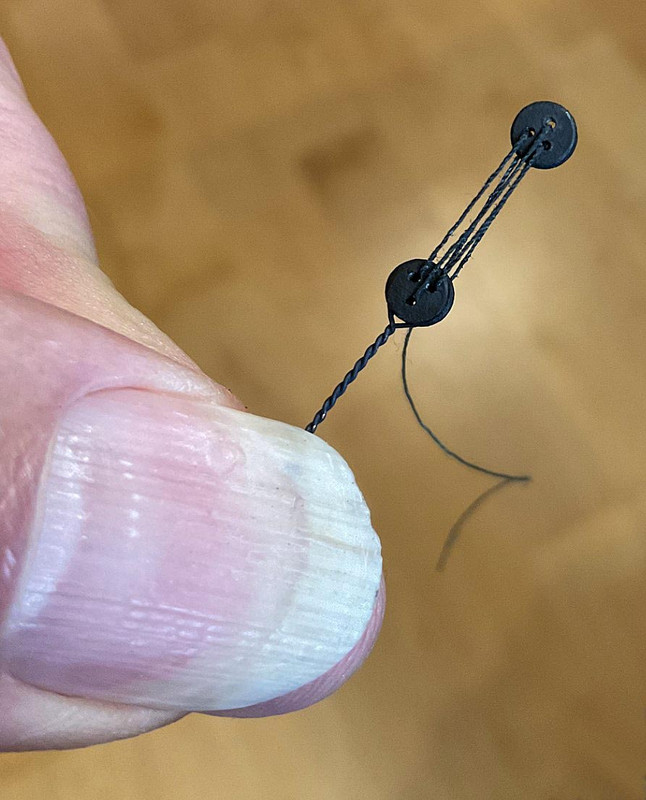
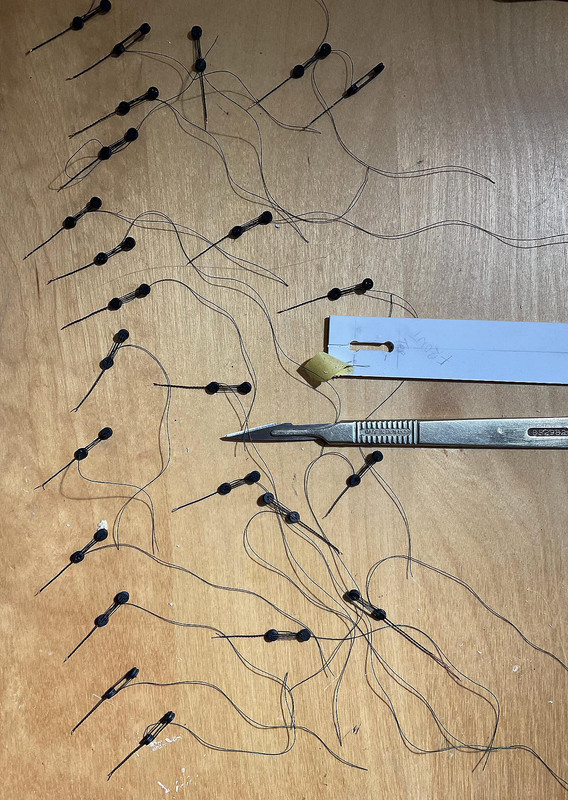
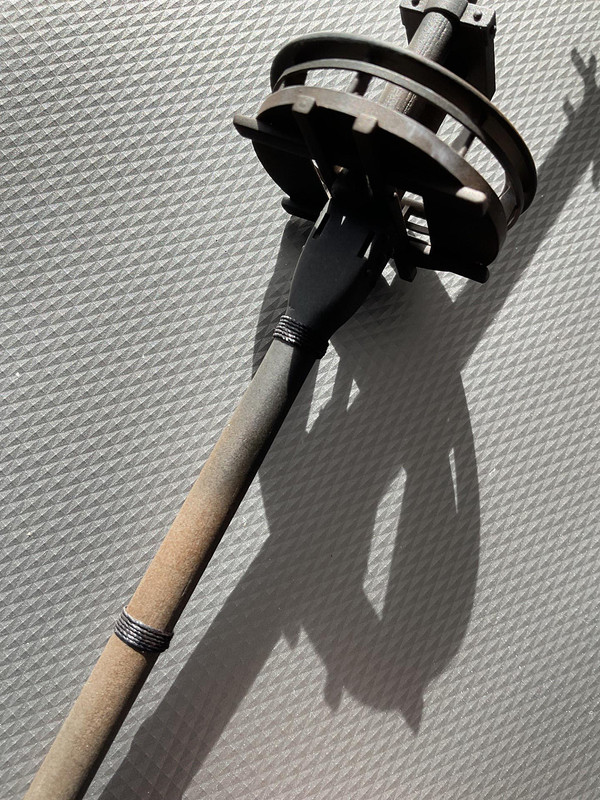
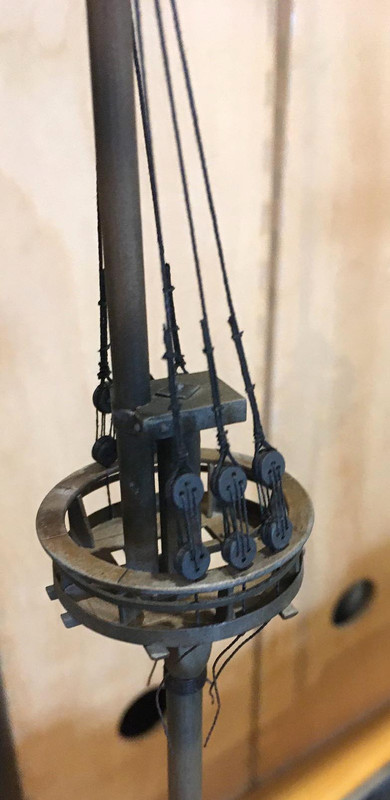
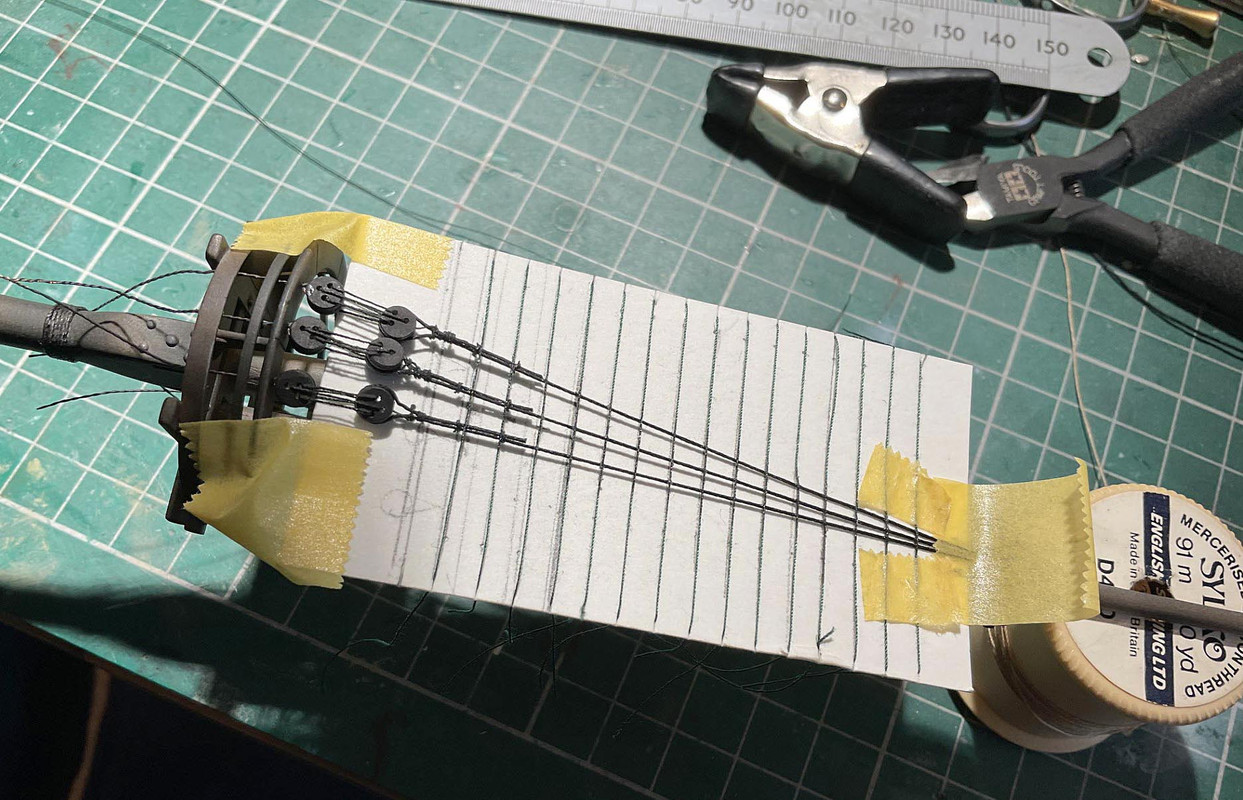
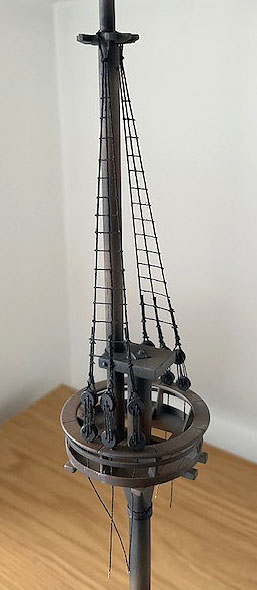
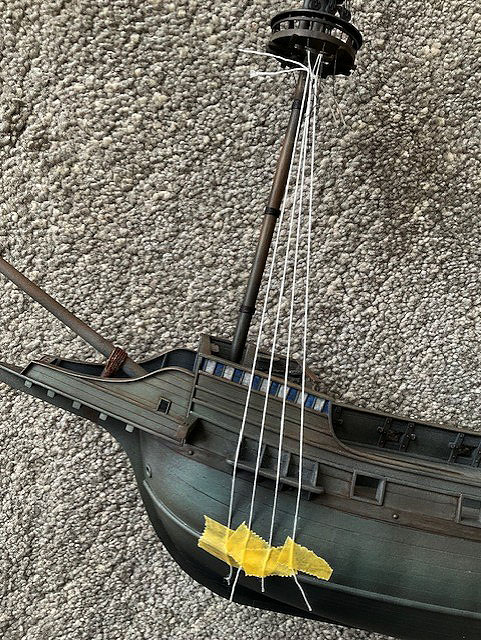
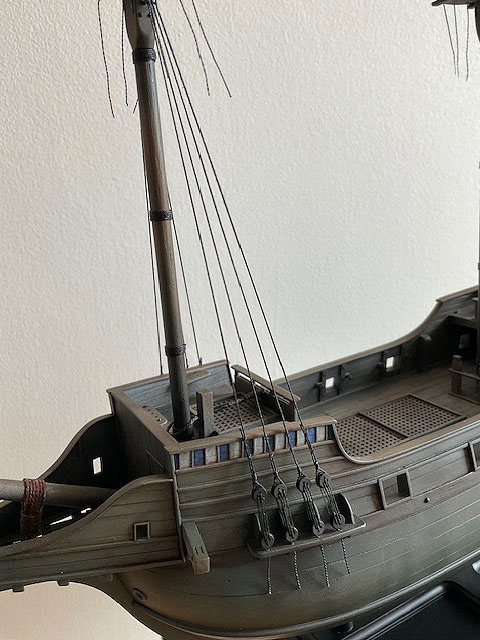
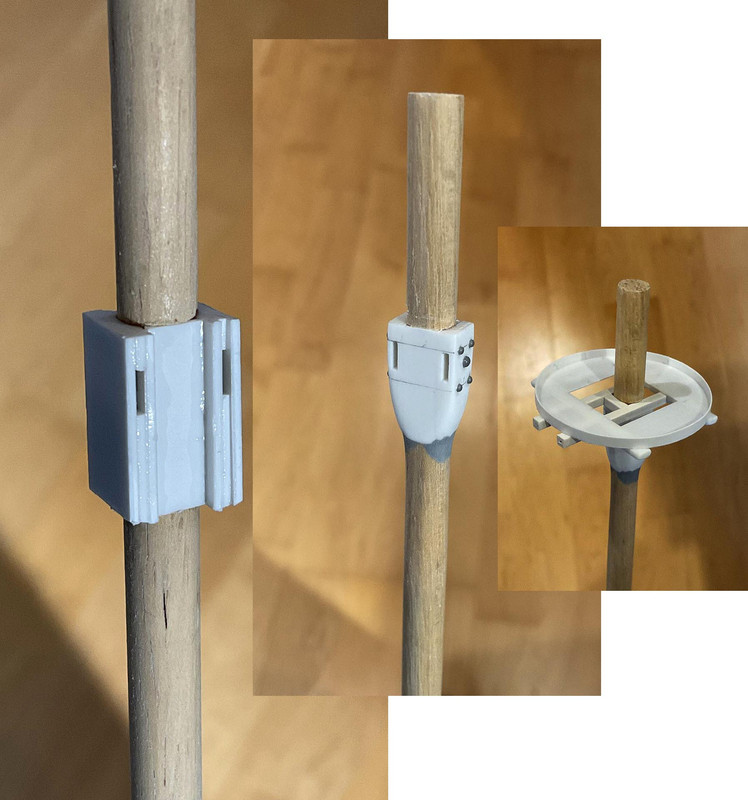
Masthead build sequence.
Kit versus scratchbuilt.

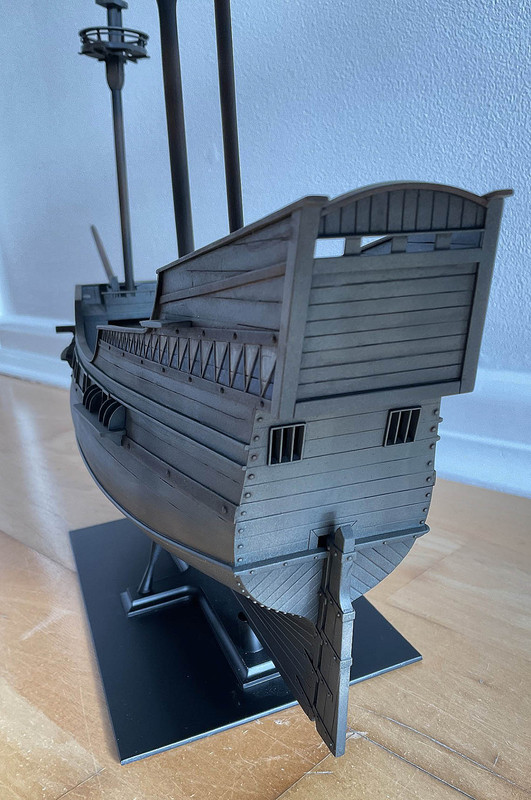
Sternrail completed.
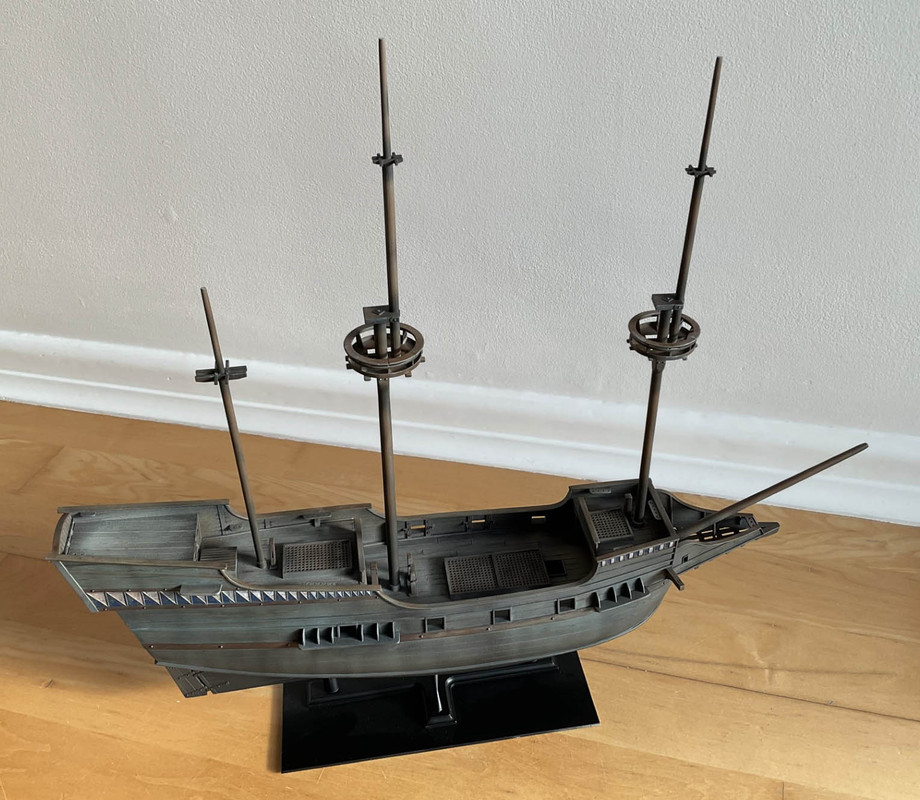
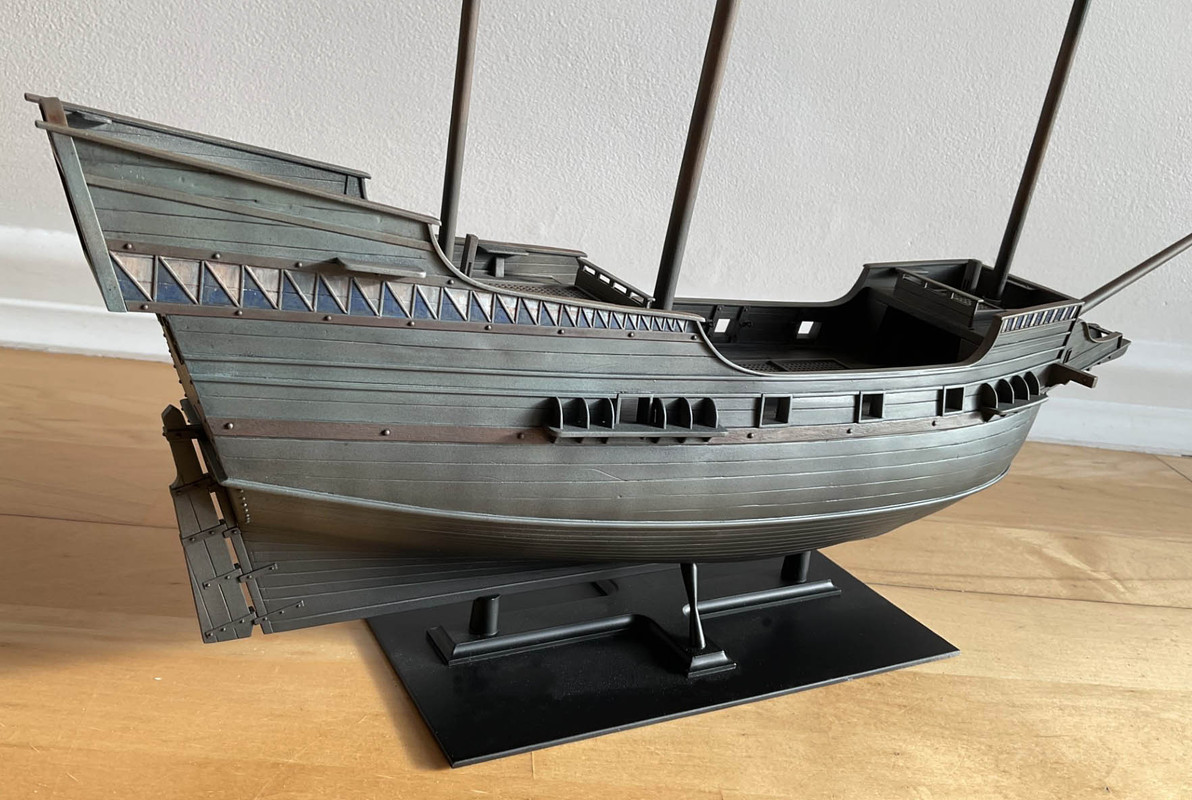
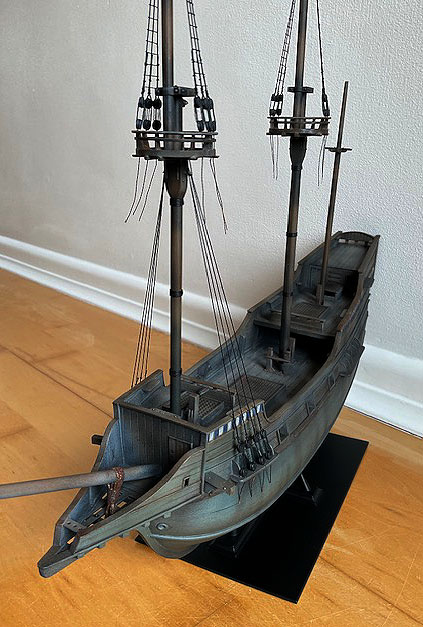
Finally into paint. I have never painted such a vast expanse of timber before so it was all a shot in the dark. I sprayed Vallejo umber, black, grey, green and blue, and Tamiya mid-grey and deck tan. This was followed by endless washes of umber and black oil paints to suggest weathering, whilst the tracery was picked out with thinned blue and white oils. A topcoat of Tamiya matt varnish pulls it all together. The photos make it look a bit washed out but in real life I'm reasonably happy. There's still more deck furniture to add and the rigging when done will take the eye away. Thanks for looking - back when more done...