Thanks guys, believe me it helps, this has been a 'never seeming to progress much build'...
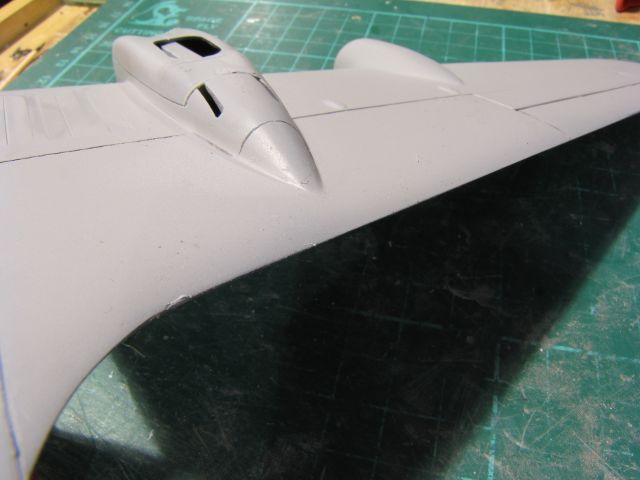
You thought you could escape it.. but no it has to start with those windows..


Some interior green brushed on, then a light sand and some primer over the top to check, good enough. I promise I shall not mention them again.... well until the masks come off..

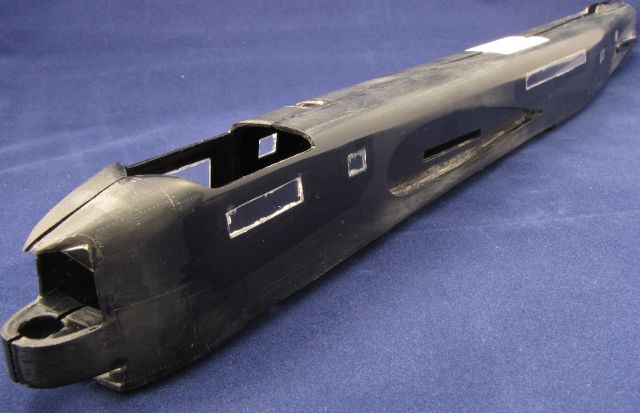
But some things I will mention and you cannot stop me, oh captive build followers... wings! I think I have finally got the trailing edges to a nice thin edge.. well one wing anyway..
a touch of filler in a sanded through section.
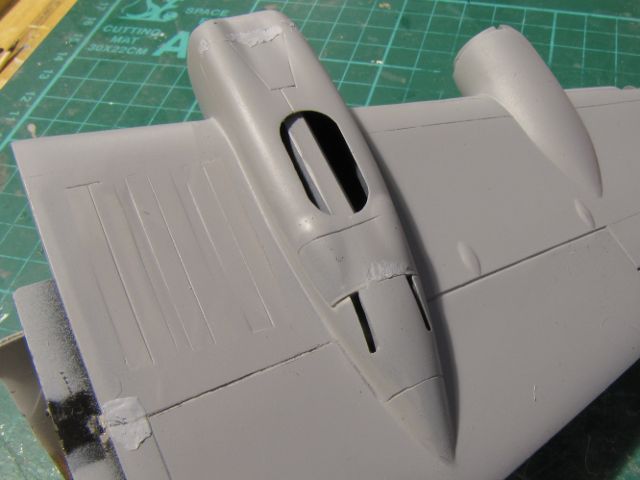
The leading edges all tidied up..
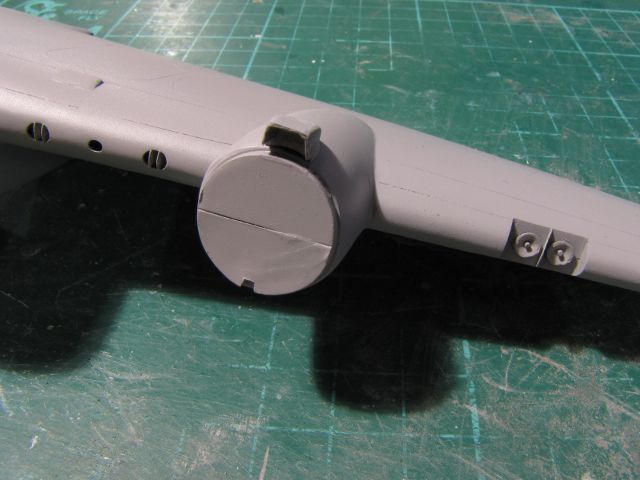
the oil cooler intakes shaped and some fins added, also the outlet vent on the top of the wing and the landing lights scratch built.
The under side has a bit of tidy up to go..
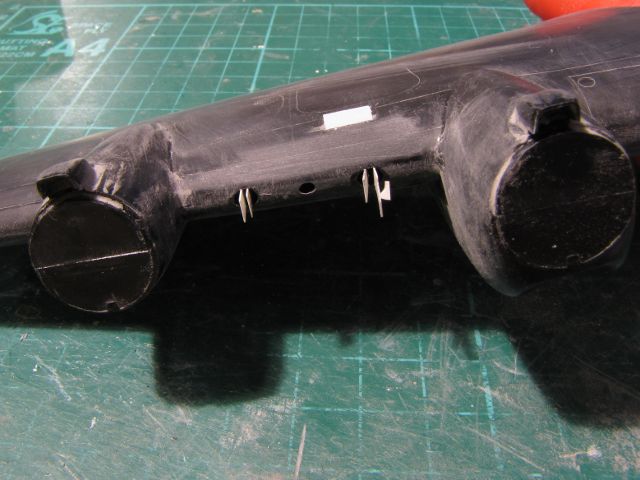
the front and rear of the under carriage doors have some huge gaps, that were filled with plasticard and had to add a bit of filler, as well edge of the flap panel line.
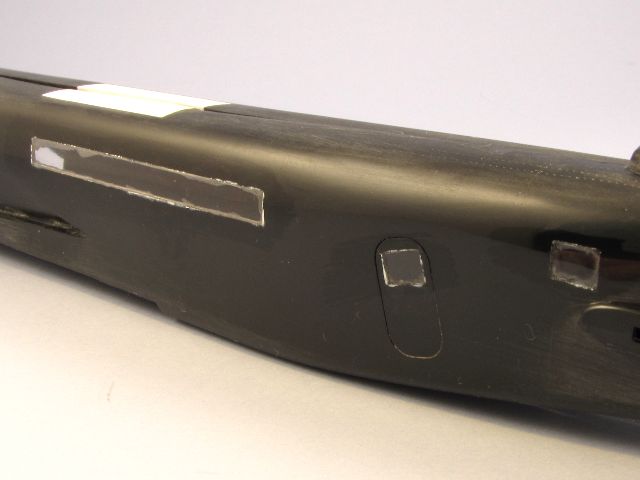
Those bomb cell doors, it looks like the whole section of the bomb cells are slightly lower than the surrounding wing area, as they have been sanded with a block across them, yet the whole area is still slightly hollow. They will have to do, at least the area is painted black.
The other wing, has been sanded to an inch of its life, and just added the plasticard for the vent fins.
cut the excess off and tidy up, then some primer for this wing as well.
Also got the tailplanes and fin cemented together and the moving surfaces cemented on, so they will be getting a jolly good sanding as well.
Cheers
Jim