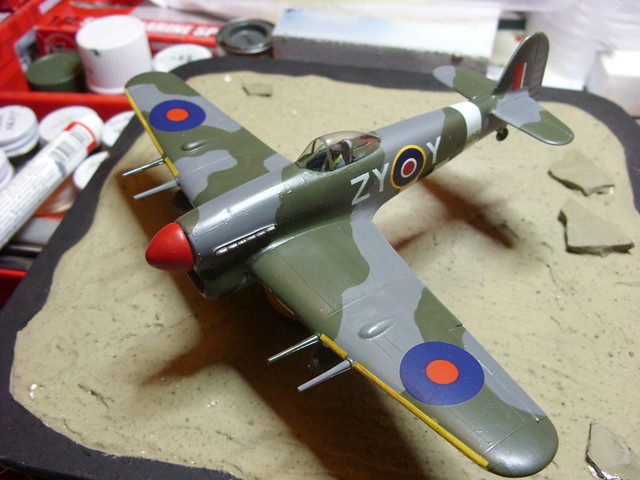
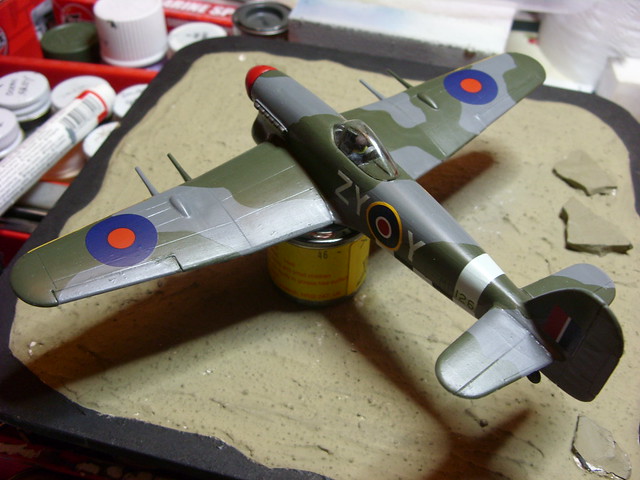
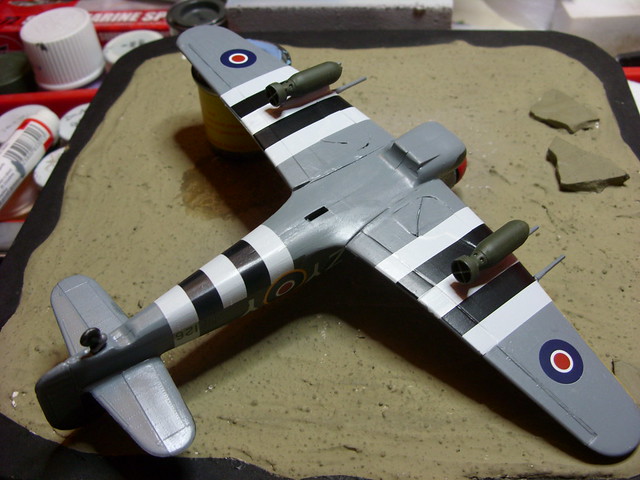
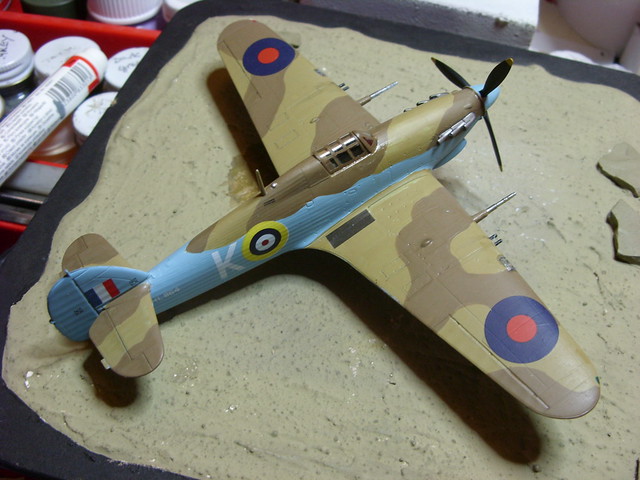
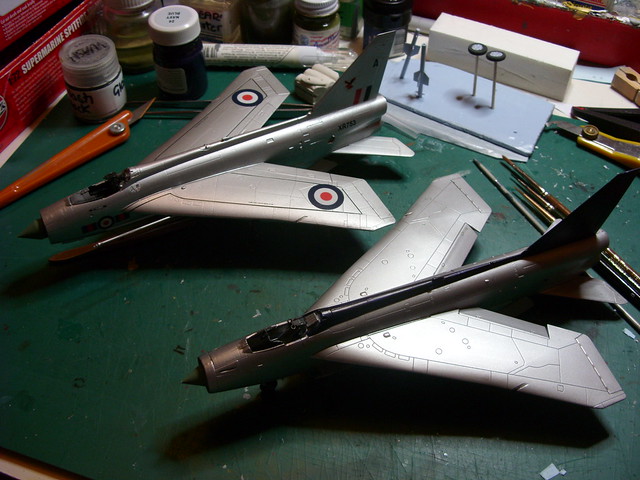
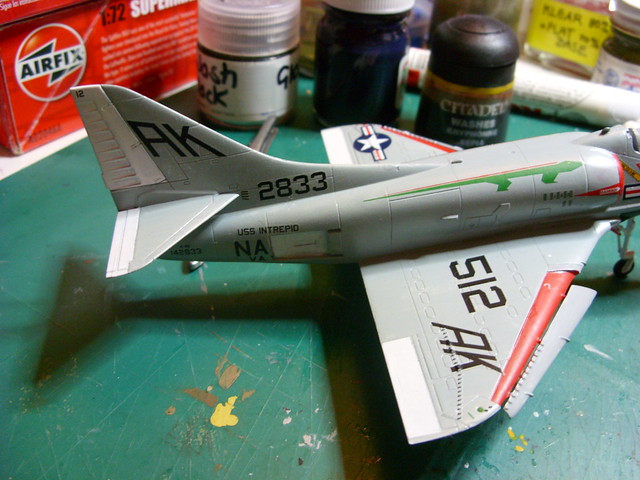
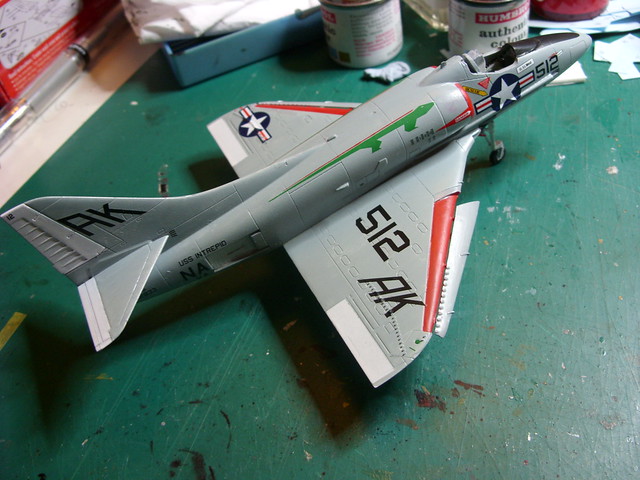
Chuck's very untidy corner of the table.

Show us a view of your workbench / work in progress and build reports too.
User avatar
Chuck E
Established 1949
Posts: 2424
Joined: May 3rd, 2011, 8:05 pm
Location: Darlington. Home of the Railways

Re: Chuck's very untidy corner of the table.

Post by Chuck E »

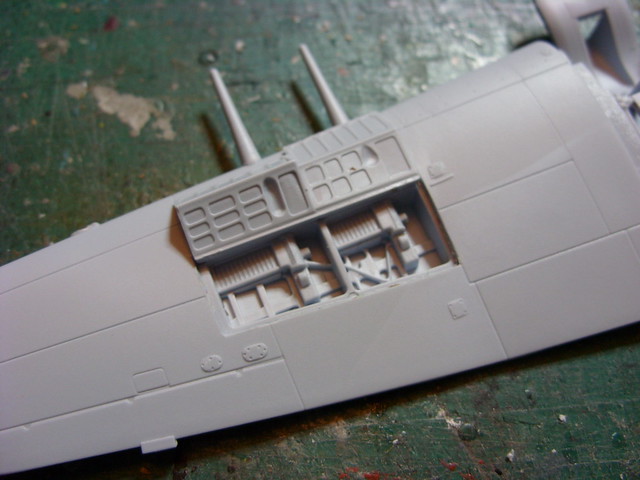
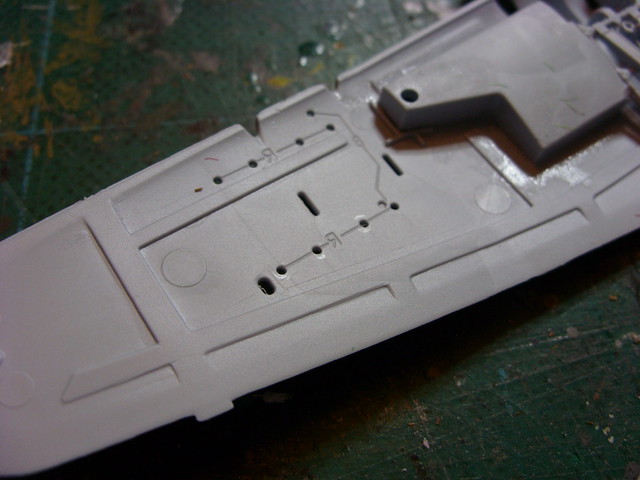
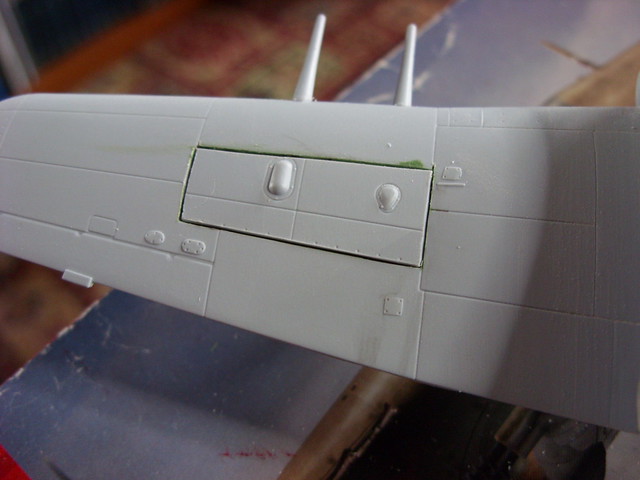
Stamford wrote:Some great stuff going on. Love the Hurri assortment and that new Tiffie does look sweet too. Is the cannon hatch a kit option or your doings?

It's all part of the kit. You get the complete wing and the folded doors as an option. You just cut out the panel and drop the optional parts in.

Image

Image

Image

Image
So many models, so little time.
User avatar
Chuck E
Established 1949
Posts: 2424
Joined: May 3rd, 2011, 8:05 pm
Location: Darlington. Home of the Railways

Re: Chuck's very untidy corner of the table.

Post by Chuck E »

skypirate wrote:Most impressive work, Chuck.
Always good to see old kits get some attention among the newer competition.
So the Revell Meteor does not fit well? That's an MPM re-pop, I believe.

cheers,

David

It's not great, David. The problem is mainly the wing parts. The rest seems pretty good. The wing sections can be adjusted with a bit of plasticard, or you could thin the thicker sections. I used the latter and built up the joints with a touch of filler. This allowed me to keep the intakes as round as possible. The intake lips were also a bit of a problem, but these are easily filled and sanded smooth.
So many models, so little time.
User avatar
Chuck E
Established 1949
Posts: 2424
Joined: May 3rd, 2011, 8:05 pm
Location: Darlington. Home of the Railways

Re: Chuck's very untidy corner of the table.

Post by Chuck E »

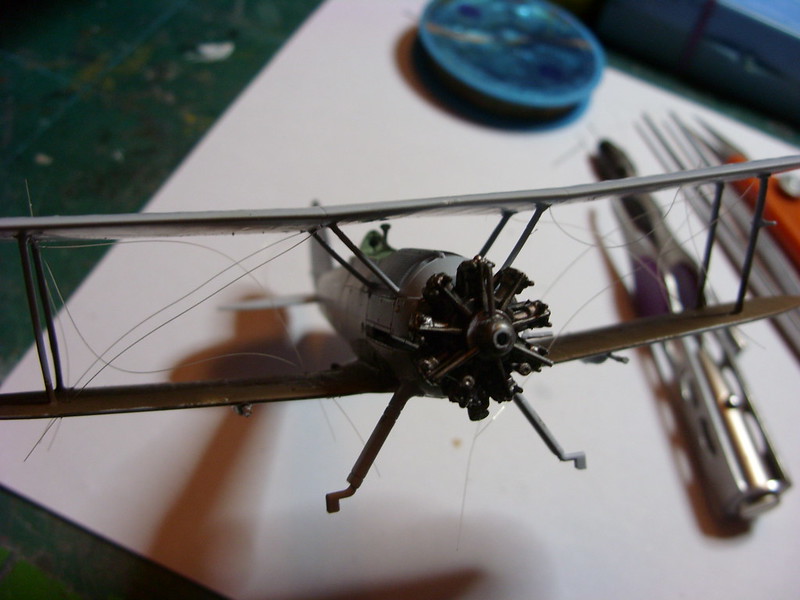
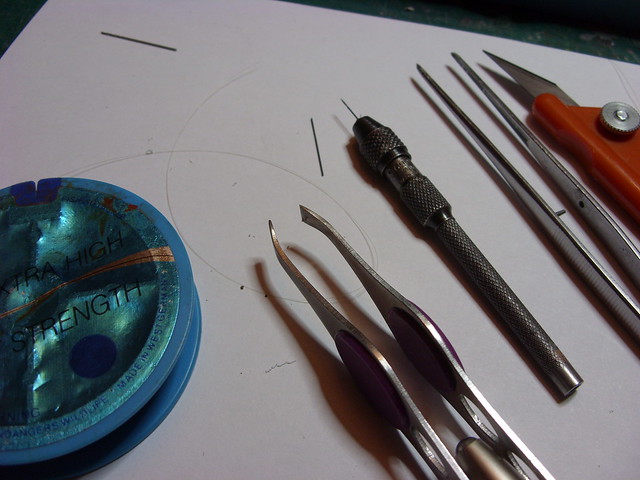
Starting the rigging of the Airfix Gladiator. Fishing line super-glued into a small hole in the wing. I have just started on another and have predrilled all the holes this time. When the glue has dried I pull the line through the wing and hang a pair of clamping tweezers onto it until it dries and keeps the tension in place.

Image
Some fine drills are very useful here. These are under .050". They are quite tough too. One breakage in over 40 holes.
Image
So many models, so little time.
User avatar
Ian
Blitzbau hero
Posts: 5137
Joined: May 4th, 2011, 10:01 am

Re: Chuck's very untidy corner of the table.

Post by Ian »

I find it a real pain trimming the thread once the superglue has dried. Never seems to want to be trimmed properly. Do you find that or is it just me?
I'm a mostly full-time modeller put a part-time poster....
User avatar
Chuck E
Established 1949
Posts: 2424
Joined: May 3rd, 2011, 8:05 pm
Location: Darlington. Home of the Railways

Re: Chuck's very untidy corner of the table.

Post by Chuck E »

The plan is to just glue one end. When it's set just add superglue to the line and pull it into place. A set of clamping tweezers will hold it in tension until it sets. A little trim with a craft knife and a small polish. Just add paint. It's a little easier if you pre-paint the upper surface of the lower wing and the lower surface of the upper wing.

I've tried plenty of variations and this seems to work best for me.
So many models, so little time.
User avatar
Ian
Blitzbau hero
Posts: 5137
Joined: May 4th, 2011, 10:01 am

Re: Chuck's very untidy corner of the table.

Post by Ian »

That's how I've done it previously too. But sometimes I just can't seem to slice off the thread. It just wants to bend. Maybe I need to be using a sharper blade......
I'm a mostly full-time modeller put a part-time poster....
User avatar
Chuck E
Established 1949
Posts: 2424
Joined: May 3rd, 2011, 8:05 pm
Location: Darlington. Home of the Railways

Re: Chuck's very untidy corner of the table.

Post by Chuck E »

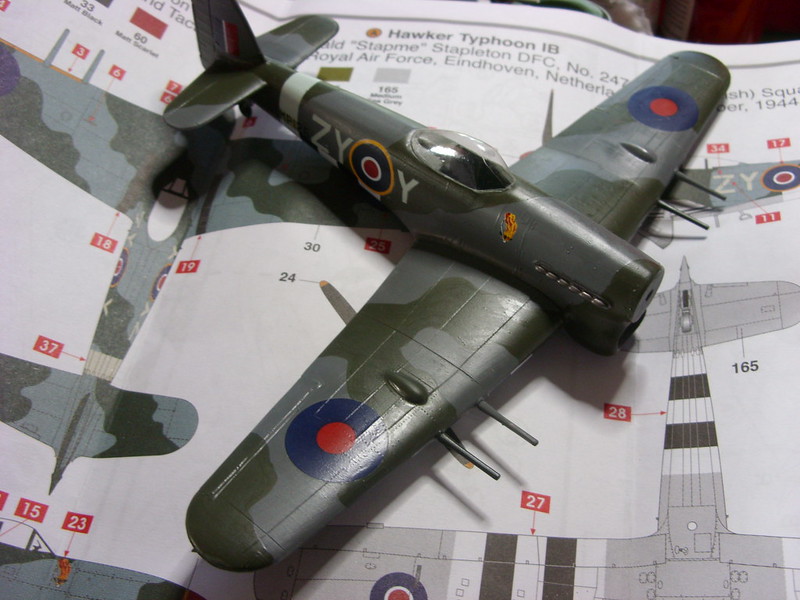
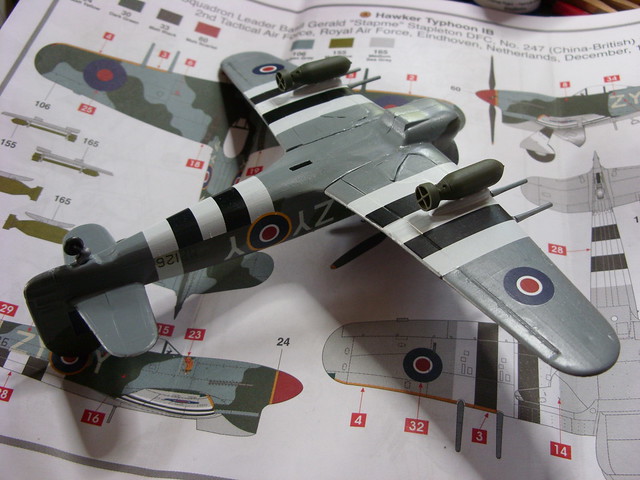
Since I had some new Airfix decals for a Typhoon I thought I'd blitz an old Airfix kit. I've done it in a couple of sittings and I managed to find a vac canopy for it too. I pulled this over an old Airfix canopy ages ago and didn't need it. I've got a little weathering and a coat of matt varnish to go on yet. I've tried to retain as many rivets as I could.

Image

Image

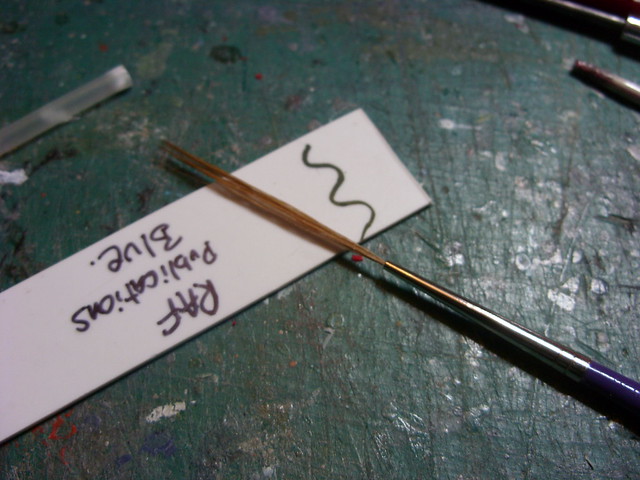
Here's a handy brush for detail work. The girls use this for painting the fancy patterns on their nails. The bristles hold together nicely when it's got paint on it.

Image
So many models, so little time.
User avatar
Sissel
Modelling Lady and Scholar
Posts: 4097
Joined: October 31st, 2011, 12:39 pm
Location: Island in Norway

Re: Chuck's very untidy corner of the table.

Post by Sissel »

The Typhoon is looking smashing!
And good luck with the rigging. Fancy little drill you have there.
Confused as always, and somewhere in hiding on the Scandinavian peninsula...
User avatar
Chuck E
Established 1949
Posts: 2424
Joined: May 3rd, 2011, 8:05 pm
Location: Darlington. Home of the Railways

Re: Chuck's very untidy corner of the table.

Post by Chuck E »

Thanks Prisca. The little drills are available from engineer's hardware stores. Sometimes referred to as Pin Vices.
So many models, so little time.
User avatar
BlohmWolf
Modelling Gent and Scholar
Posts: 2355
Joined: May 15th, 2013, 11:21 pm
Location: Down under, TAS.

Re: Chuck's very untidy corner of the table.

Post by BlohmWolf »

Great job with the handbrushing on the tiffy!
"Can not finish a model at all"

"You can get more of what you want, with a kind word and a wallet, than just a kind word".

Currently Building: FROG Wildcat, Fokker DR1 Red baron and some other things...
User avatar
Chuck E
Established 1949
Posts: 2424
Joined: May 3rd, 2011, 8:05 pm
Location: Darlington. Home of the Railways

Re: Chuck's very untidy corner of the table.

Post by Chuck E »

The Typhoon is almost done. I need to print up some Prop Blurs somehow. So far, not so good. Most of the new Airfix D-Day decals fitted the old kit and I have a stand somewhere I can use.

Image

Image

Image

A of shot of the Hurricane IIe I'm playing with. See the What If Page.

Image
So many models, so little time.
User avatar
Chuck E
Established 1949
Posts: 2424
Joined: May 3rd, 2011, 8:05 pm
Location: Darlington. Home of the Railways

Re: Chuck's very untidy corner of the table.

Post by Chuck E »

Two Lightnings : The Trumpeter F6 and Airfix F2A
Build so far . . . http://www.flickr.com/photos/23594891@N ... 621712726/;
Image

My Skyhawk coming along with some replacement decals supplied by Mark.
Image
Image
So many models, so little time.
User avatar
coptermech
Active Participant
Posts: 674
Joined: August 21st, 2012, 4:39 am
Location: Connecticut, USA

Re: Chuck's very untidy corner of the table.

Post by coptermech »

Nice Typhoon!! I can only hope the one I'm doing now for the Secret Santa GB comes nearly half as well!! One question though...how did you deal with the roundels on the upper wings? I see they get placed over the gun bays slightly. How did you get it yo match the open door?
Regards, Tony

Current Projects: Revell 1/48 F-15C, Hobby Boss 1/72 F-22 Raptor, Hasegawa 1/32 F-5E
User avatar
jssel
Still crazy after all these years
Posts: 12007
Joined: April 5th, 2011, 3:42 pm

Re: Chuck's very untidy corner of the table.

Post by jssel »

Lots of Tiffies going on.
Besting 60 years of mediocre building of average kits in the stand off scale
User avatar
Clashcityrocker
Modelling Gent and Scholar
Posts: 10827
Joined: May 1st, 2011, 12:31 am
Location: Adelaide. South Australia

Re: Chuck's very untidy corner of the table.

Post by Clashcityrocker »

Some nice work happening here Chuck.

Nigel
Post Reply

Return to “Workbench Window”