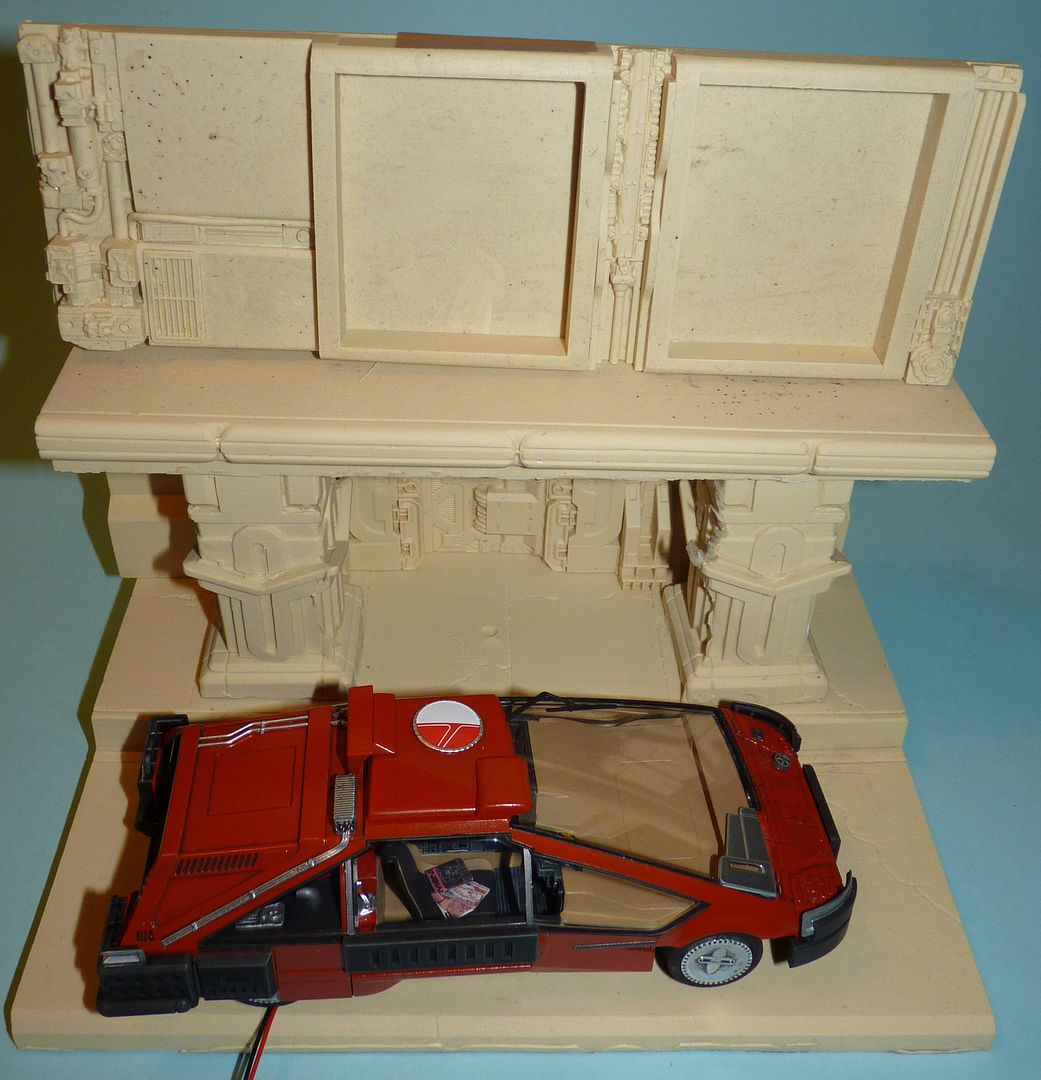
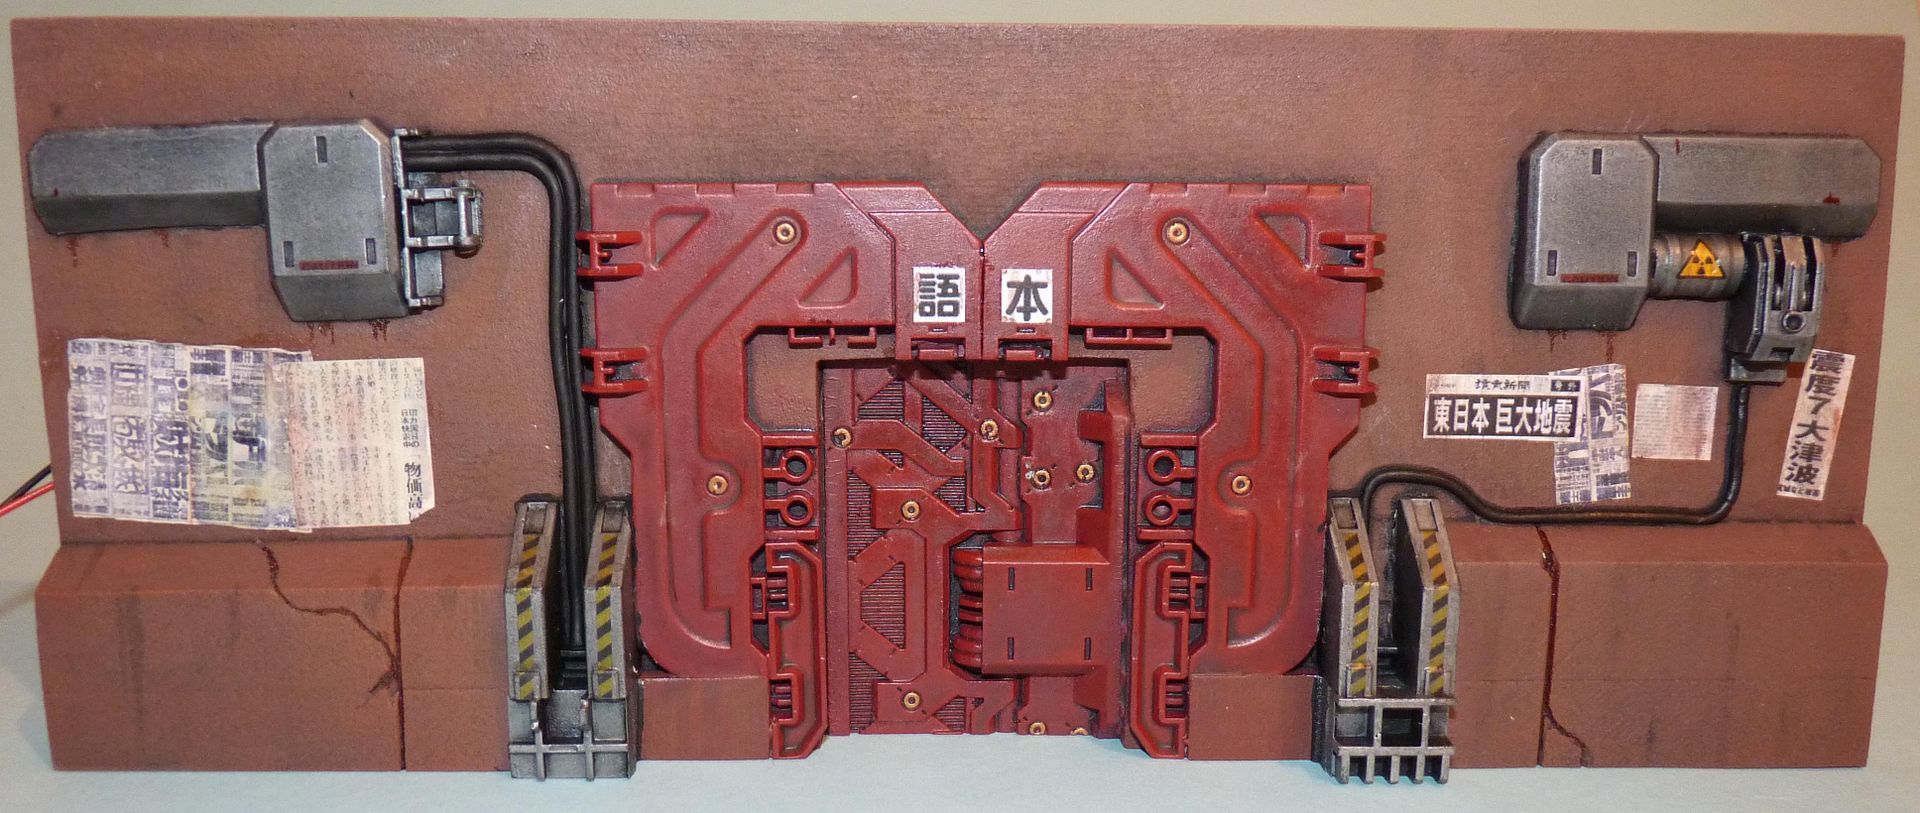
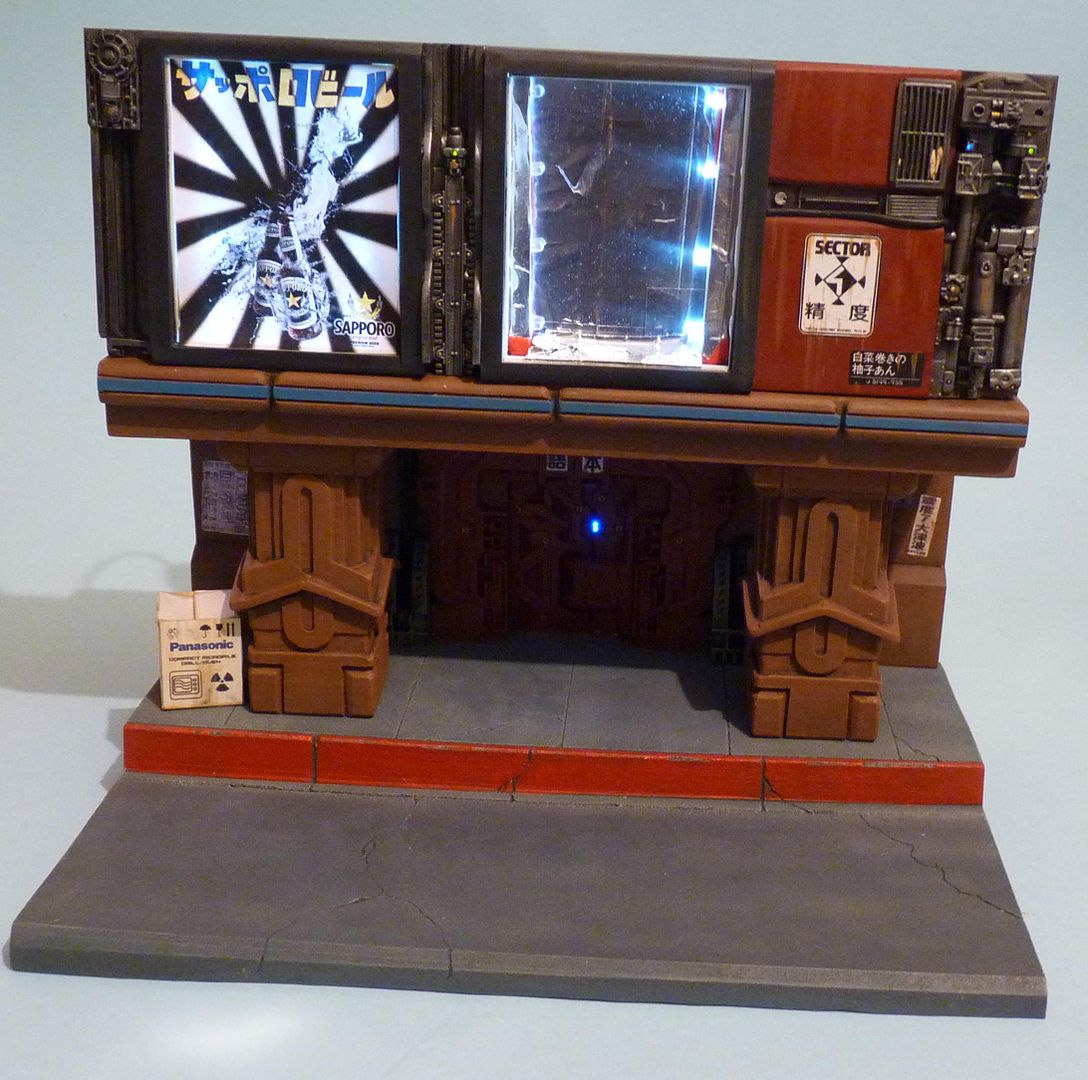
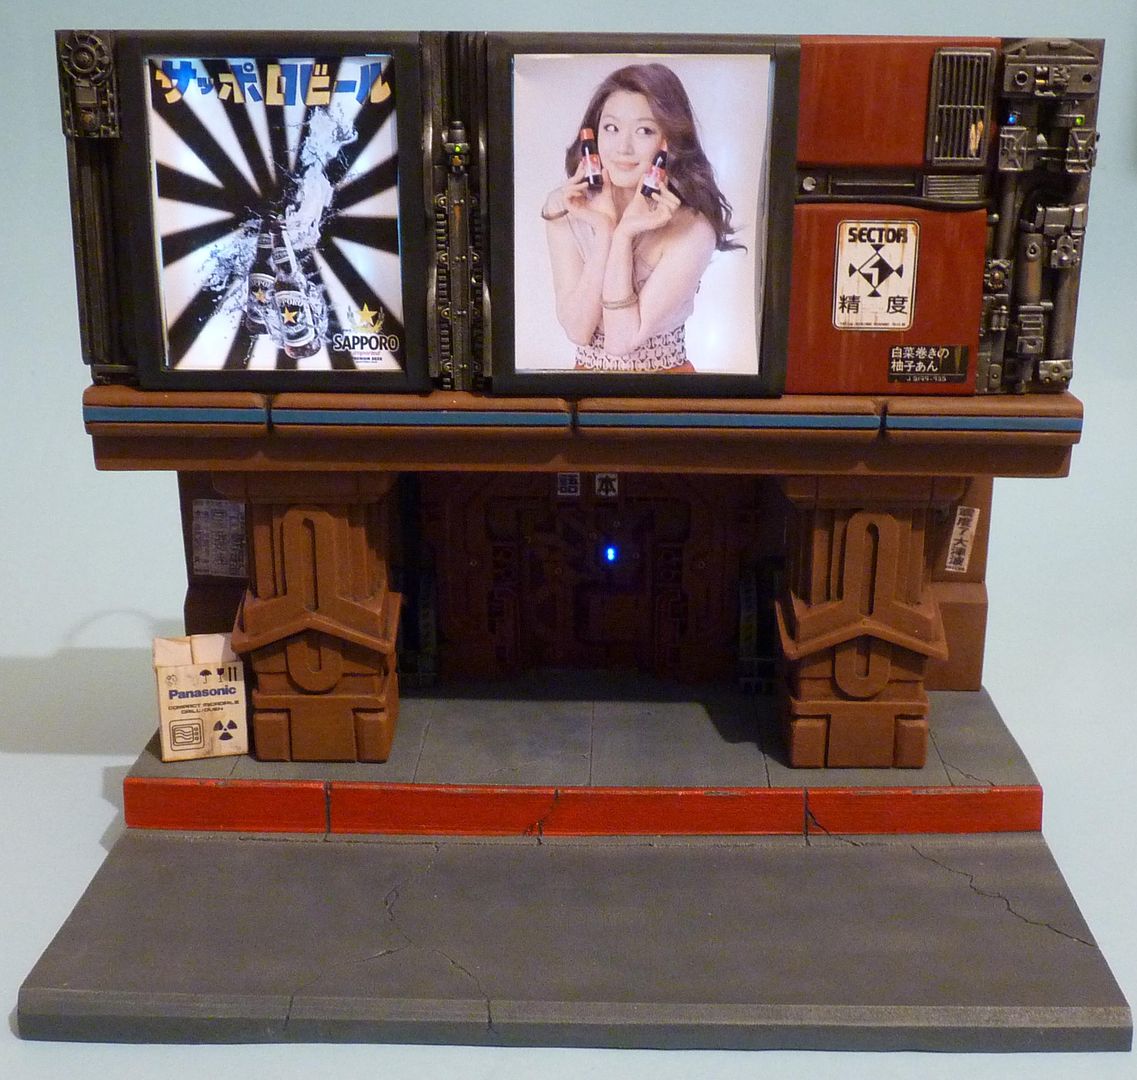
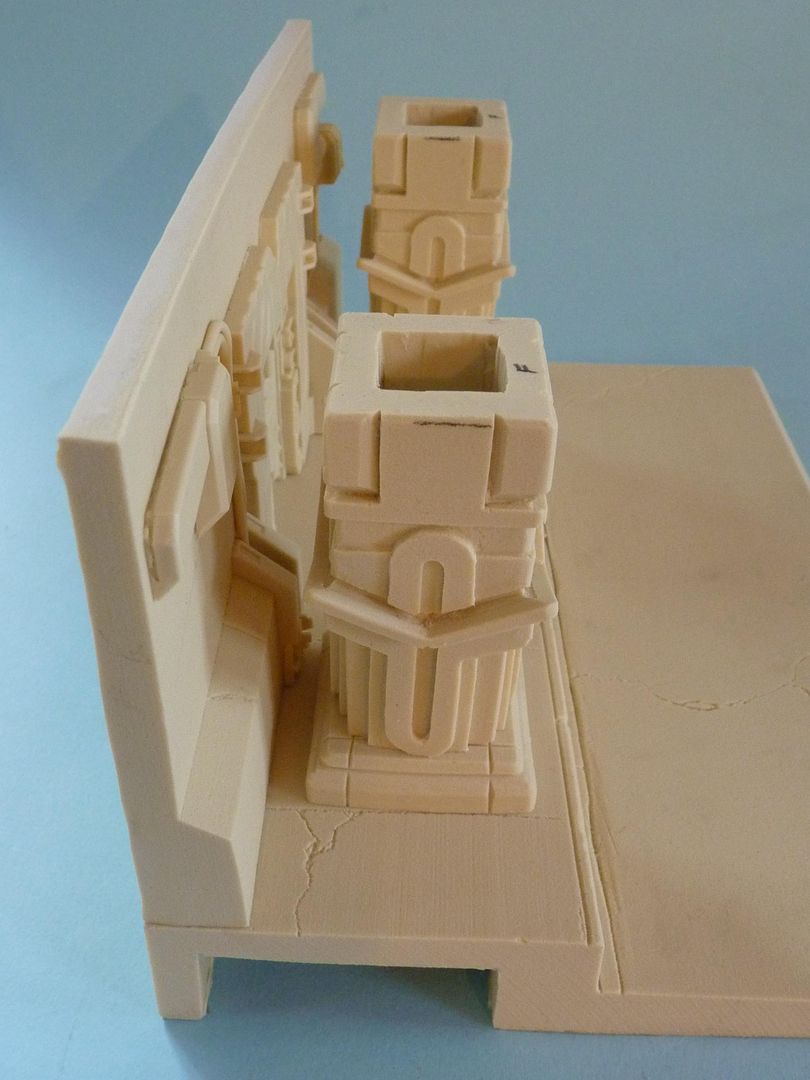
The diorama base as it comes is great but I wanted to make some minor adjustments...
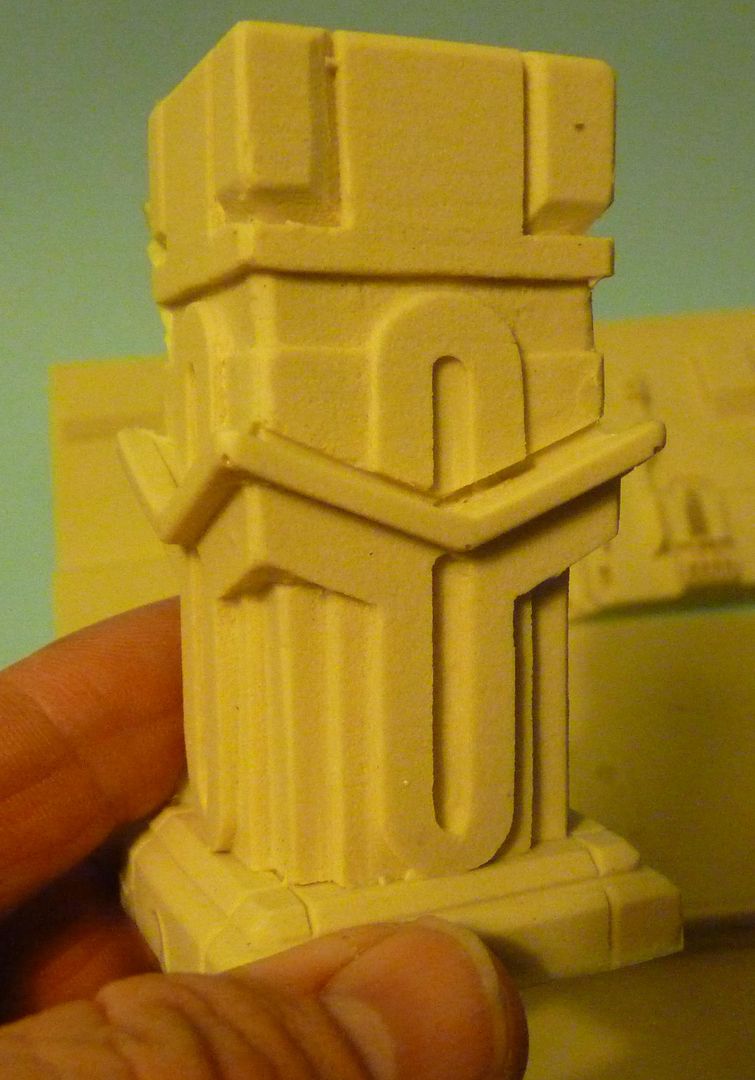
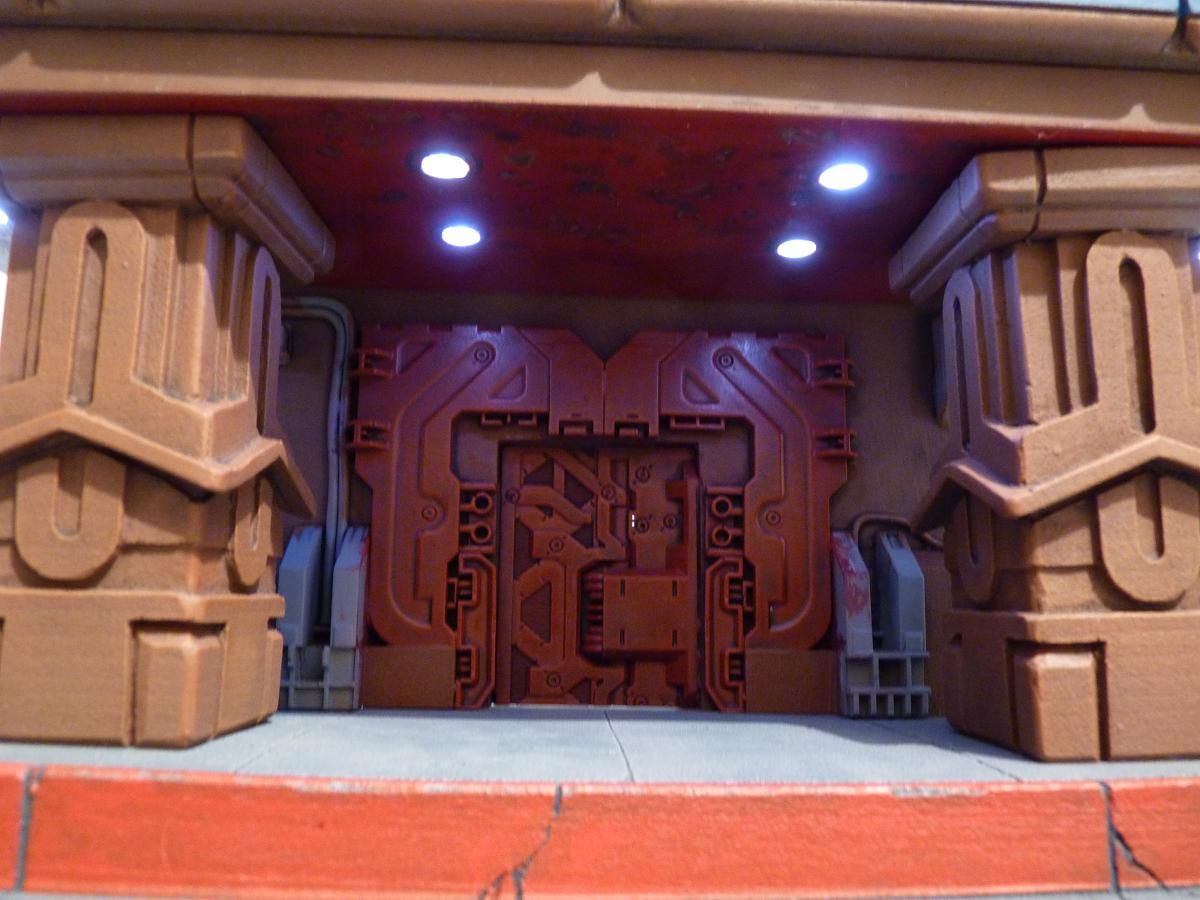
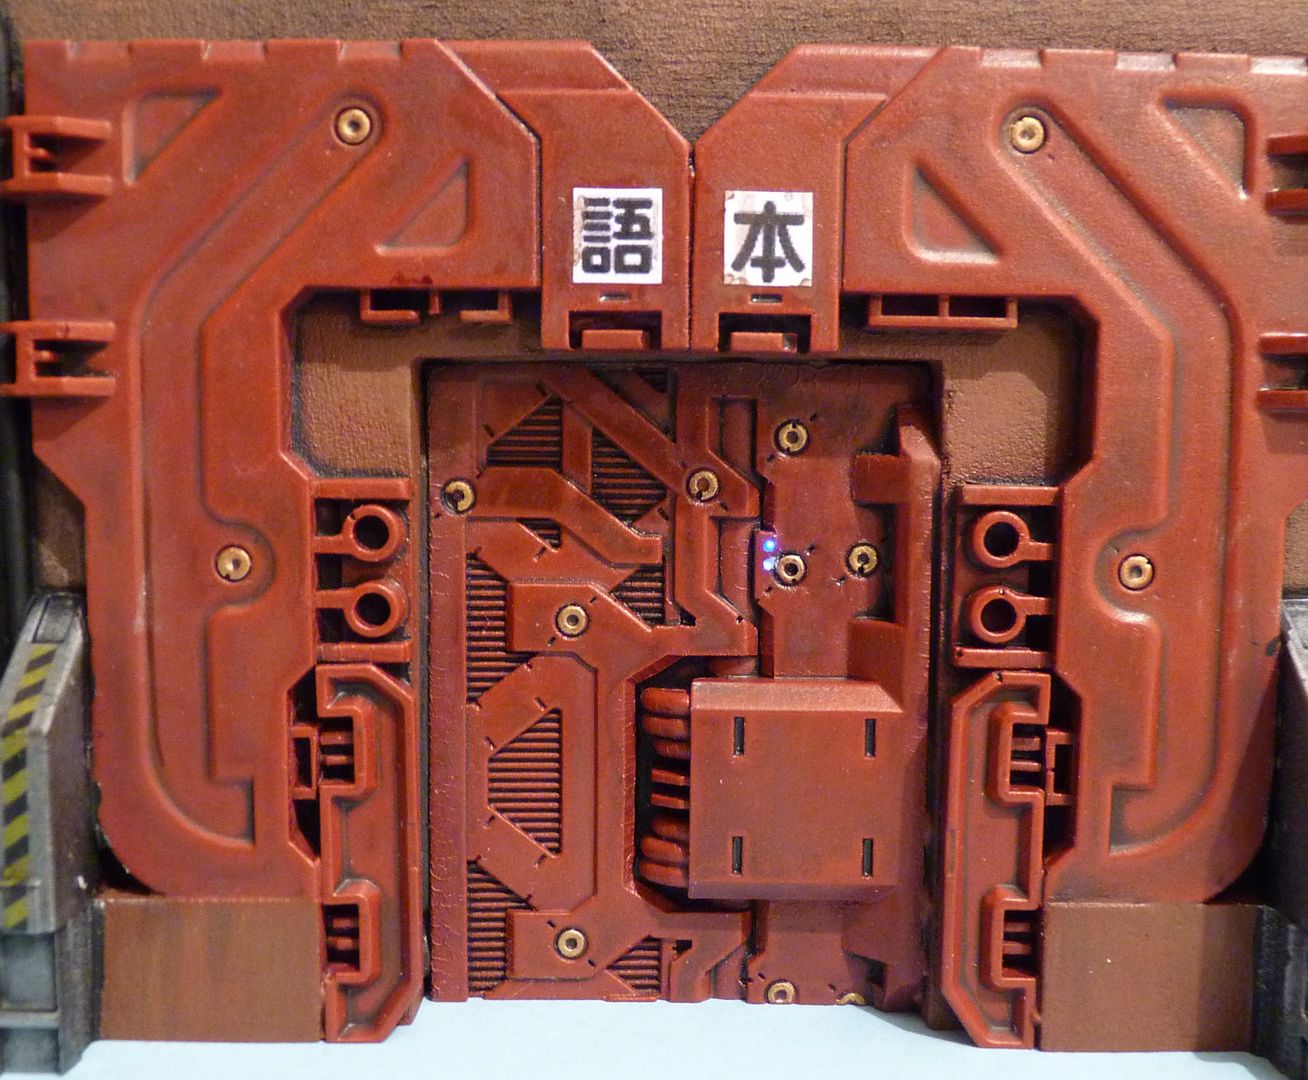
Firstly, the pillars were too close to the door for my taste...
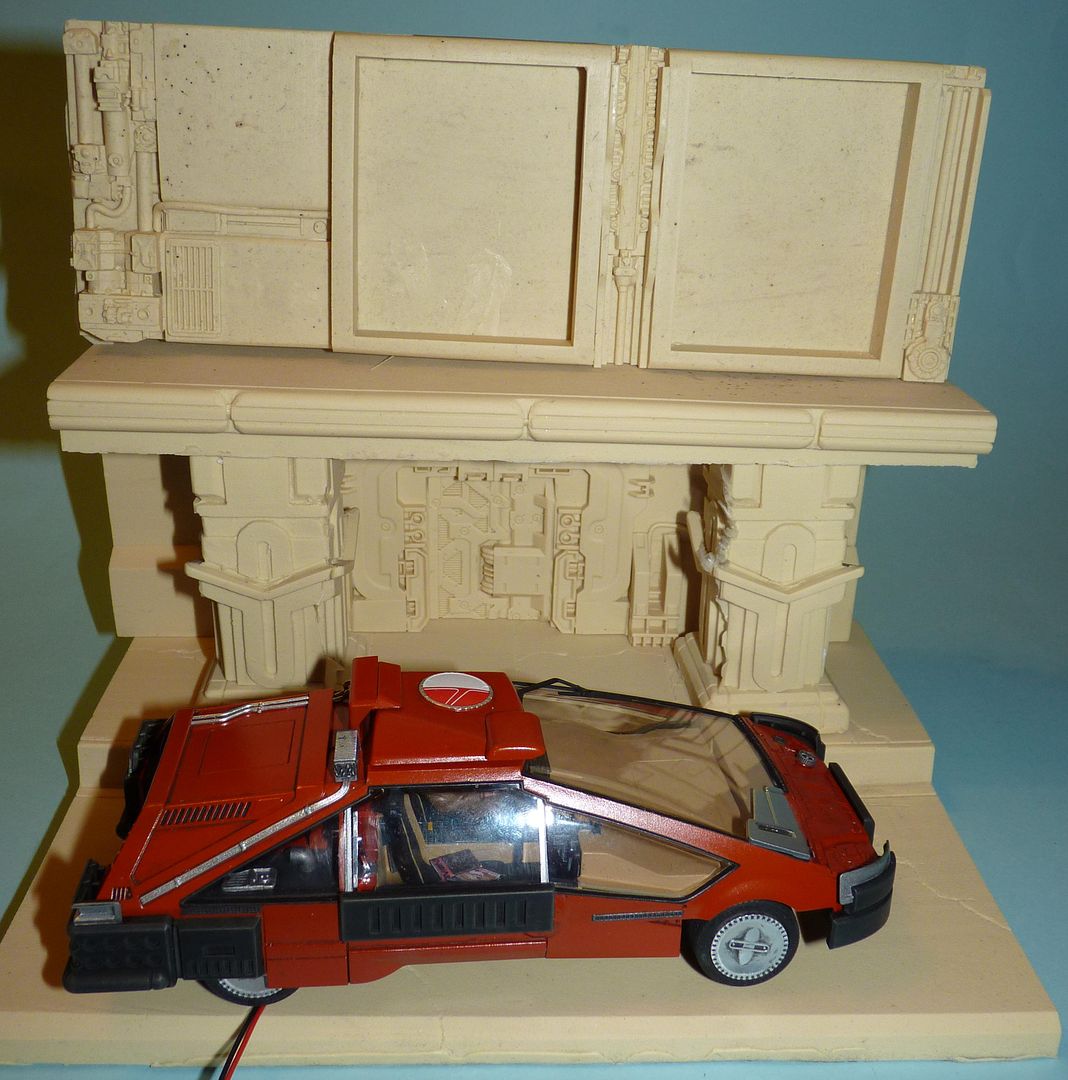
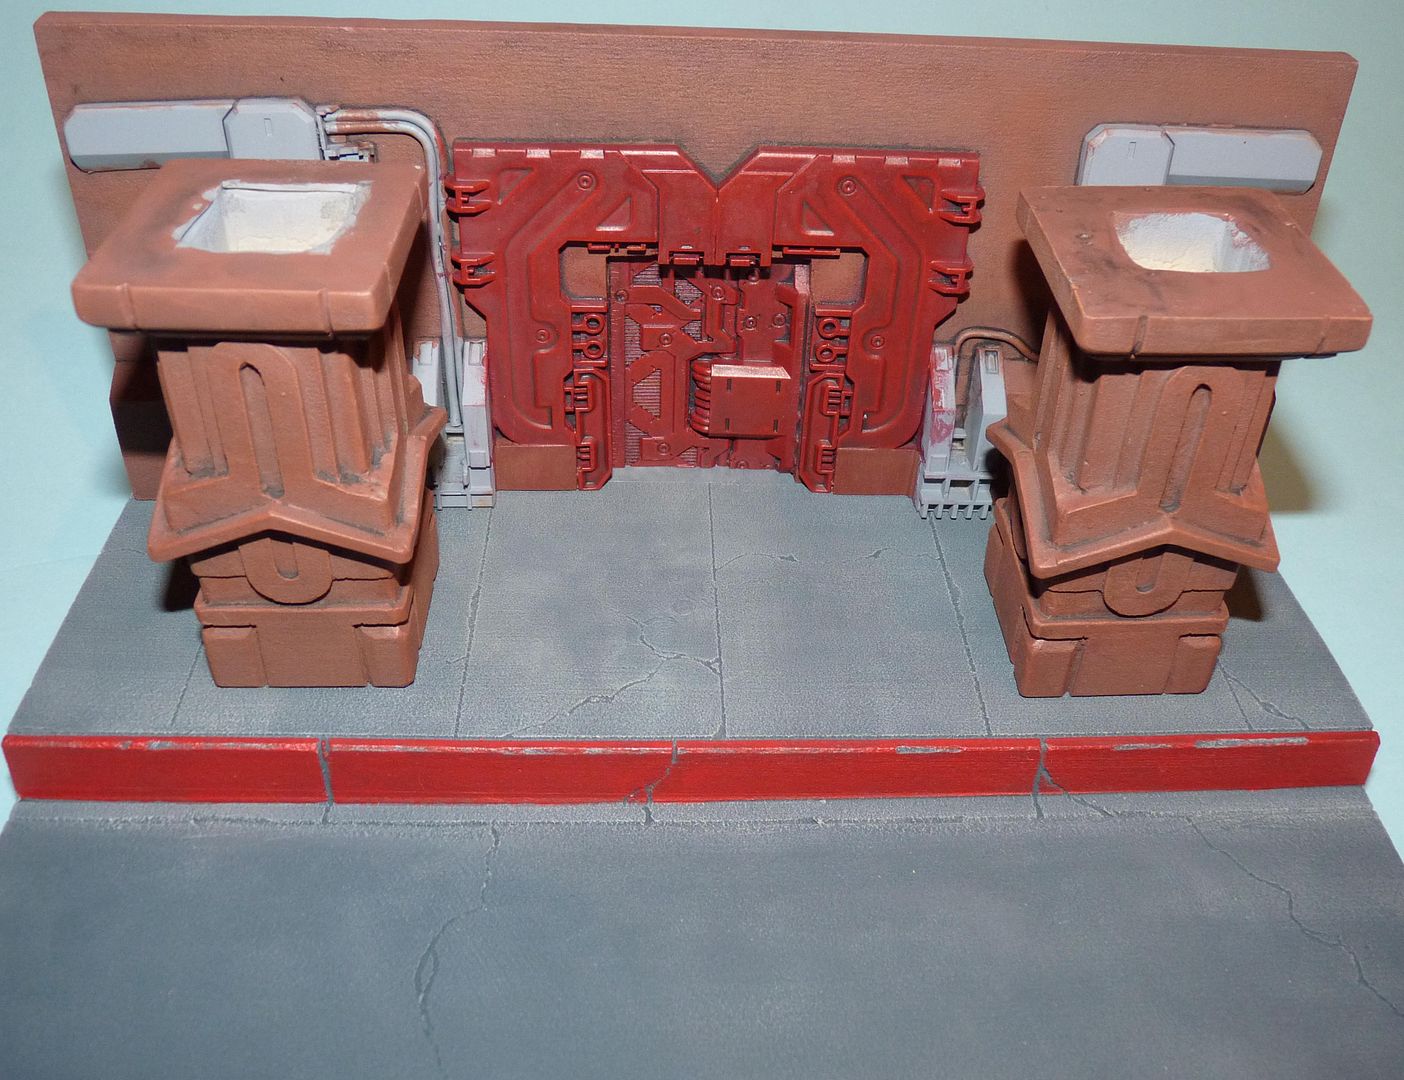
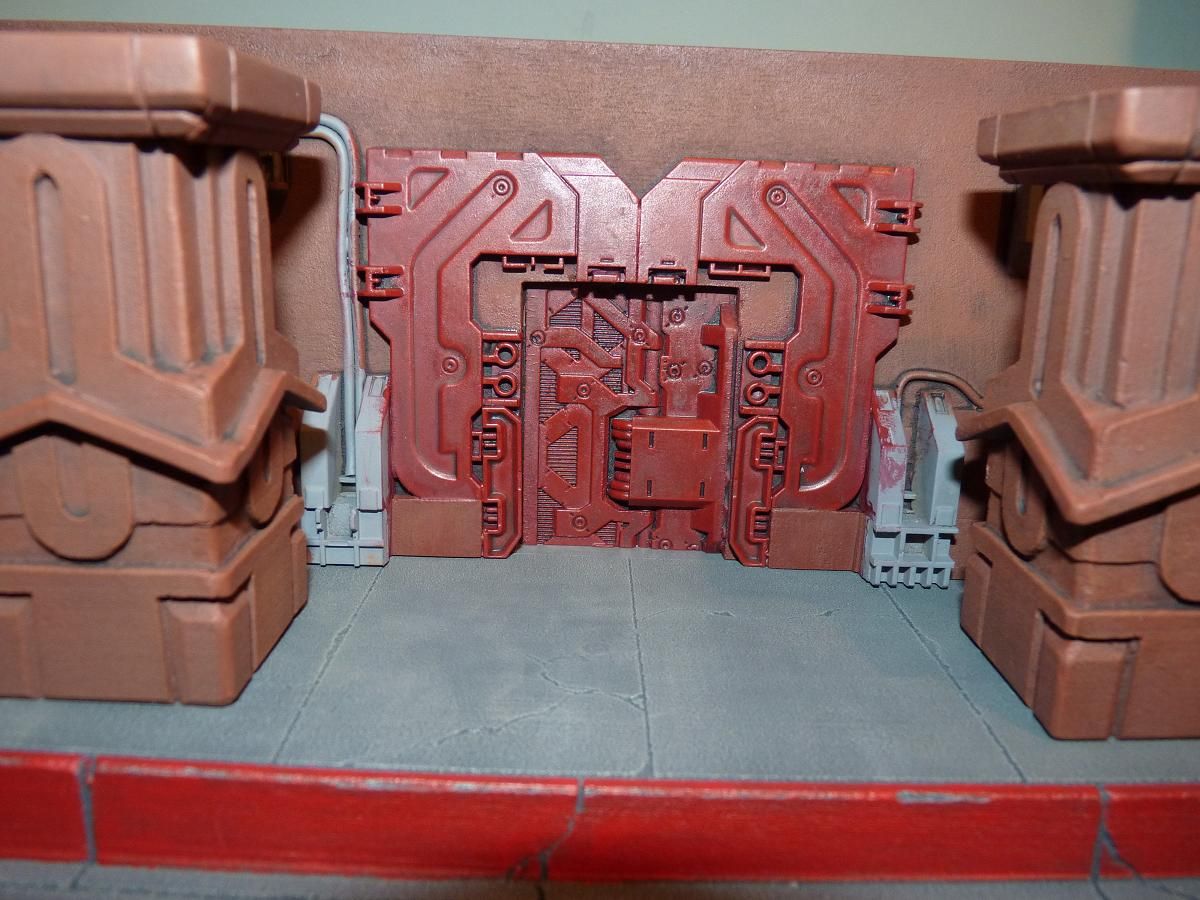
I built a small section of additional flooring from sheet styrene to allow the rear wall to move back....
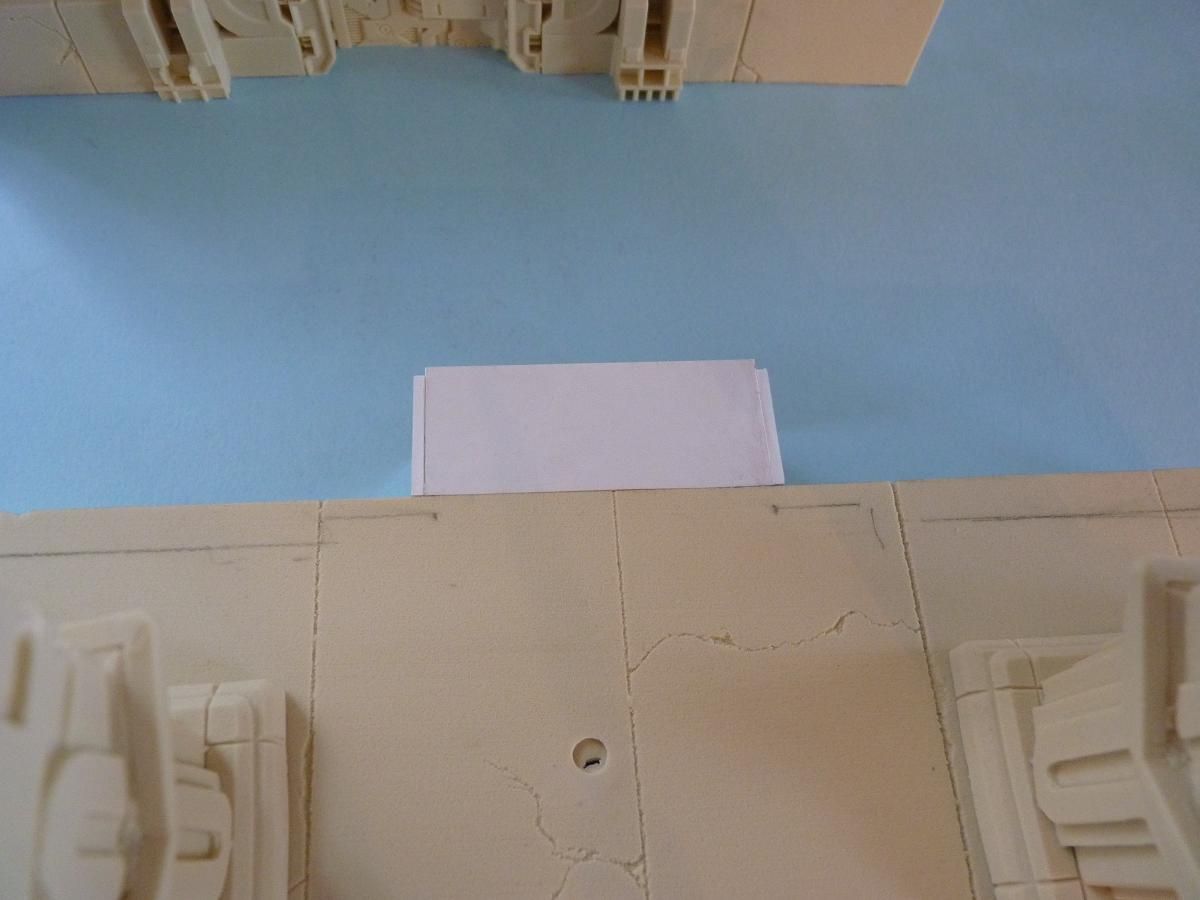
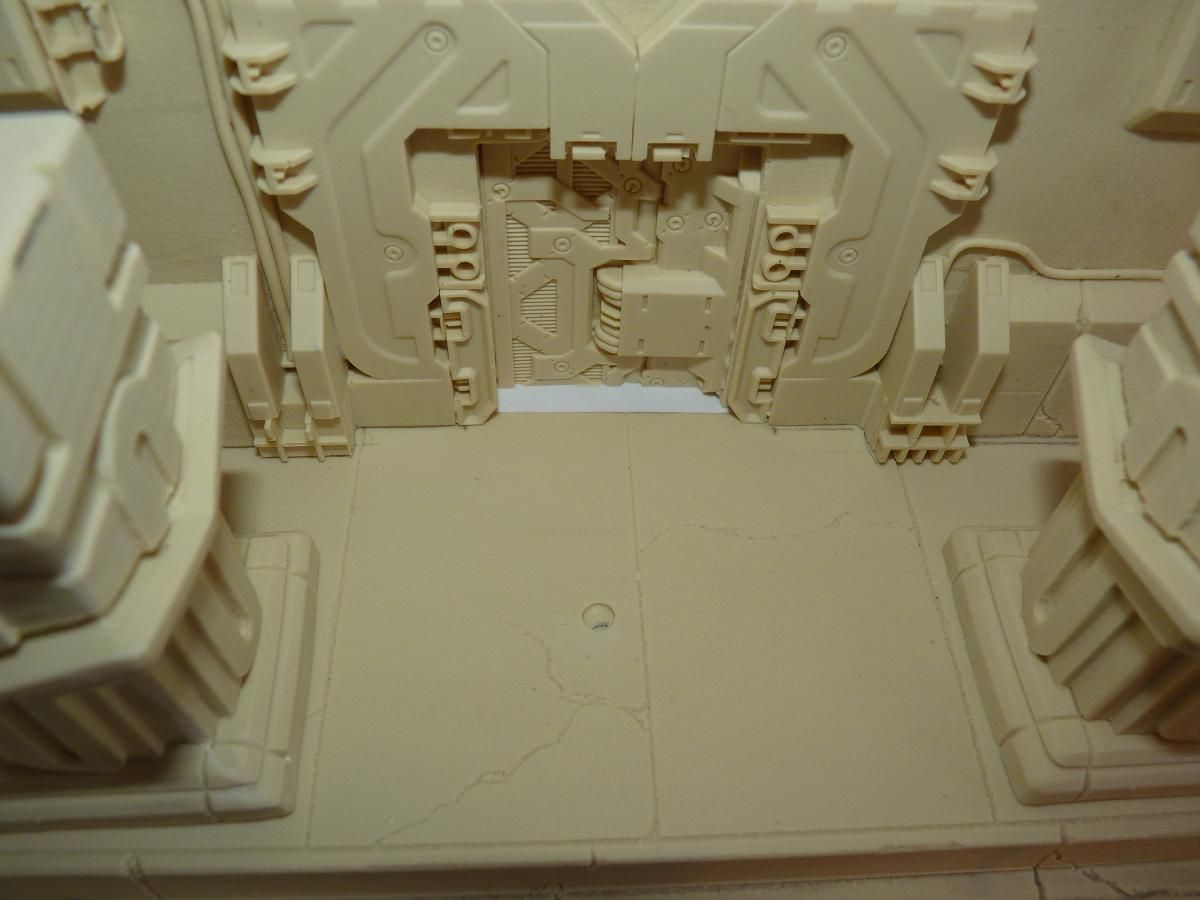
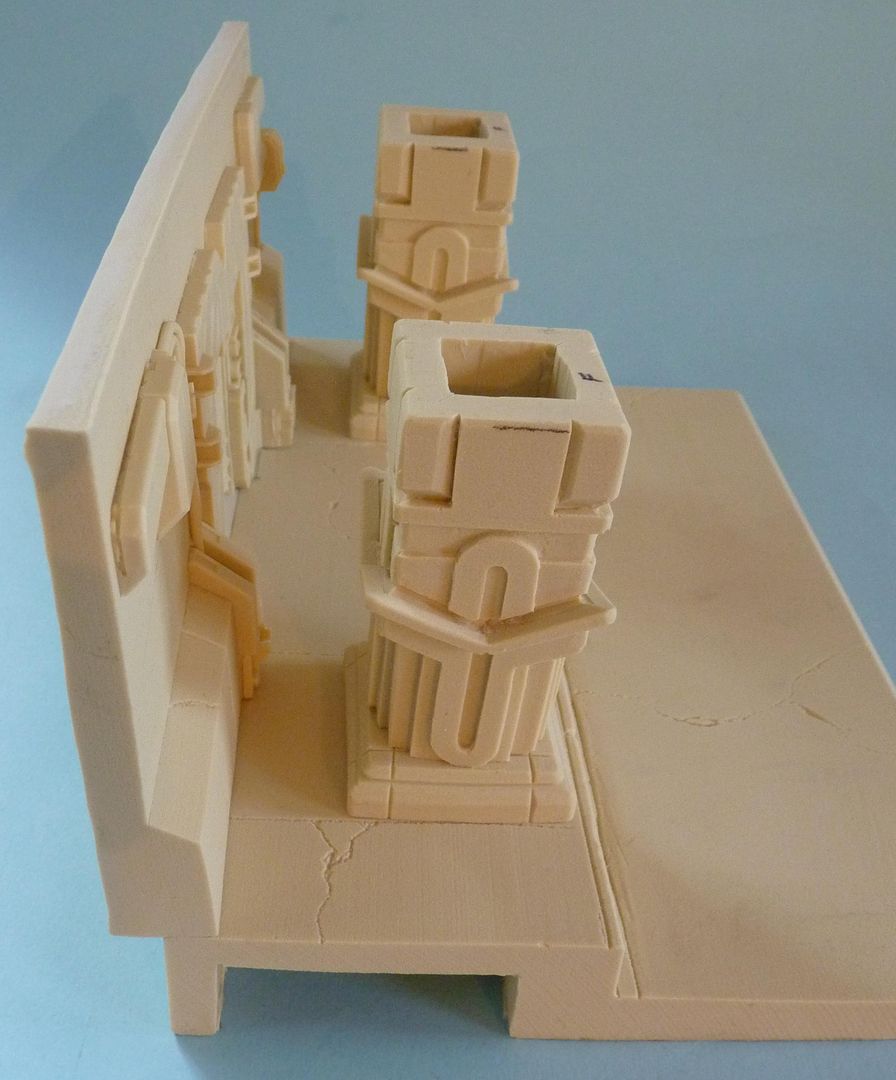
This gives a greater gap from the wall to the pillars....
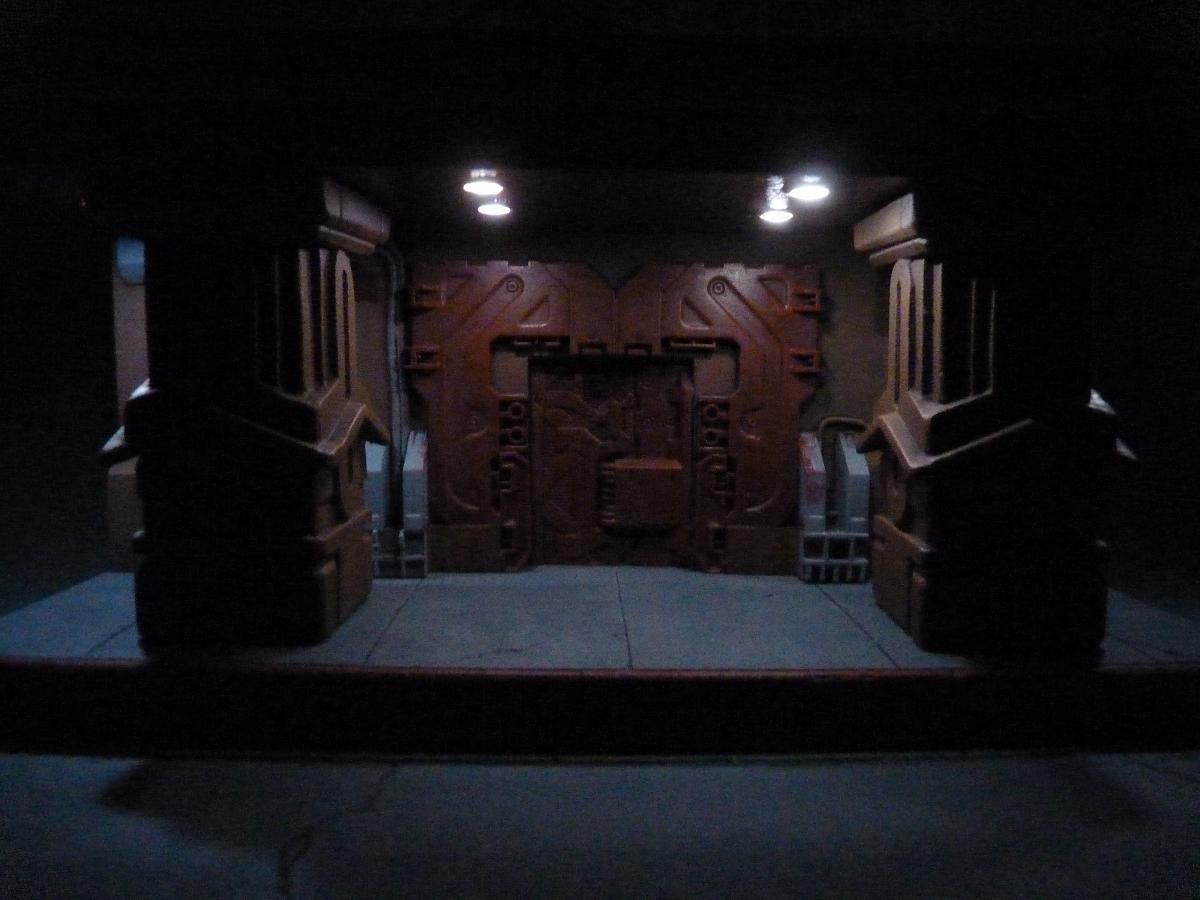
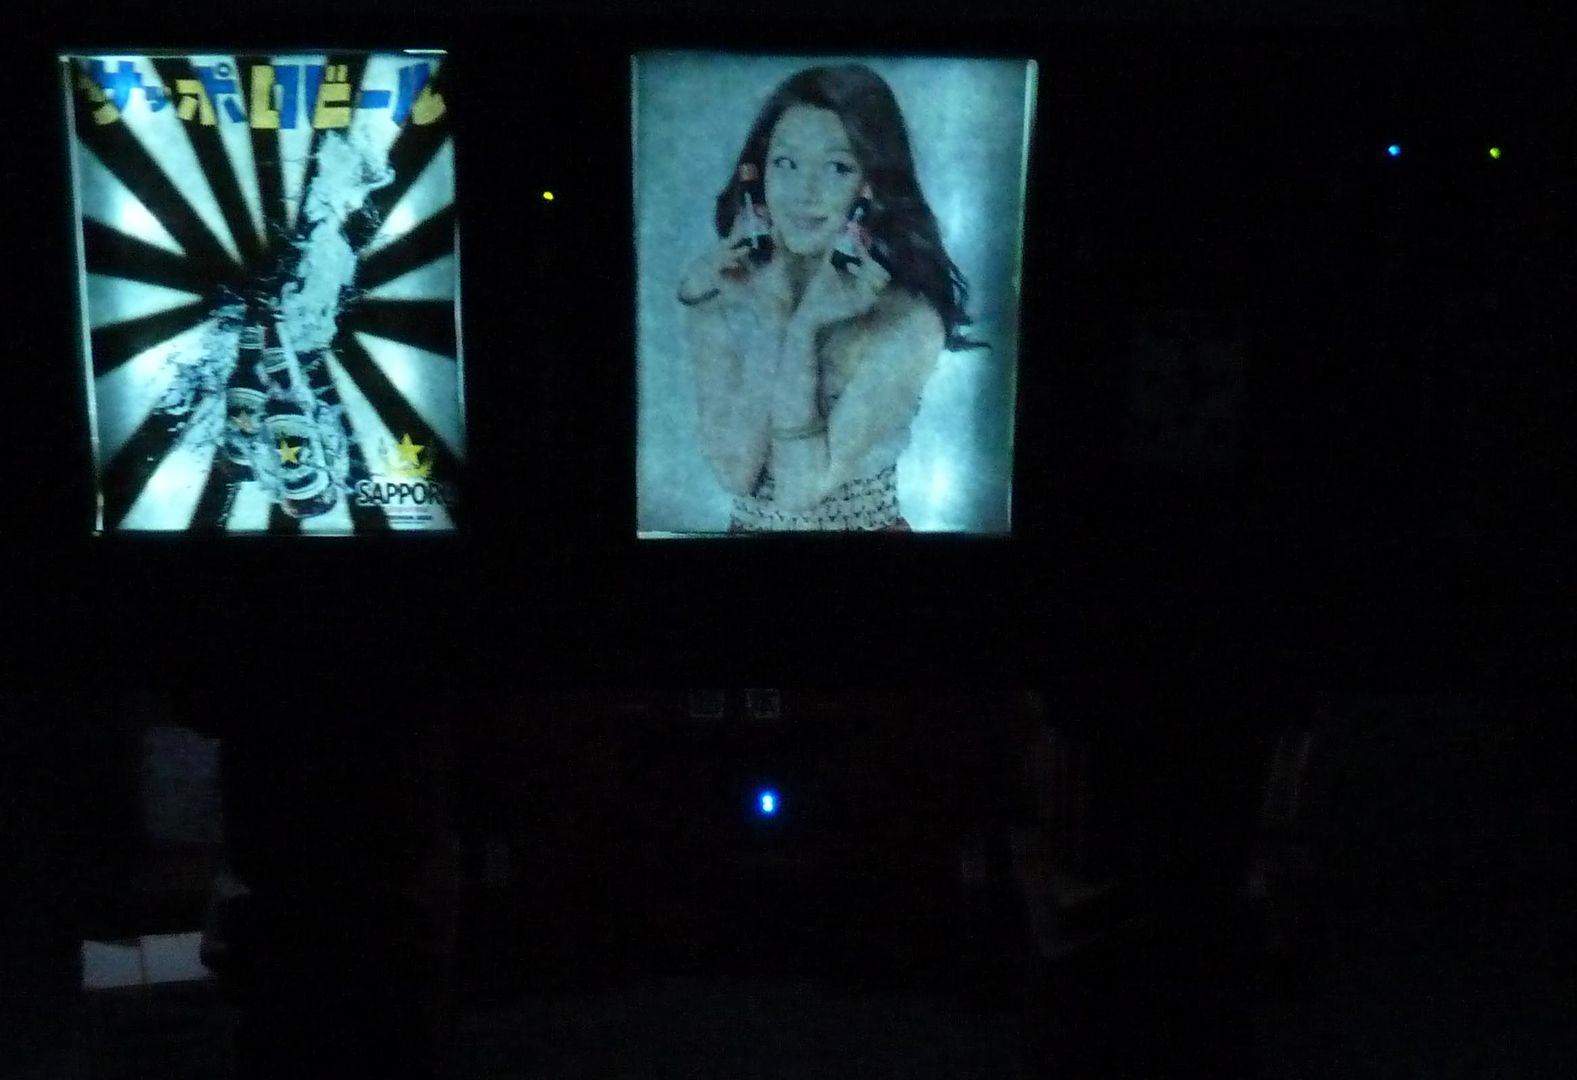
I also wanted to add downlights to the underside of the canopy to illuminate the entrance. I had a slight issue with the canopy piece as the thickness wasn't constant along it's length. If I was building the kit stock then this would be virtually unnoticeable but it was a problem with the lighting in mind....
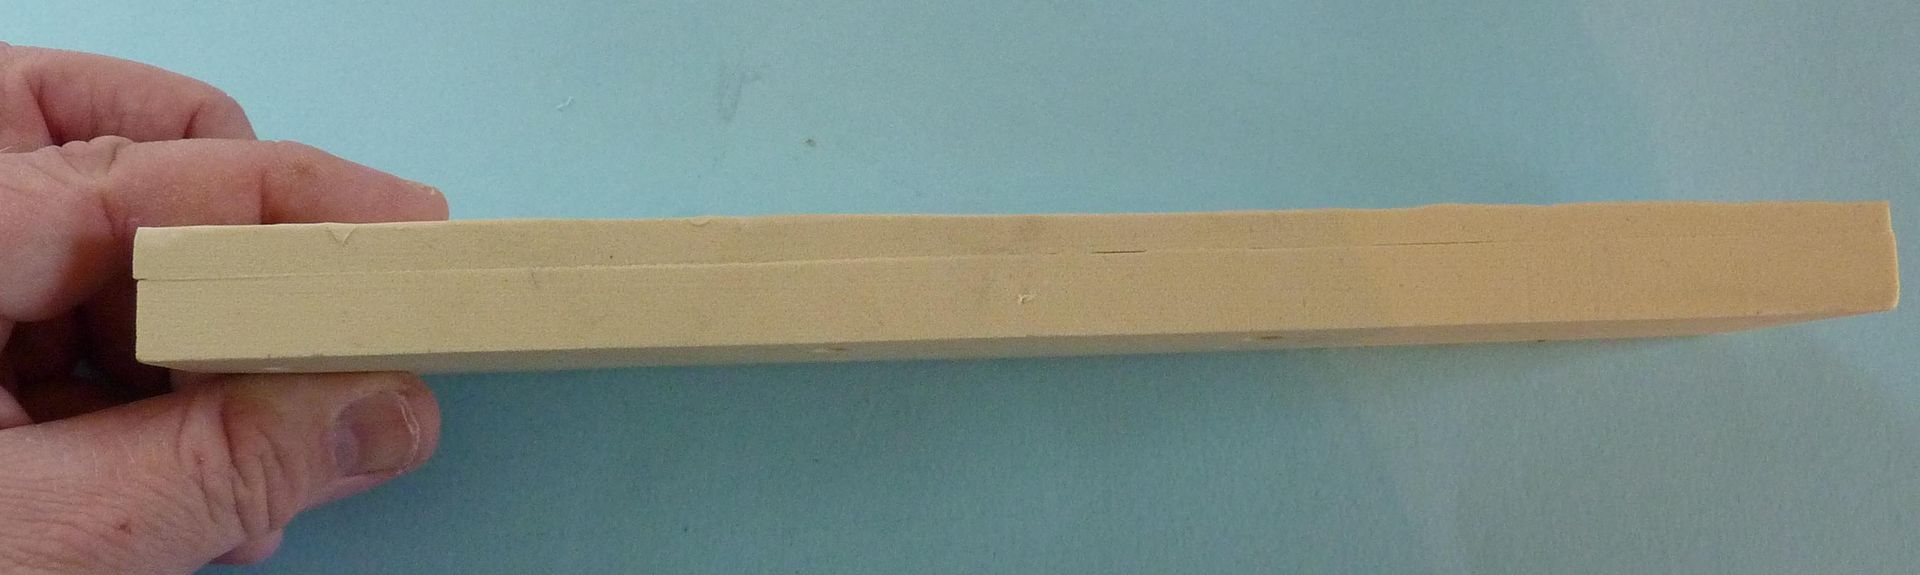
I overcame it by glueing a strip of styrene along the underside of the front edge....
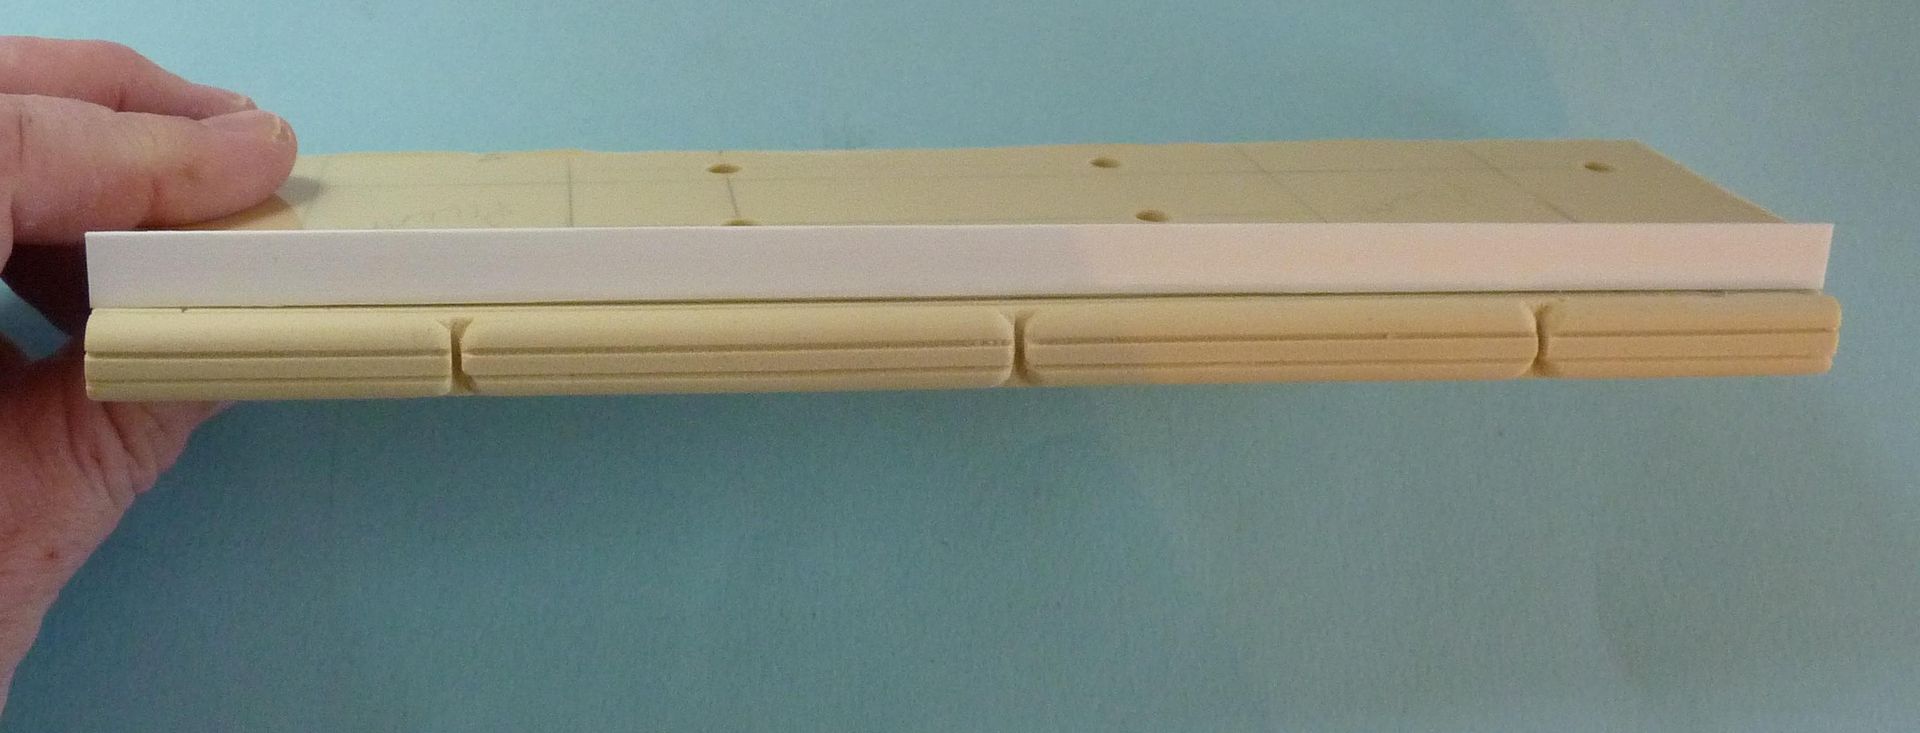
I then built up the underside with strips of increasing thickness...
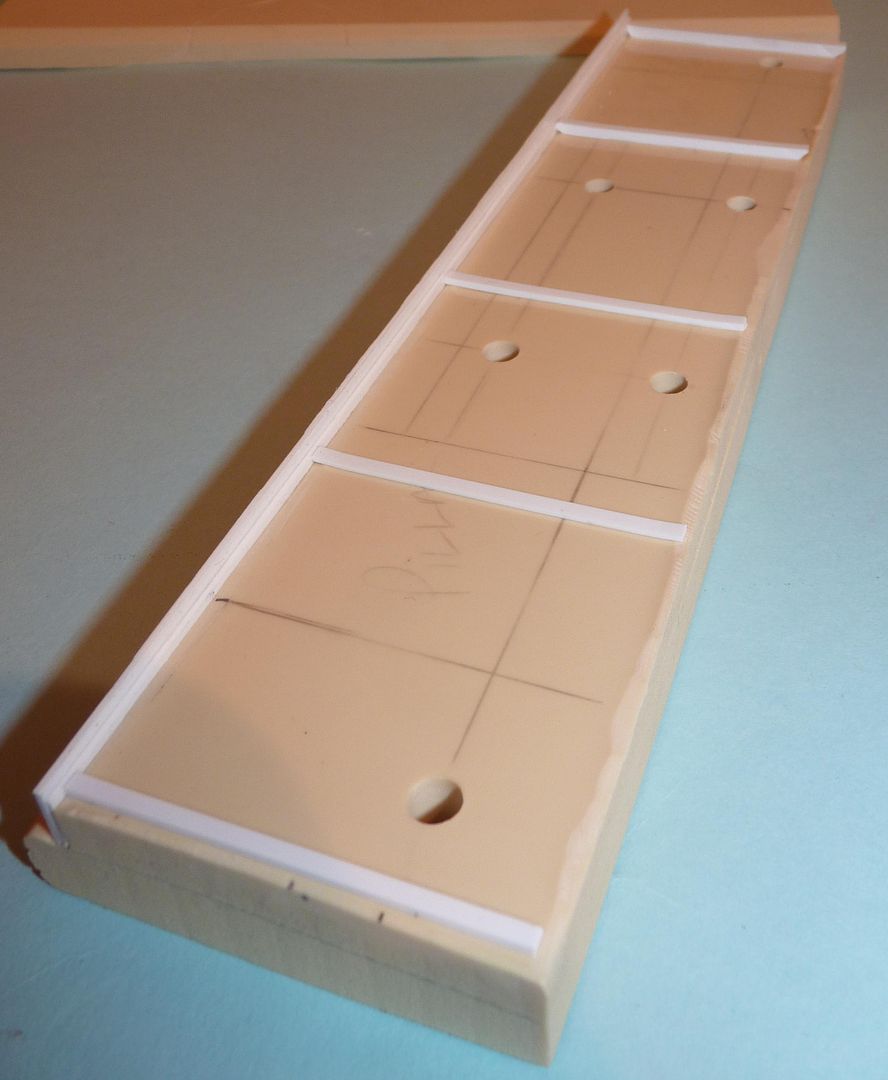
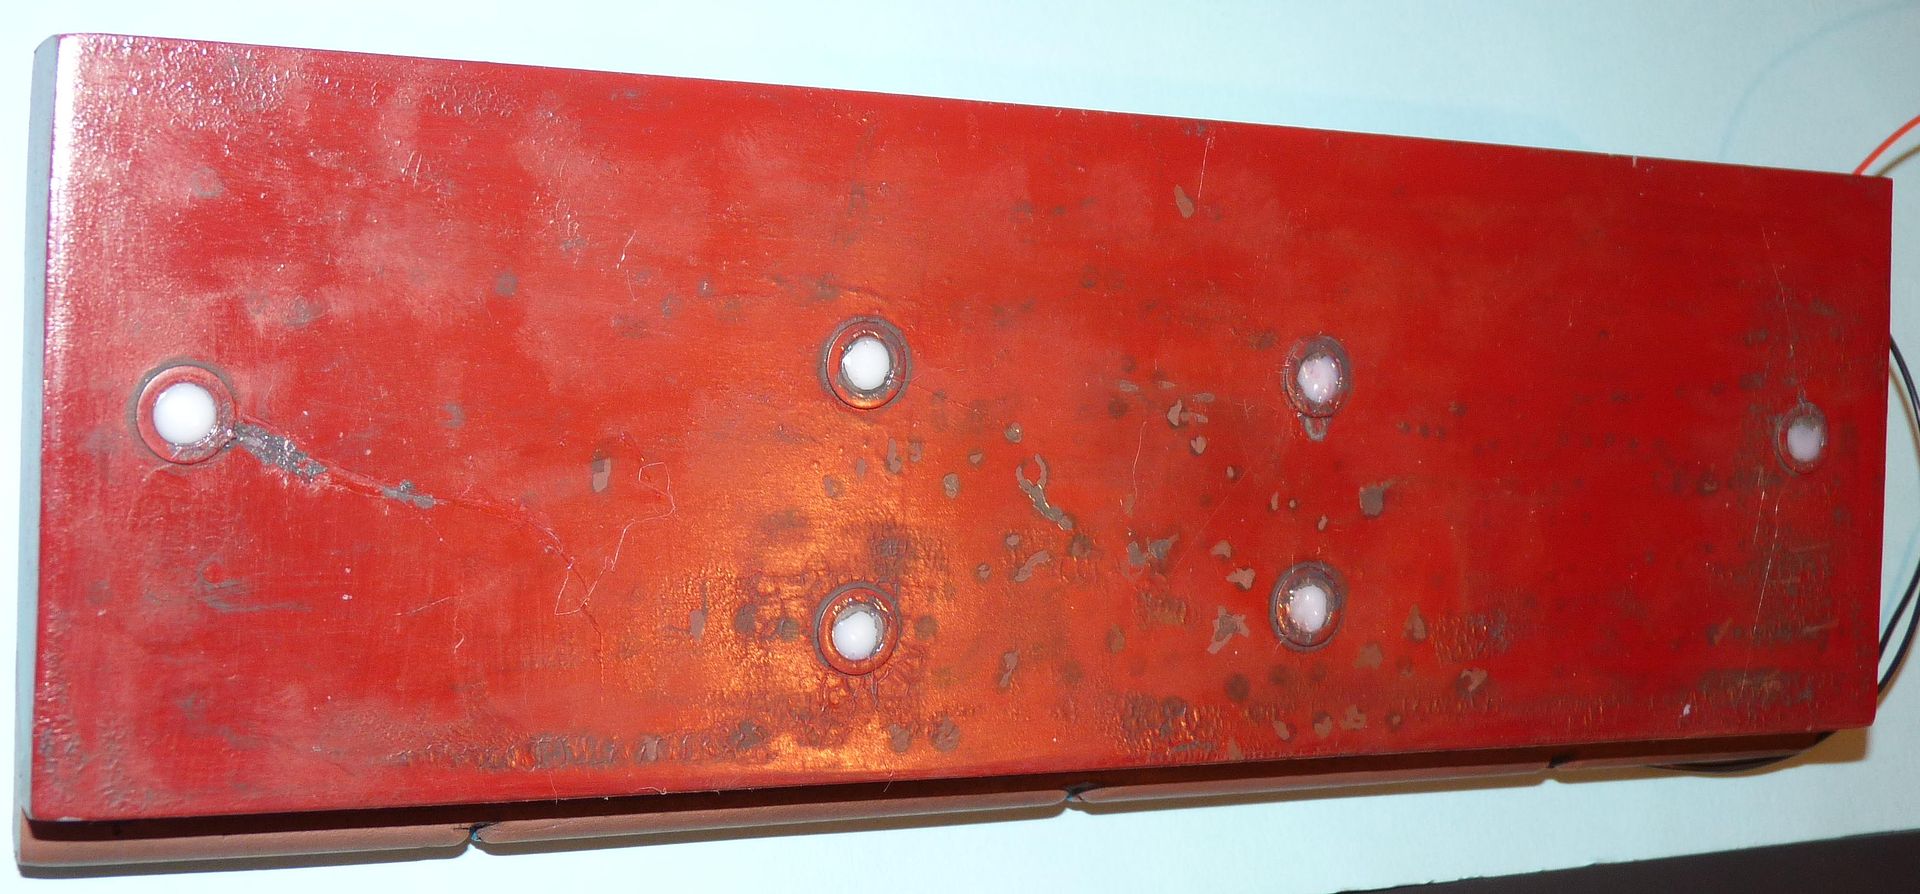
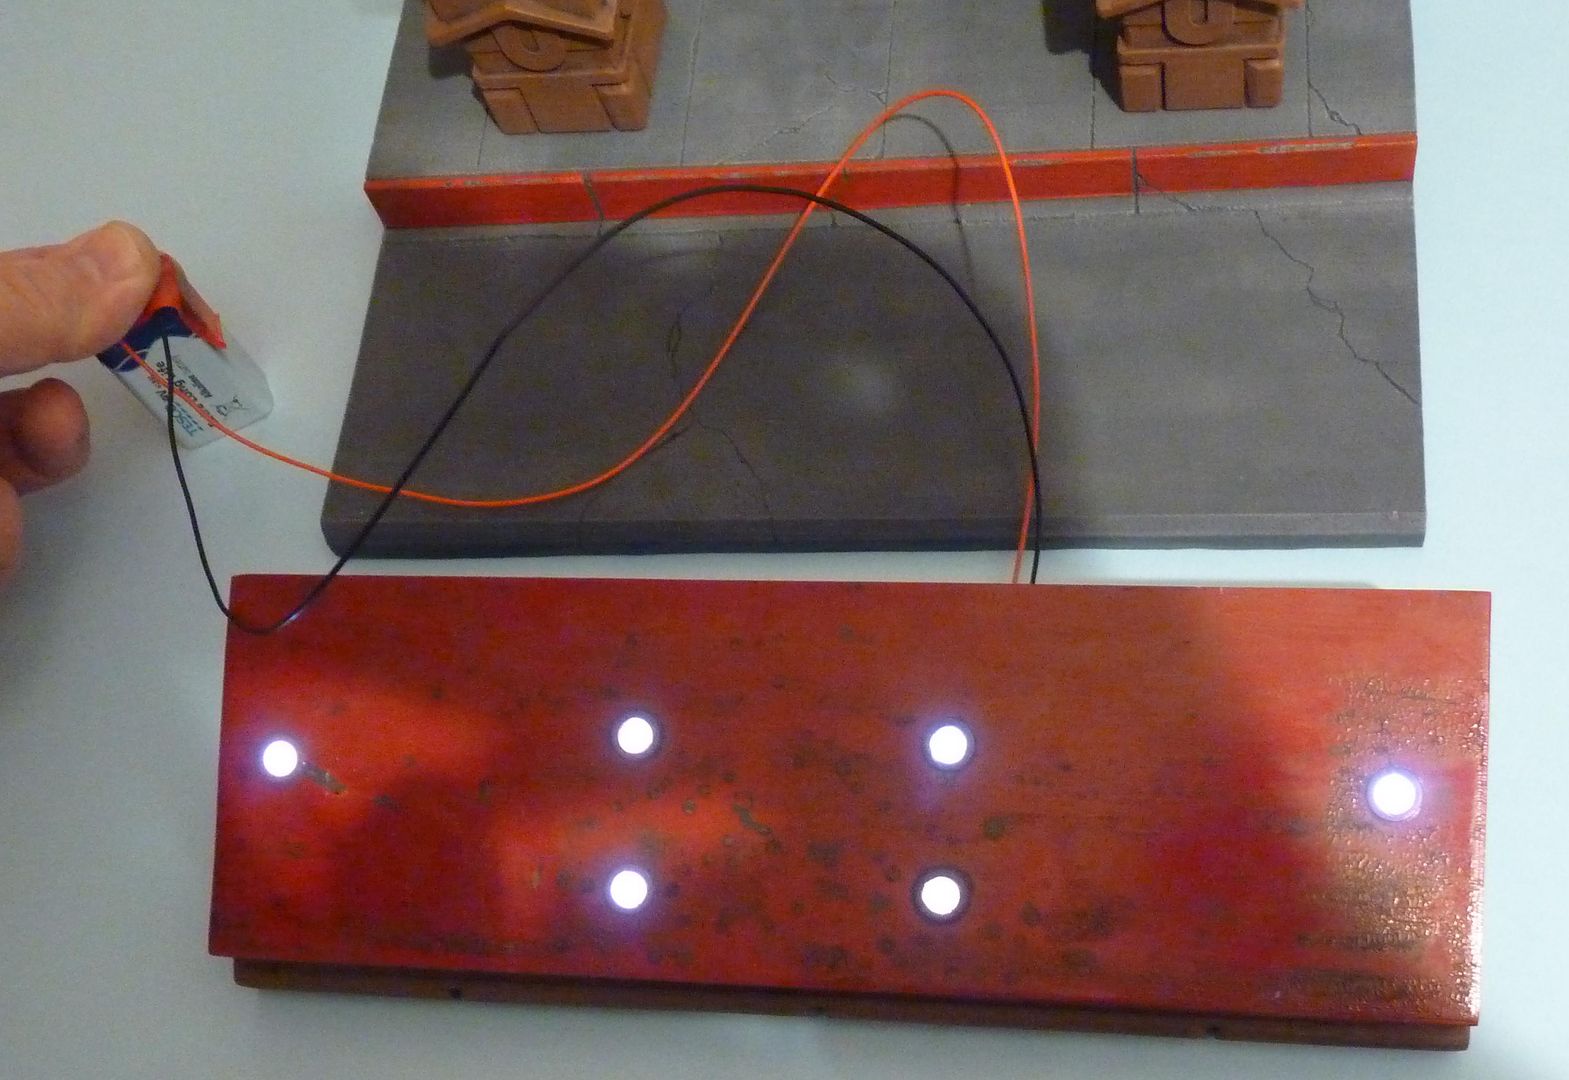
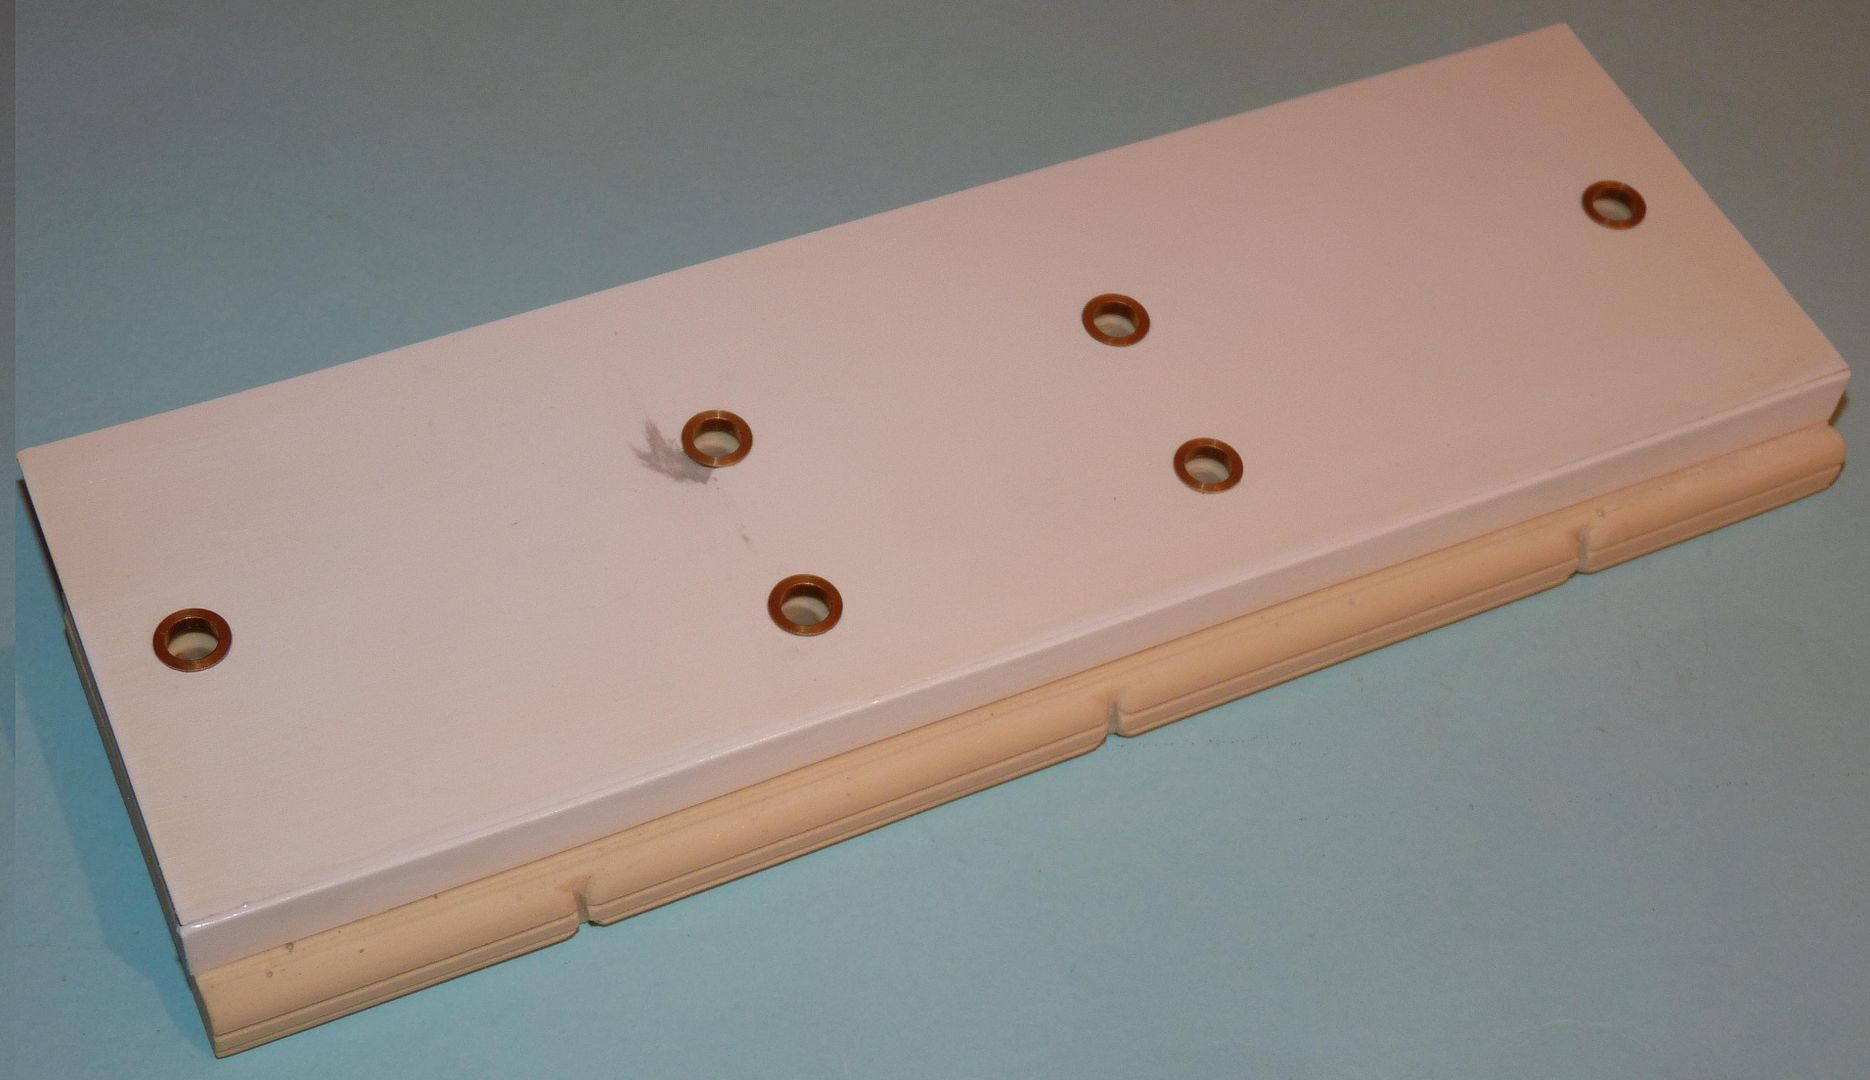
Holes were carefully drilled through the canopy to house the LED downlights....
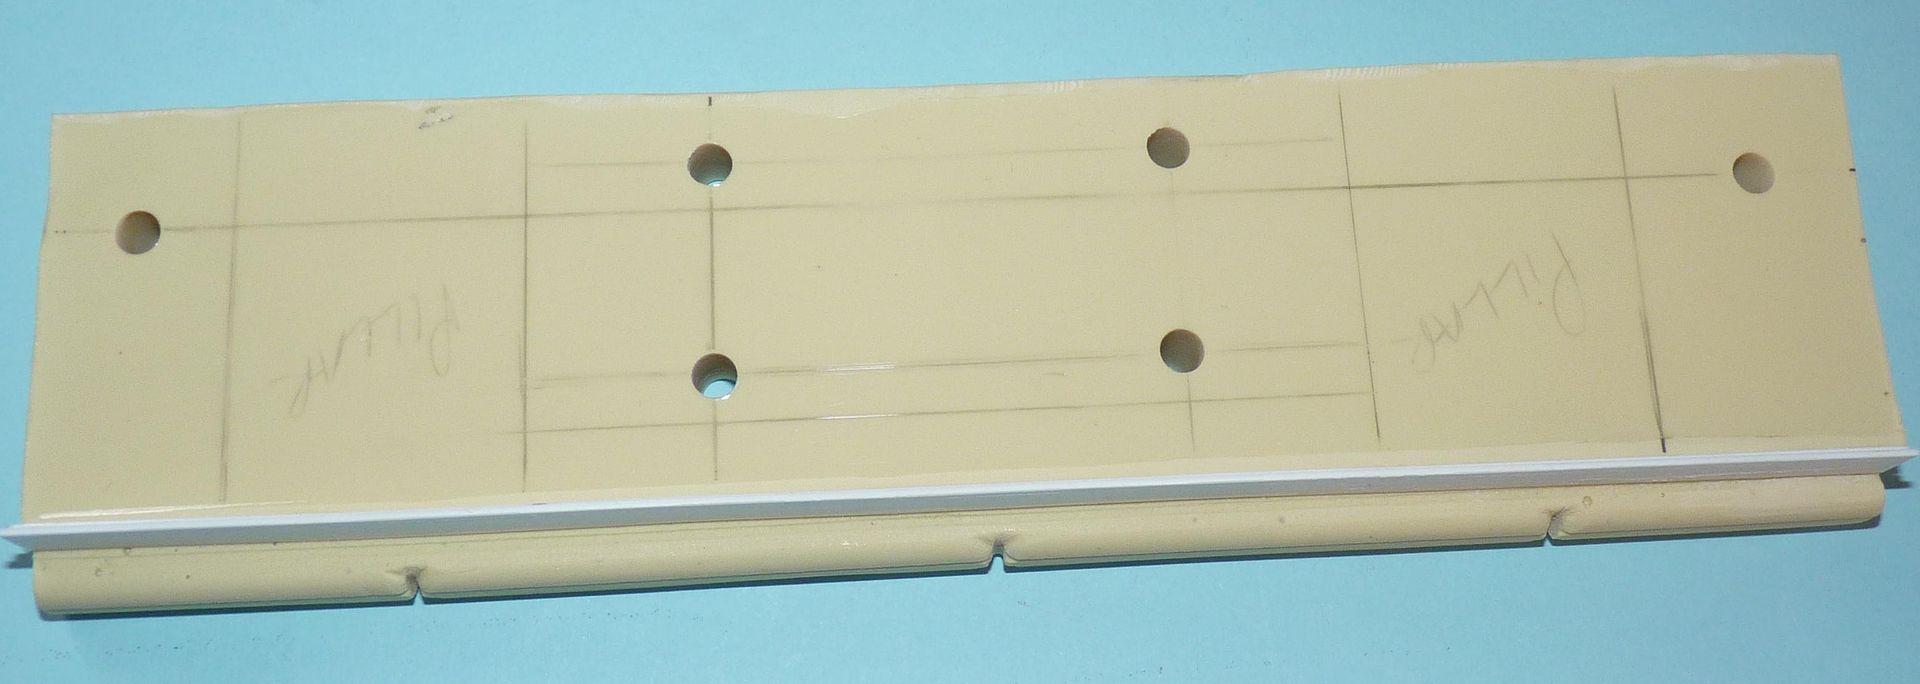
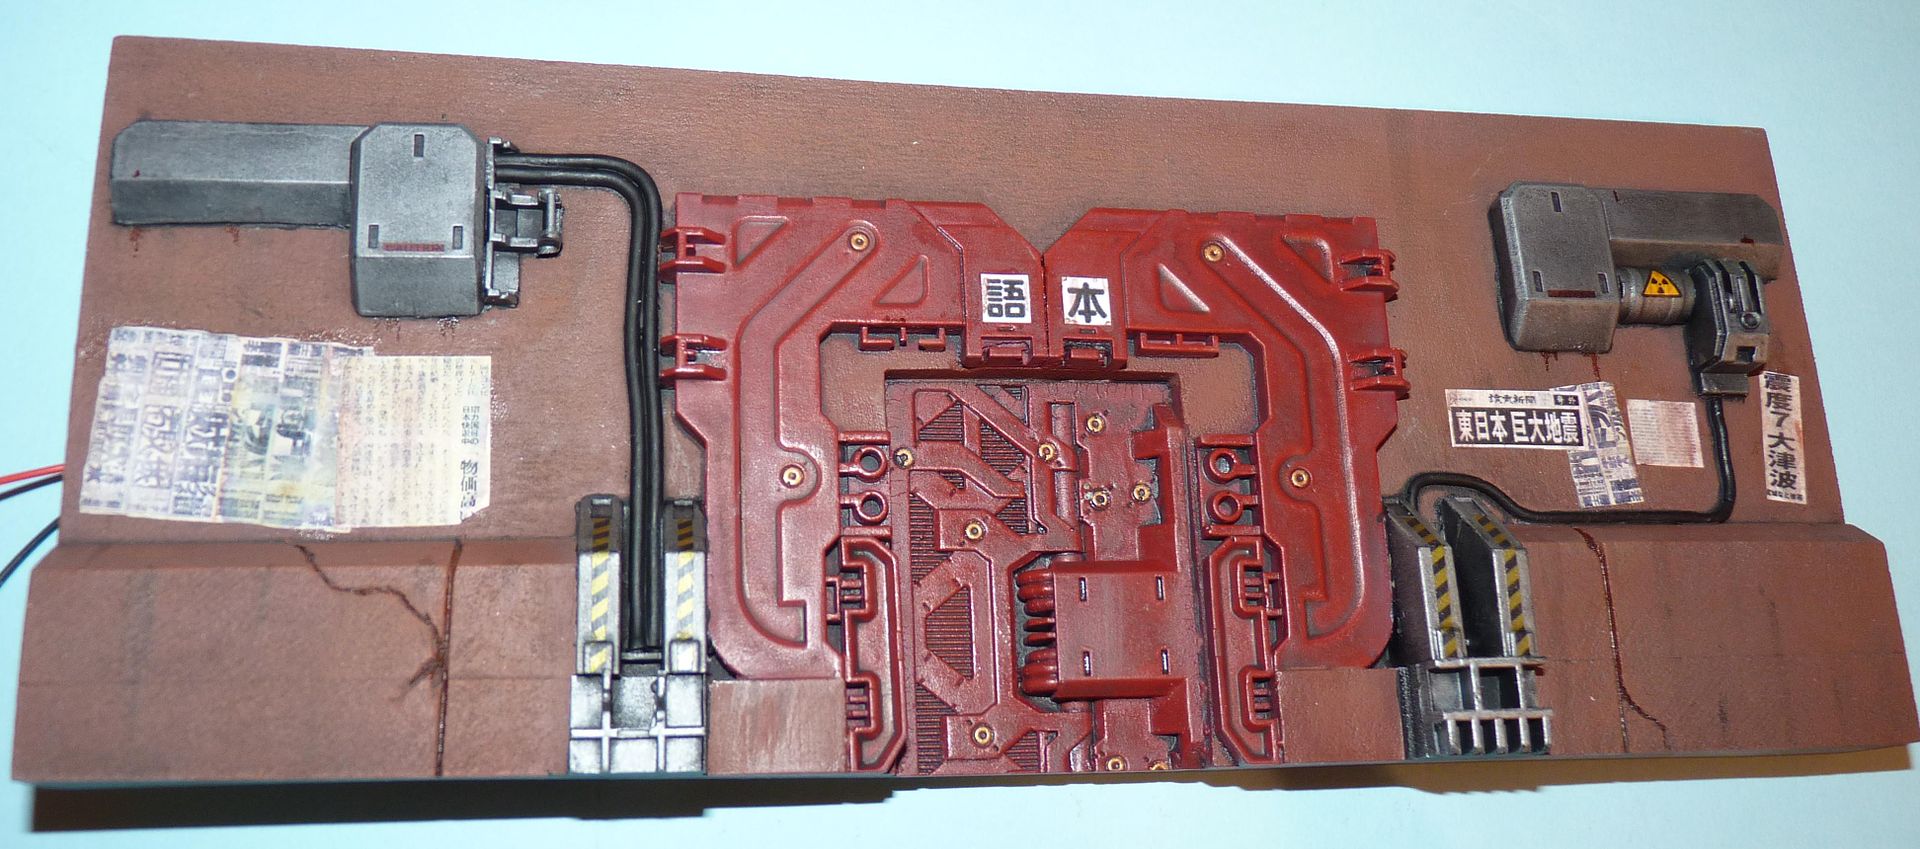
A piece of styrene sheet forms the new underside of the canopy...this is deeper than the original piece to allow for the rear wall being pushed back.
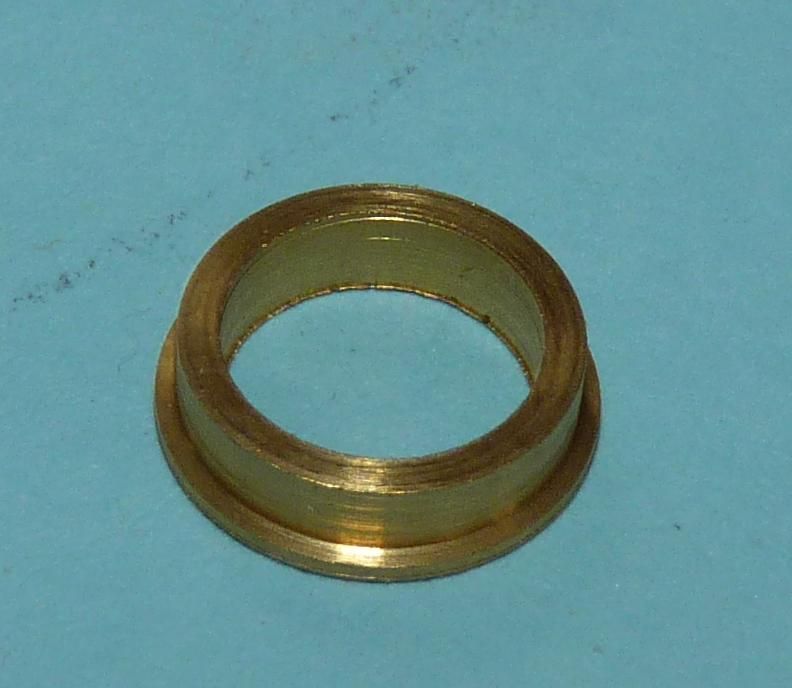
I obtained these brass portholes from my local model shop....
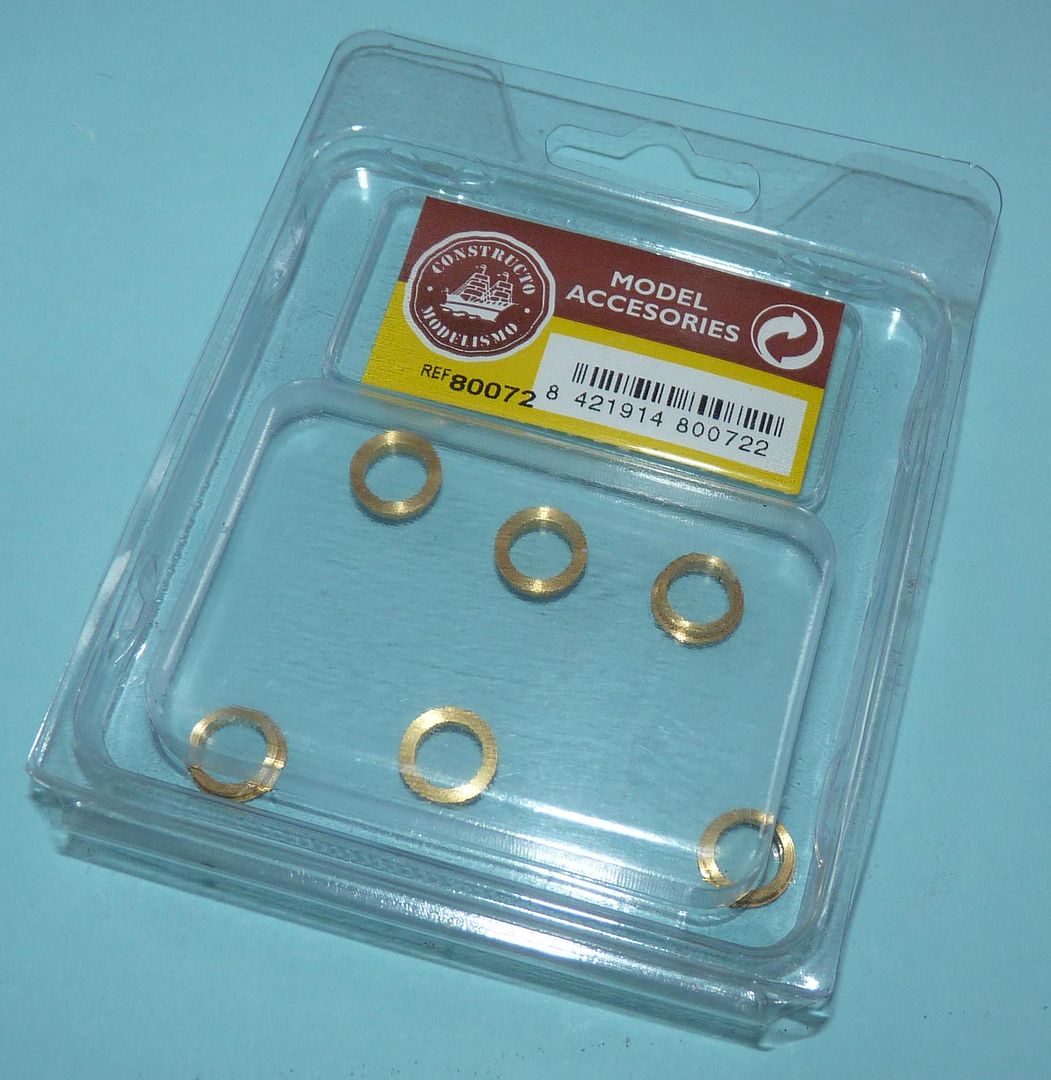
They are rebated on the back to allow them to drop into a pre-drilled hole...
And here they are fitted....
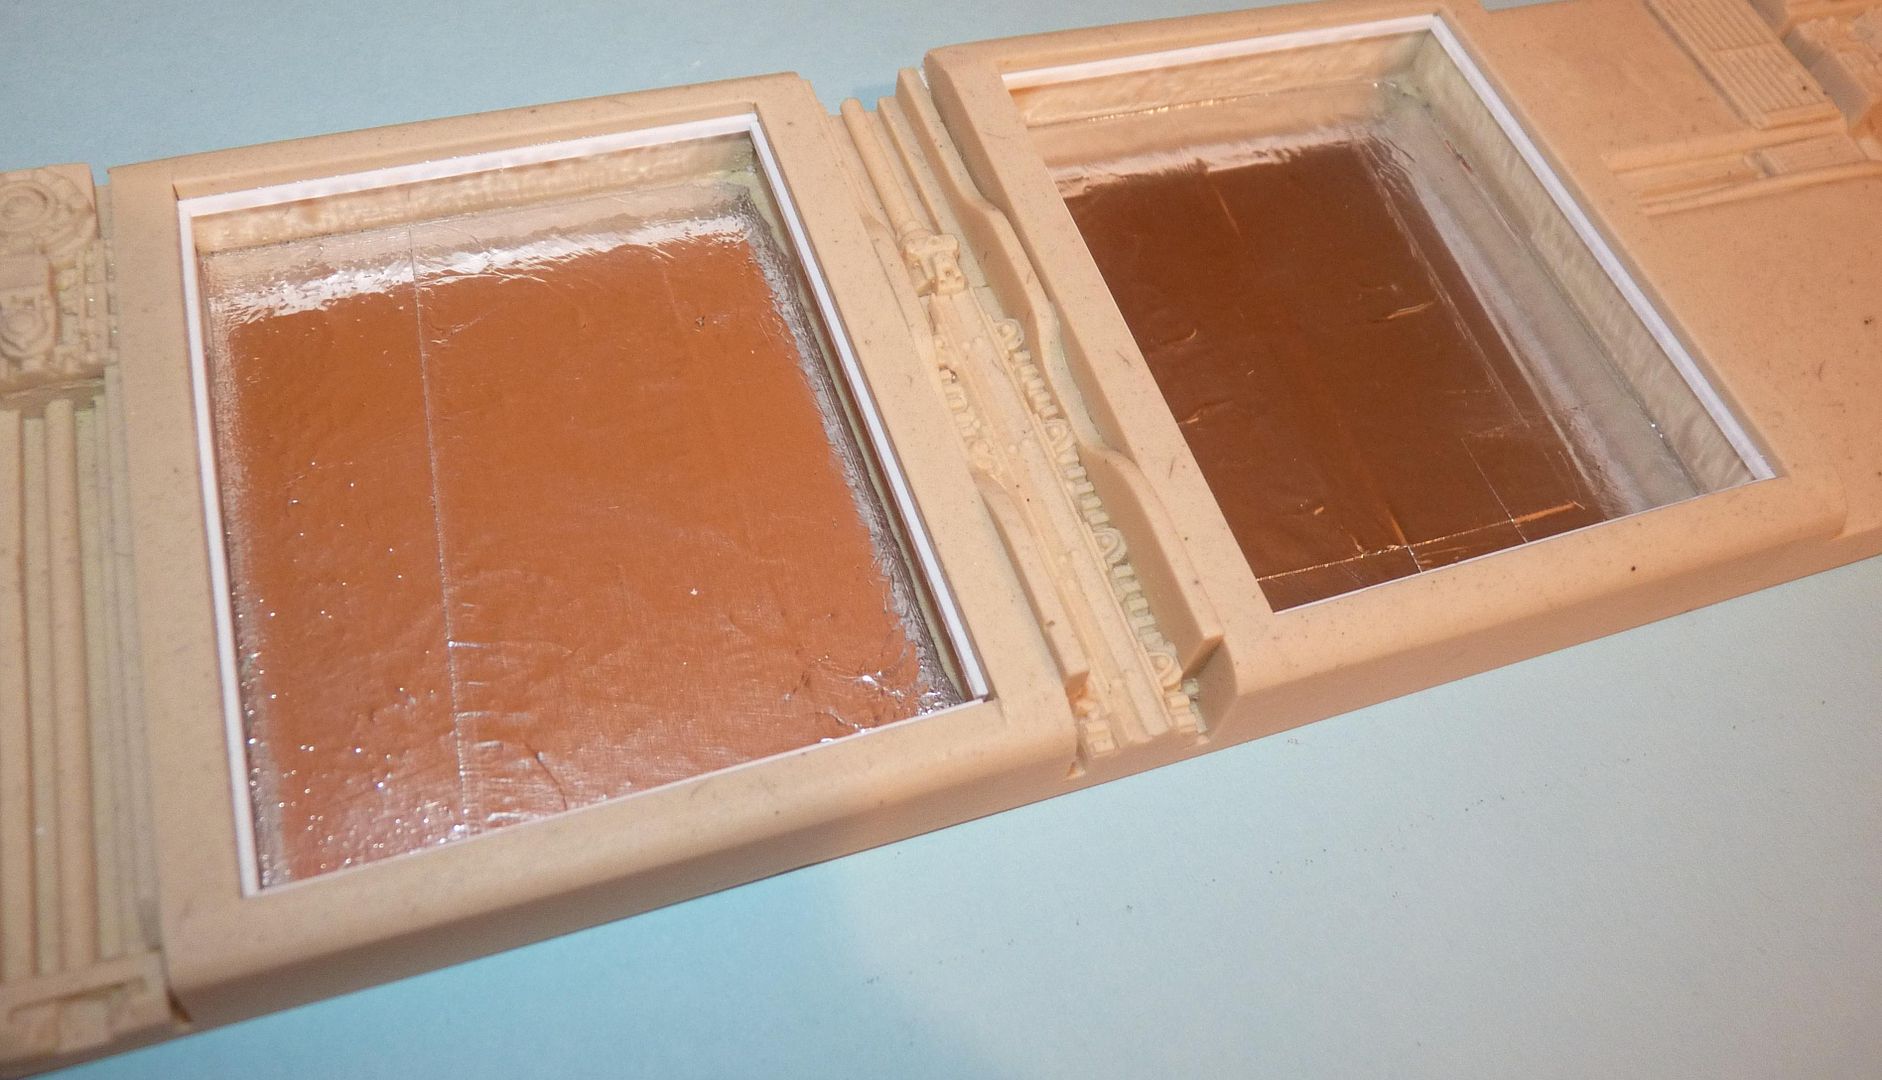
I've also started fitting out the two roof-mounted advertising signs for lighting. I attached a strip of styrene around the inside edges to allow a transparent sign to be dropped in....note also the foil backing to reflect the light forwards...