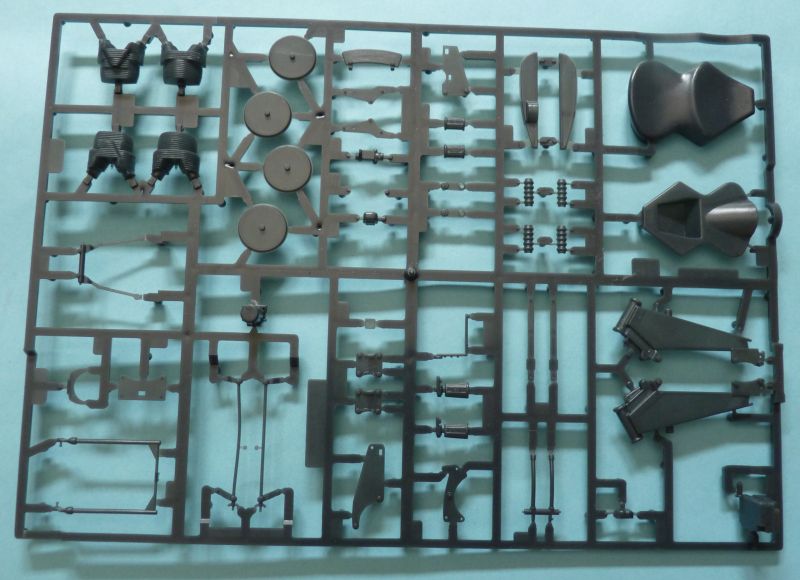
This is complex kit and the reading the instructions is rather overwhelming. I decided to break the build down into phases and concentrate on preparing the parts, painting and assembly before focusing on the next phase. The phases are as follows:
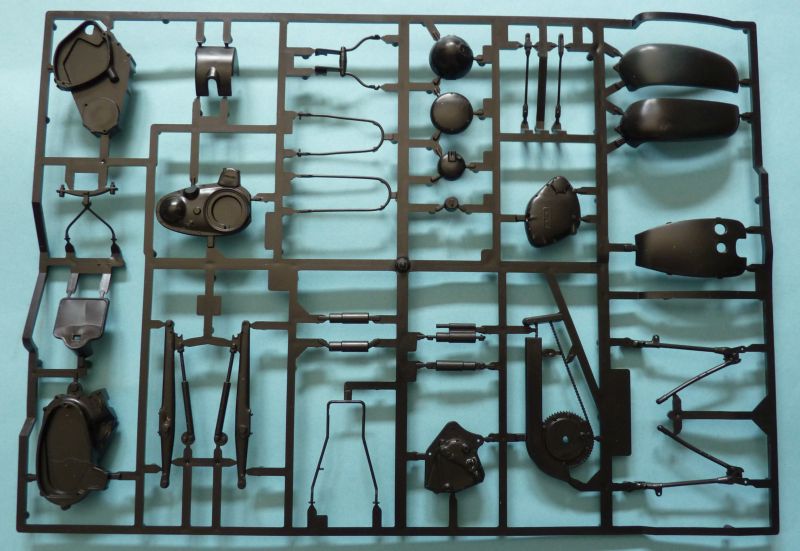
* Engine and rear forks
* Front forks, handle bars and headlamp
* Front and rear mudguards, etc
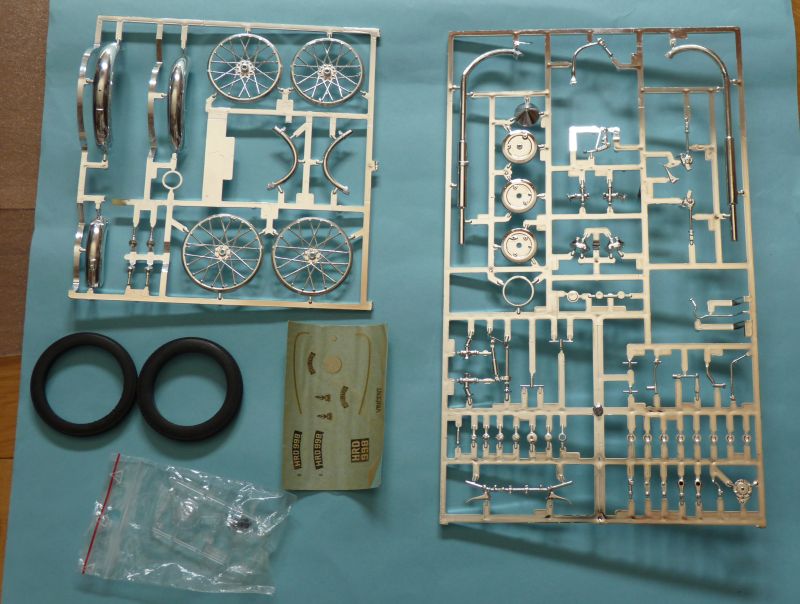
* Wheels, respoke
* Seat, fuel tank
* Final assemble and small parts
It means I'm not trying to paint every single chrome part at the once, which though less efficient allows me to keep track of things much better as well as not cleaning up parts for a month before having anything to show. I've made notes as I've gone along too so I don't have to keep hunting for colour info.
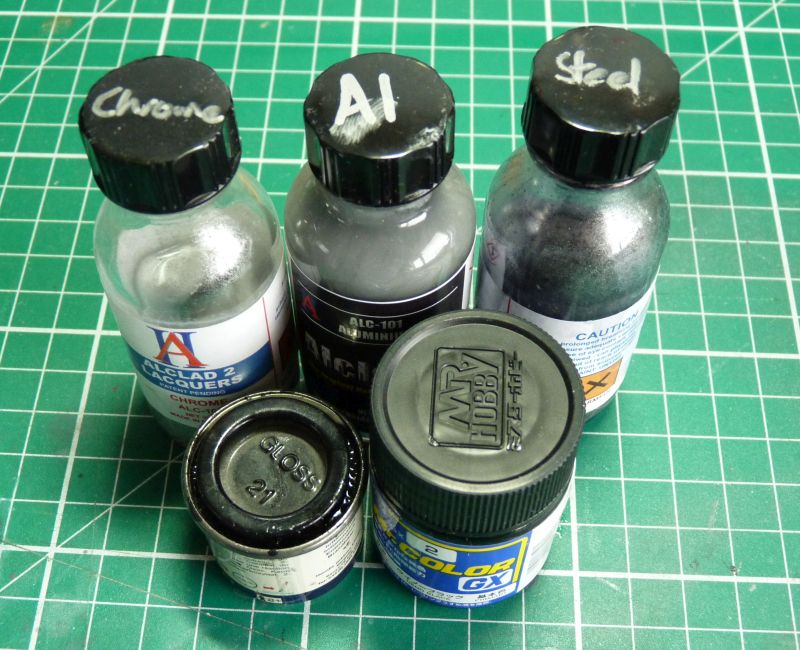
I'm going for a clean, if not immaculate finish and limiting the colours to 3 metallics and and 3 blacks, the Me Color GX-2 Uno Black is a very good gloss lacquer and will be the base for most of the metallic features as well as the fuel tank. The engine and forks are Hu Gloss black.
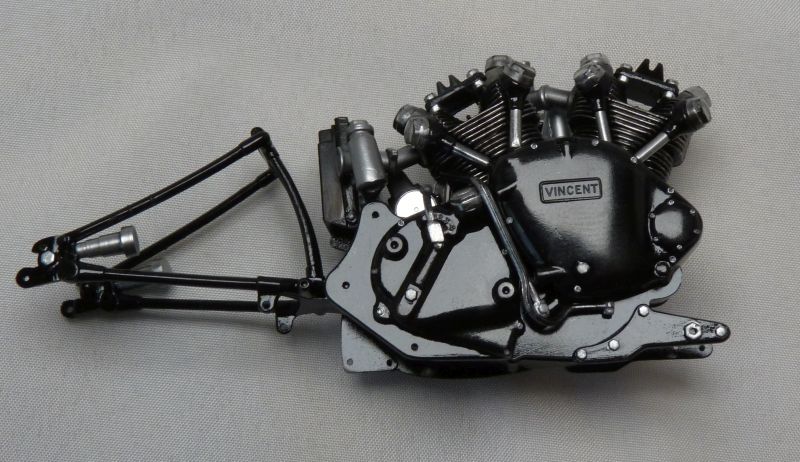
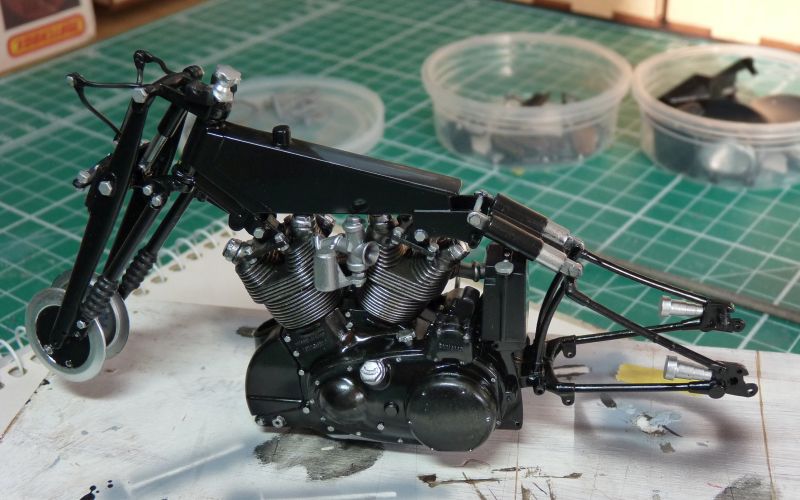
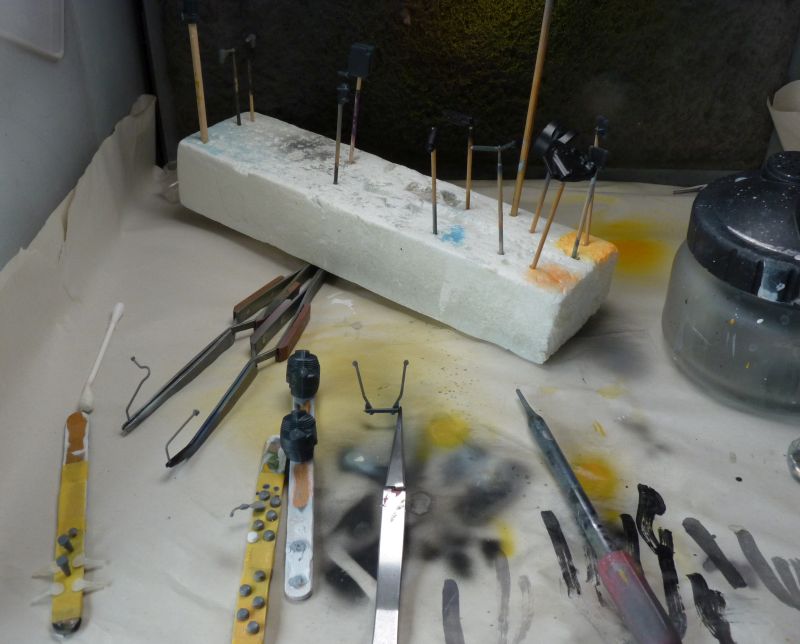
A week of prep got me this and half a day of mounting parts to paint - it took only an hour to paint all the parts for phase 1.
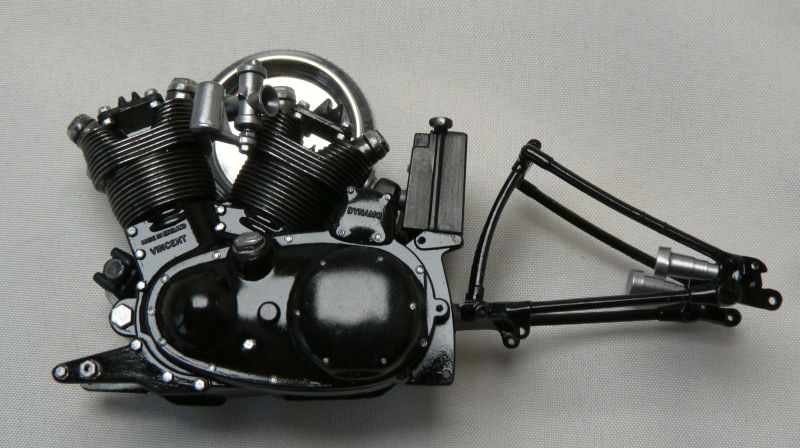
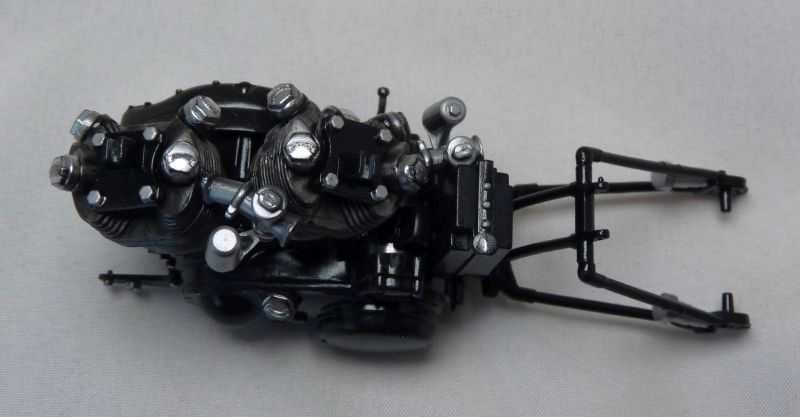
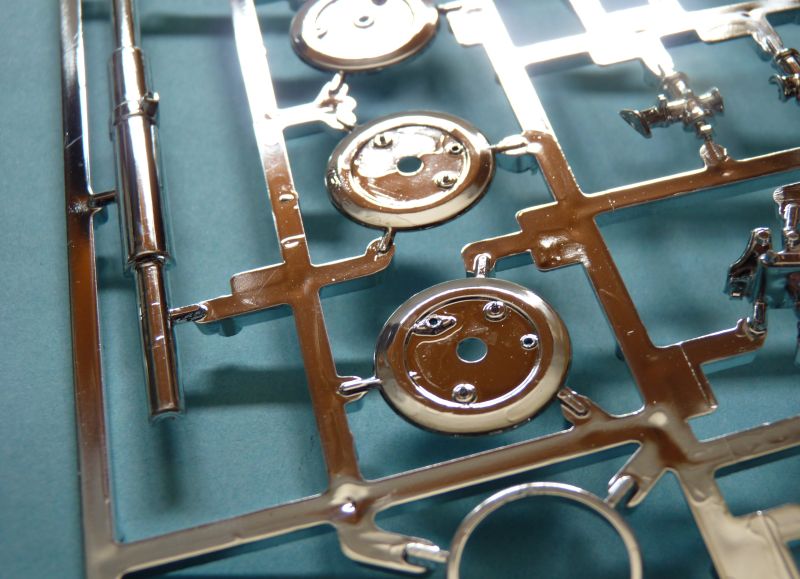
Assembly for the most part was straight forward those the carbs were a pain as they are took parts that attach at an undefine angle and requires looks repeated at good references only to find that other things are in the way. There is some beautiful detail those and the value heads have a tiny raised Vincent logo. The Chrome as always has rubbed off especially after fiddling with the carbs and will need touching up. I might try clear coating other pieces. The engine is covered in bare metal nuts, the larger ones simple used a n Uni-ball silver paint pen and then touch up the sides and smaller fixing with Hu Authentic Airframe silver which is still streets ahead of any other brushable metallic.
A full evening so take my word that the chrome does look a lot brighter in person. I propped it up on my airbrush cup lid.