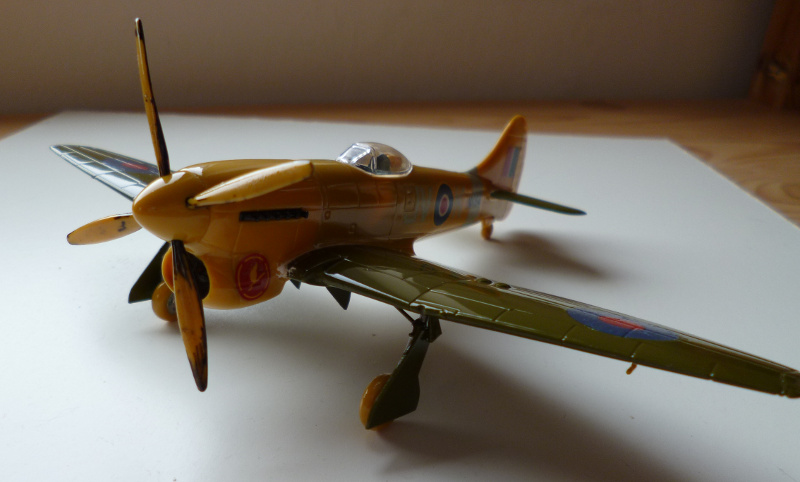
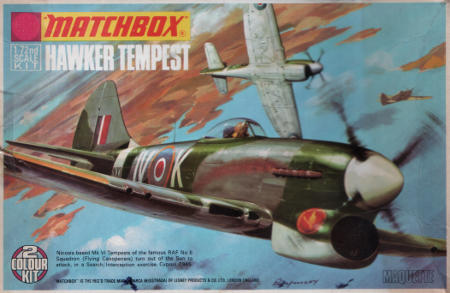
Our most esteemed labrat for this little experiment is a Matchbox Tempest:
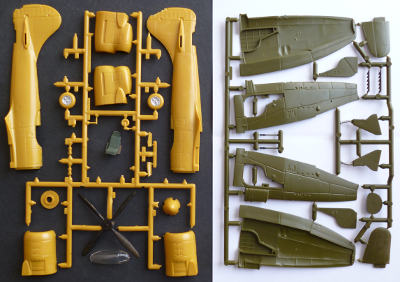
The kit was bought second hand, and turned out to be started and incomplete. I could have gotten my money back, but I had an itch to scratch, and despite it's mangled state, this kit ought to do.
The itch in question is finding out if I can build an old Matchbox kit without painting it, but with all the gaps and cracks filled in, and still make it look good, and then, as a second stage build, paint it up properly, without the benefit of being able to work on still separate parts. For this purpose, it is largely irrelevant whether the paintwork is correct for the kit.
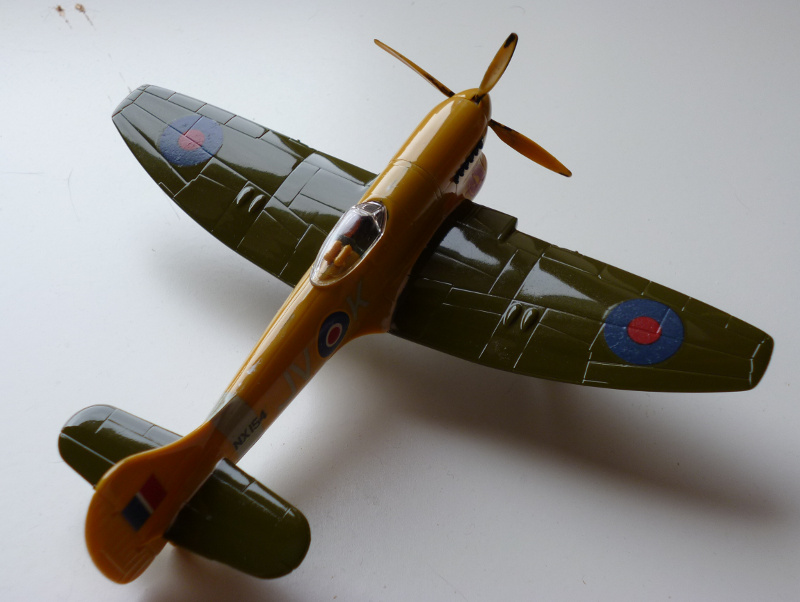
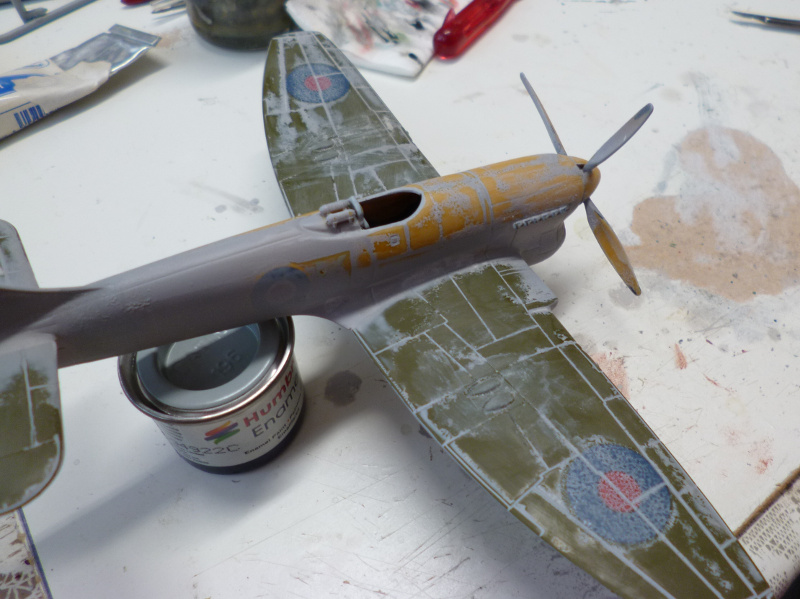
The kit is now completely assembled, and has had it's filler and sanding job. I consider the result to be less than satisfactory, because I also smoothed over and sanded out some cases of incorrect fit. This results in vaguely defined areas of filler, which is not the effect I wanted. On a future attempt, I will restrict myself to gap filling during this stage, and leave corrections (and any sinkholes) for the second stage. This will be more difficult, and require more thickery, but I think i will be doable.
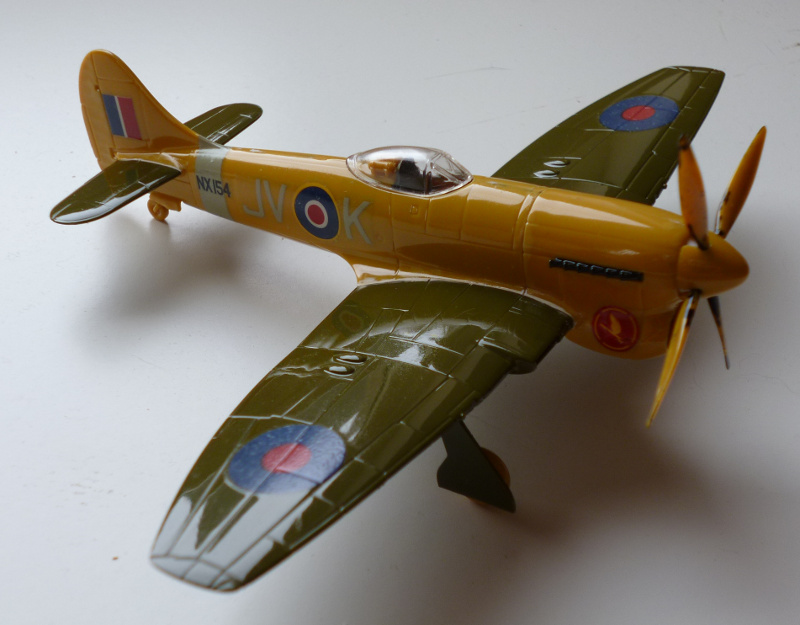
I've also apllied the original decals that came with the kit. They too were beyond normal use, as the waxpaper had become fused to the decals, and there was plenty of residue from disintegrating backing paper as well. The options were to ditch them, or to stick them on for effect, so guess what I chose. It should be noted that the decals themselves still perform perfectly.
What remains is a coat of high gloss varnish, scheduled for tomorrow, to restore an overall gloss finish to the plastic. I'll post pictures when that's done, completing the first stage of the build.